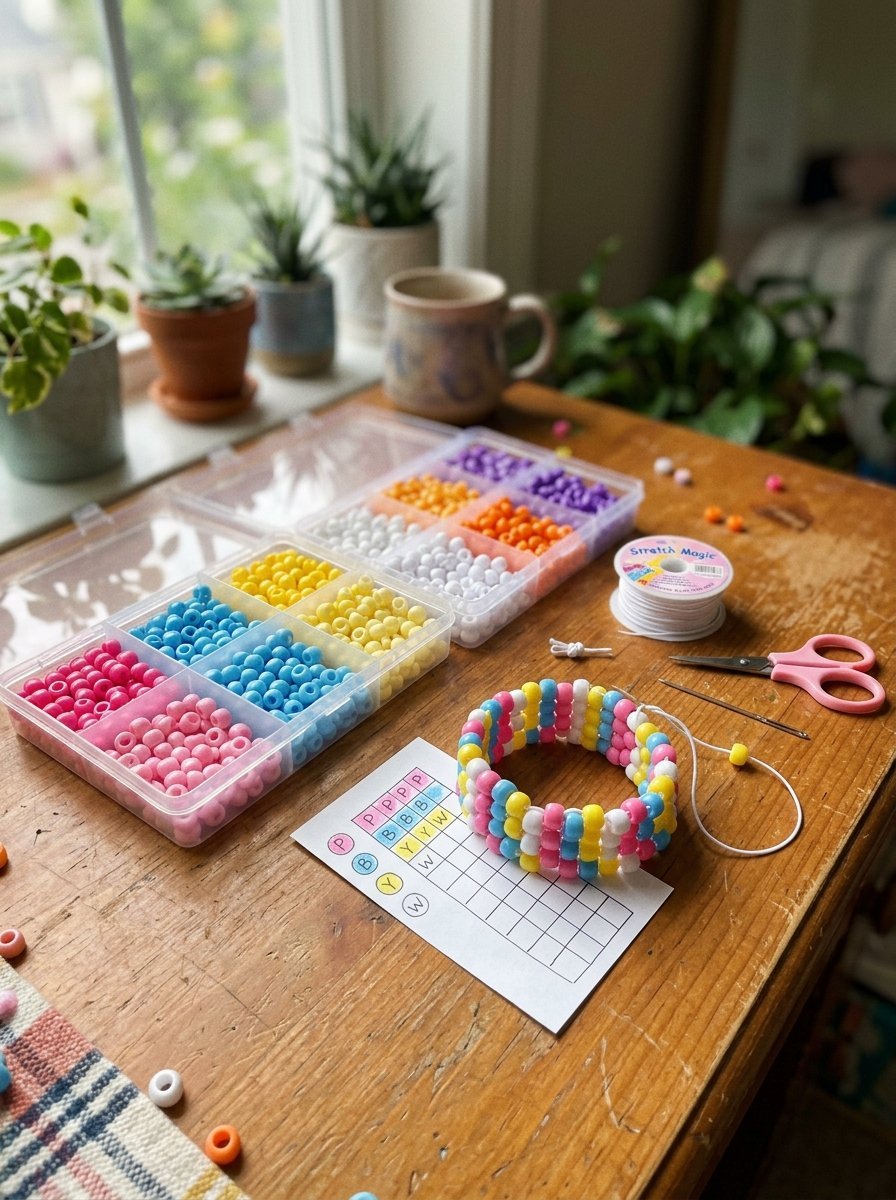


A pile of colorful pony beads can look like a box of tiny pieces with no clear plan. Then you pick a pattern, choose your colors, and start threading. Row by row, the design begins to appear. That is the fun of kandi cuff patterns. They turn simple beads and cord into wearable art. A cuff can show a rainbow, a favorite character, a word, a skull, or a completely original design. Kandi patterns usually work as bead-by-bead grids. Each cell represents a bead, which makes detailed designs easier to plan before you start stringing. Kandi Pad explains that pattern reading can apply to different cuff orientations, while Kandi Patterns offers a large collection of beginner-friendly cuff patterns. Whether you are making your first cuff or looking for a new challenge, these ideas can help you choose a design that matches your skill level and personality.
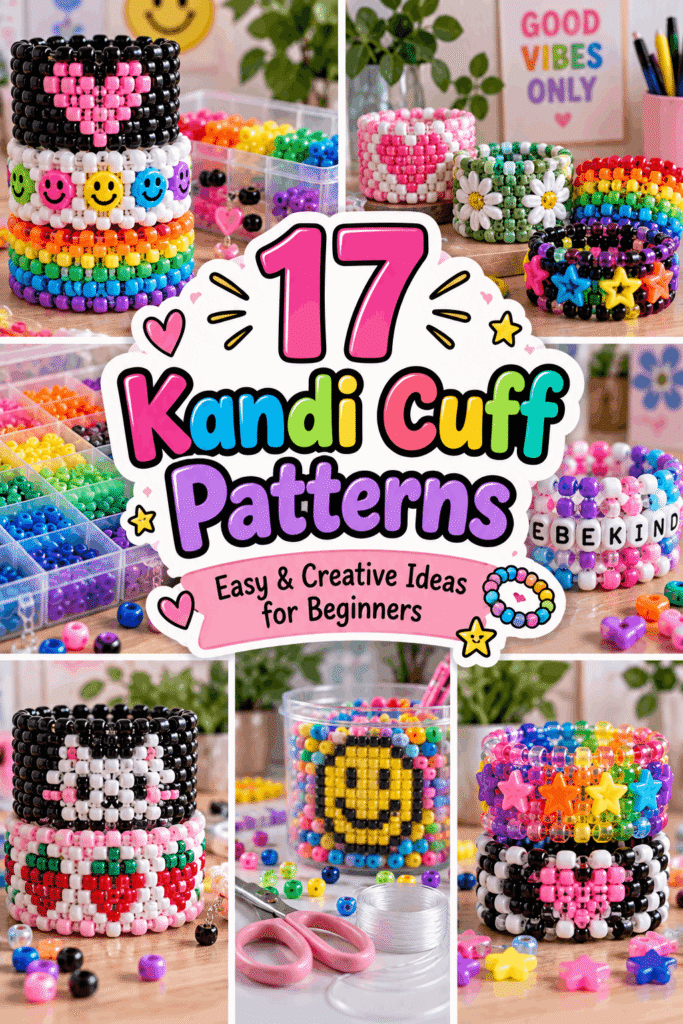
1. Easy Kandi Cuff Patterns for Beginners
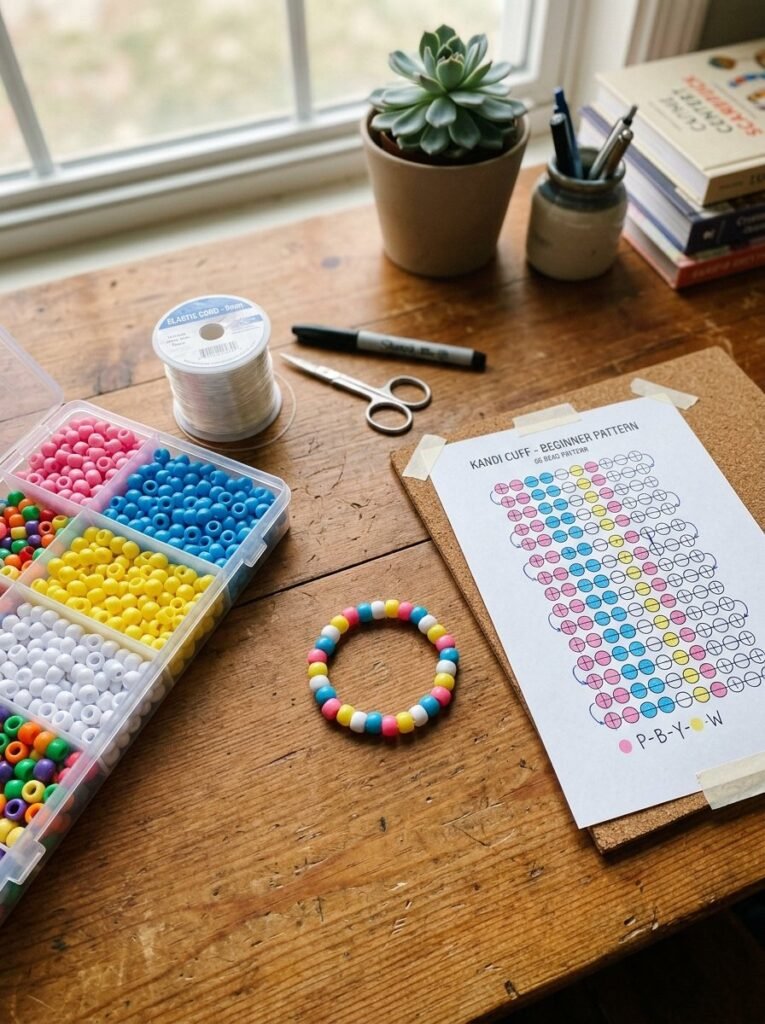
If you are new to kandi, start with repetition. A simple stripe or checker design lets you focus on your stringing technique instead of a complicated picture. Choose three or four colors and repeat them across the rows. This approach also makes mistakes easier to spot. If one bead appears in the wrong place, the repeated sequence gives you a clear reference. Kandi Patterns specifically lists simple cuff patterns as suitable for beginners, making basic repeating designs a practical place to start.
2. Rainbow Kandi Cuff

A rainbow design is one of the easiest ways to make a cuff look colorful without using a complicated picture. Arrange red, orange, yellow, green, blue, and purple in repeating rows. You can keep the sequence consistent or reverse it on each layer. For a softer look, replace bright colors with pastel beads. For a bold version, use neon colors. The pattern stays simple while the finished cuff gets plenty of visual energy.
3. Multi Stitch Cuff With a Picture
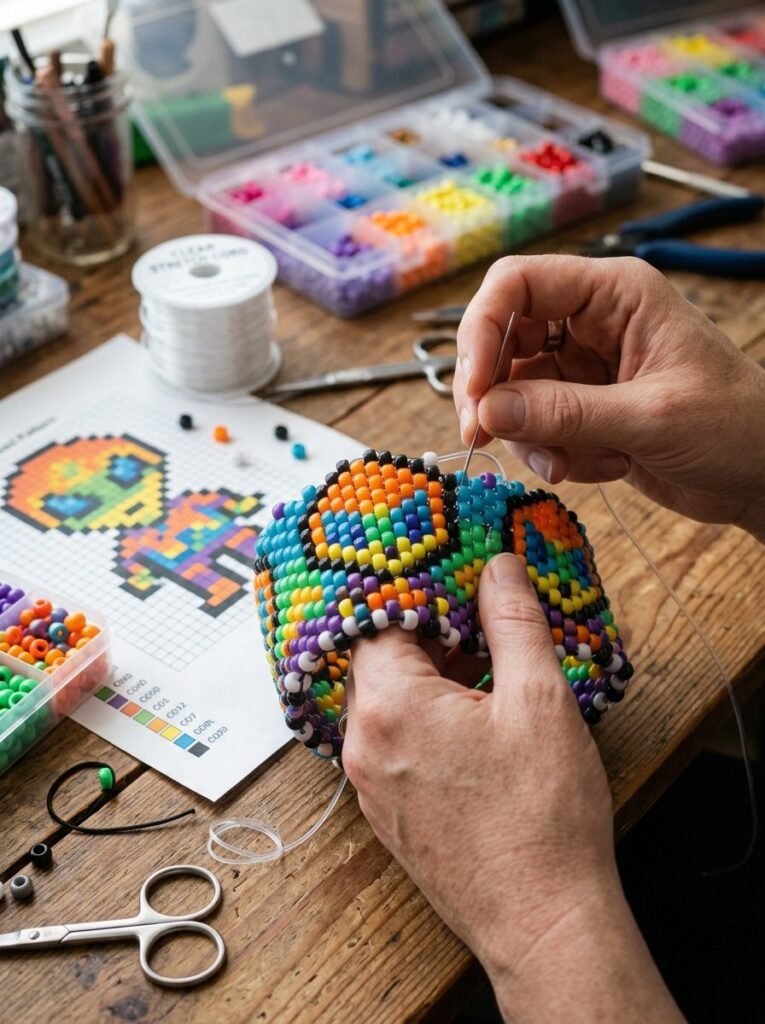
Once basic cuffs feel comfortable, try a multi stitch design. Multi-stitch cuffs give you more space for pictures because the design stretches across multiple rows. You can create hearts, animals, symbols, or simple character-inspired graphics. The key is to follow the grid carefully. Kandi Pad describes multi-stitch or peyote-style patterns as grid-based designs where the maker works through the rows in a specific order. Start with a small image before attempting a highly detailed one.
4. Numbers and Number Patterns

Numbers can turn a simple cuff into something personal. Use a graduation year, favorite number, birth year, lucky number, or short sequence. Keep the numbers large enough to remain readable. Numbers easy designs work best when you use strong contrast. For example, white numbers against black beads are easier to see than two similar shades. If you are using a pattern grid, check each row before moving forward.
5. Ladder Stitch Kandi Cuff
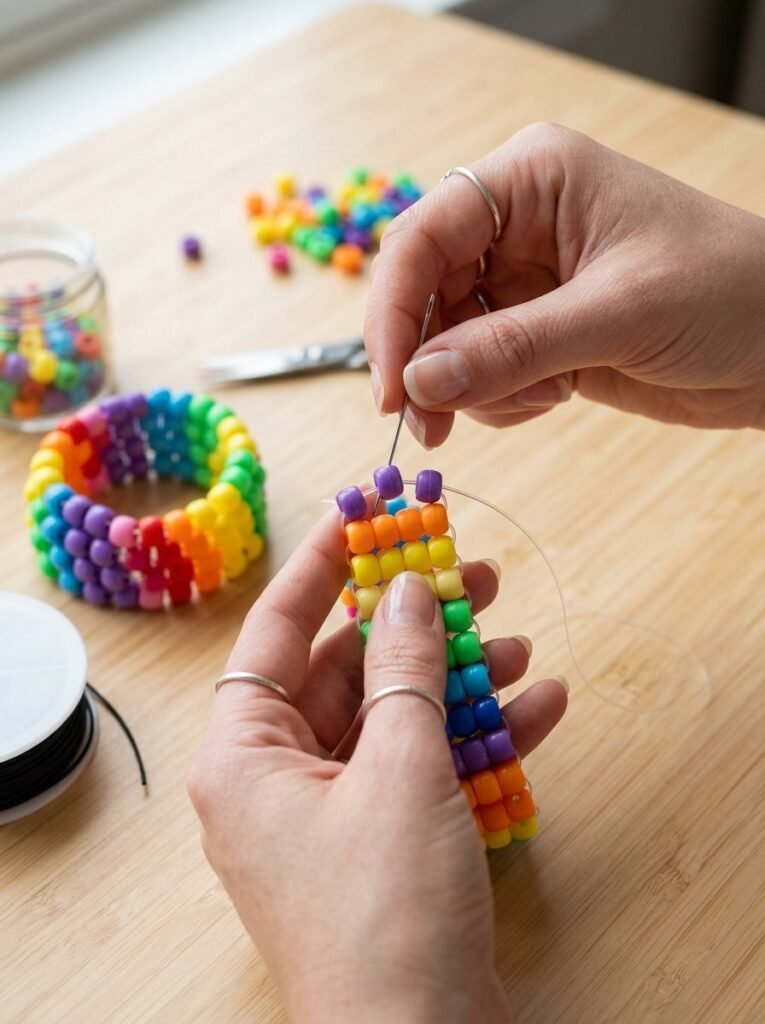
The ladder stitch gives you another way to build a flat beaded structure. It is useful for simple bracelets and can also help you understand how beads connect before moving into more complex designs. Kandi tutorials commonly use ladder stitch as a beginner-friendly technique, while more advanced makers can use it as part of larger constructions. Work slowly at first. Keep your tension consistent so the rows do not become loose or uneven.
6. Skull Kandi Design

A skull design can give your cuff a completely different personality. Use black and white for a classic look. Add purple, red, or neon green if you want something more playful. Keep the skull graphic bold rather than overly detailed. Kandi works best when the picture remains readable at a small bead-grid size. This makes a skull one of the stronger ideas for Halloween-inspired cuffs, alternative styles, or statement accessories.
7. FNAF-Inspired Cuff

Fans of horror games can create cuffs inspired by the colors and atmosphere of their favorite games. For a FNAF-inspired design, try black, purple, yellow, gray, and red. Instead of copying an official character image, create an original spooky face, arcade symbol, or abstract pattern. This approach gives you the same mood while allowing your own design to stand apart.
8. Swirl and Spiral Pattern

A spiral or swirl pattern creates movement across the cuff. Instead of straight stripes, let the colors curve around the design. Two or three colors can create a clean effect, while five or six colors create a more playful result. Kandi Patterns has published swirl cuff designs, showing how repeating curved motifs can work within a cuff grid. Start with a simple repeat. Complex curves become easier once you understand how the rows connect.
9. Nyan Cat-Inspired Rainbow Design

Retro internet aesthetics can work beautifully with kandi. For a Nyan Cat-inspired idea, use a colorful pixel cat silhouette with a rainbow trail rather than copying official artwork. Pink, blue, purple, and yellow beads create a playful palette. Keep the image simple so the cat shape remains recognizable. This style is especially fun for makers who enjoy nostalgic digital art.
10. Bluey-Inspired Cute Cuff

A cute cartoon-inspired cuff can be colorful without becoming difficult. For a Bluey-inspired design, build your palette around blue and light blue beads. Add an original dog silhouette or simple paw-print pattern. The important part is keeping the shapes bold. Tiny details often disappear when you translate an illustration into beads.
11. MLP and Little Pony Color Themes

Pastel colors are perfect for a magical pony-inspired design. Use pink, purple, blue, yellow, and mint green. Add stars, clouds, hearts, rainbows, or original pony-inspired symbols. For an MLP or Little Pony theme, you can focus on the color palette rather than recreating an official character. This gives you more freedom to create a design that feels like your own.
12. Cute Shark Kandi Cuff
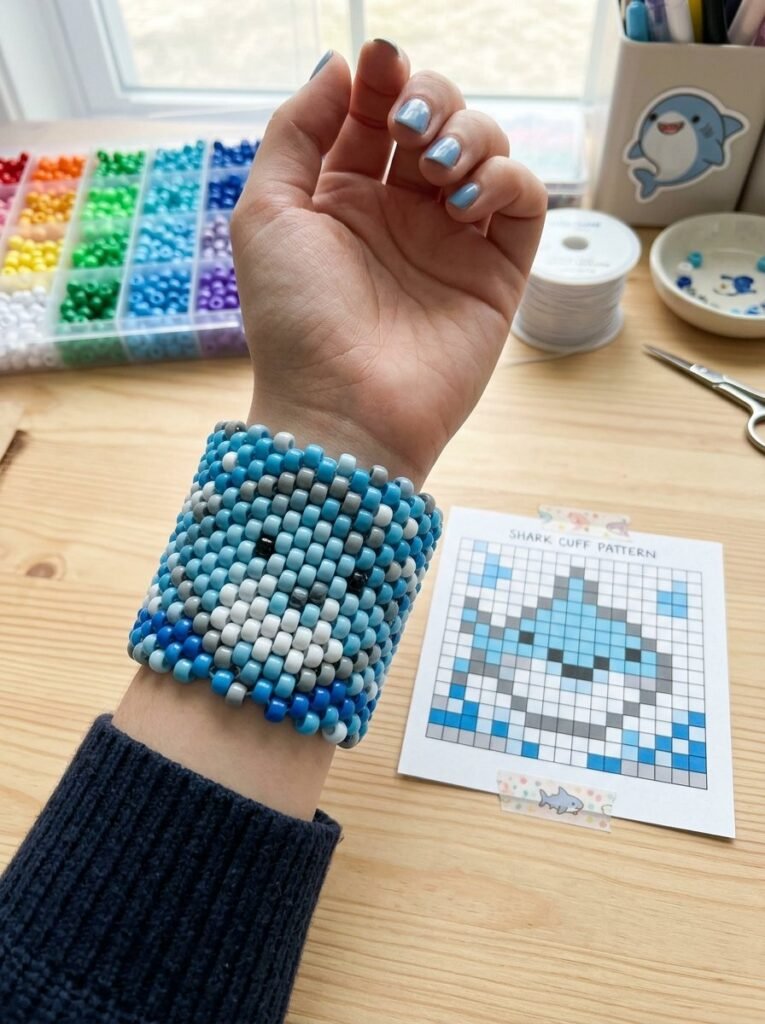
A shark cuff can look surprisingly cute. Use blue and gray for the body, white for the belly, and black for the eyes. Add small waves and bubbles around the main shape. Keep the shark silhouette simple. A clear outline will look better than trying to reproduce every detail of a realistic shark.
13. Domo, Jax, and Character-Inspired Patterns
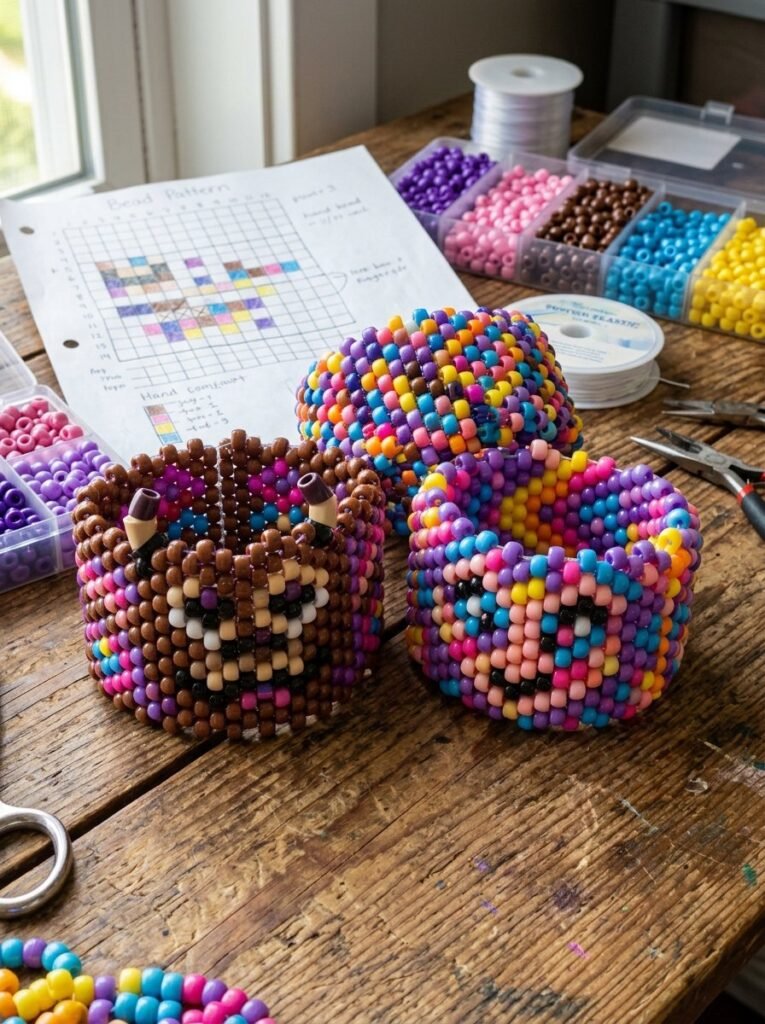
Character-inspired designs can become some of the most personal cuffs in a collection. You can take inspiration from Domo, Jax, or other favorite characters while simplifying the design into basic shapes and colors. Focus on the character’s most recognizable features. Maybe it is a color combination, unusual eyes, a mouth shape, or a simple symbol. You do not need every detail to make the reference work.
14. Numbers Emo and Letter Cuffs

Short words can make a cuff feel like it belongs to you.Try a nickname, initials, short phrase, or a small sequence of numbers. Emo-inspired designs can use black, red, purple, white, and neon accents. Keep text short. A bead grid has limited space, so long words can become difficult to read. Kandi pattern tools and galleries commonly use grids to help makers plan letters and other designs before stringing the beads.
15. Rainbow Scene and Multi-Color Cuff

When you feel comfortable with basic patterns, create a complete scene. A small sunset, rainbow, ocean, garden, or night sky can turn a cuff into a miniature picture. The trick is to simplify. Kandi has limited resolution, so large shapes work better than tiny details. Pattern Grid notes that simple, bold shapes translate more reliably to kandi’s bead-grid format, while short words and uncomplicated motifs are easier to read. Use a few strong colors and build the scene row by row.
16. Kandi Cuff With Letter Beads

Letter beads can turn a basic cuff into something much more personal. Create a repeating bead pattern and add a short word, initials, nickname, or fun phrase across the center. Keep the surrounding colors simple so the letters remain easy to see. This style is especially useful for friendship bracelets, party accessories, and personalized kandi jewelry.
17. Rainbow Star Kandi Cuff
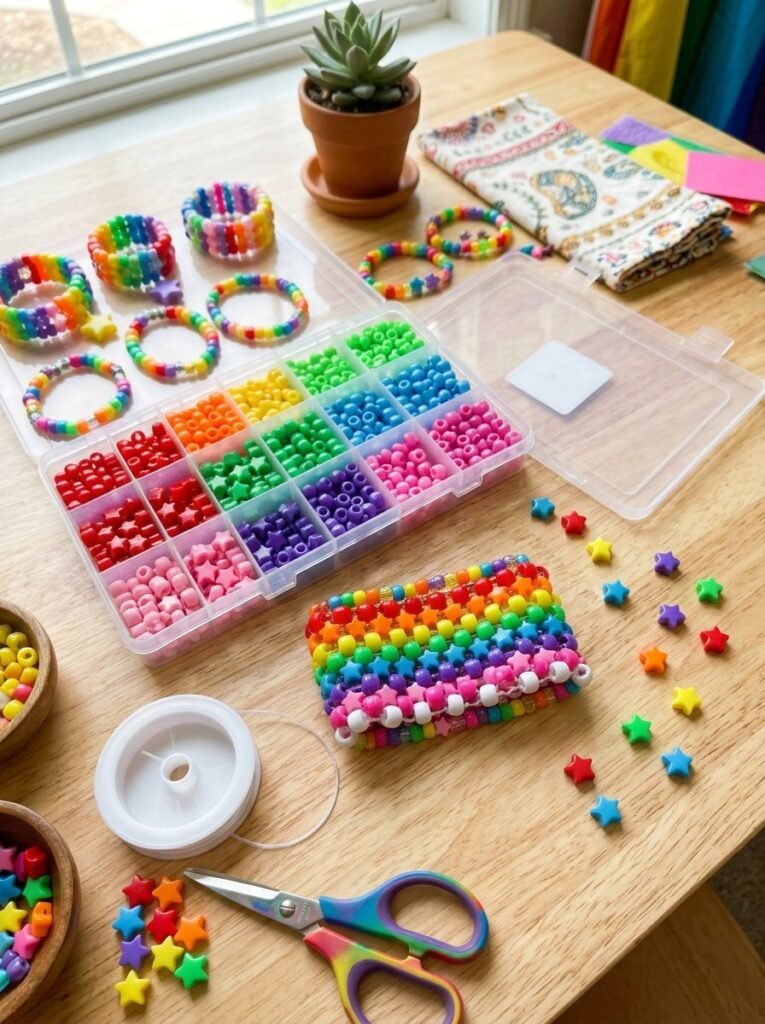
A rainbow star cuff combines bright colors with a playful charm pattern. Arrange the beads in rainbow order and add star-shaped beads at regular points across the cuff. You can keep the pattern symmetrical or let the colors change gradually from one side to the other. It is a fun project for beginners who want to move beyond a basic single-row bracelet and try a wider kandi design.
How to Read Kandi Cuff Patterns
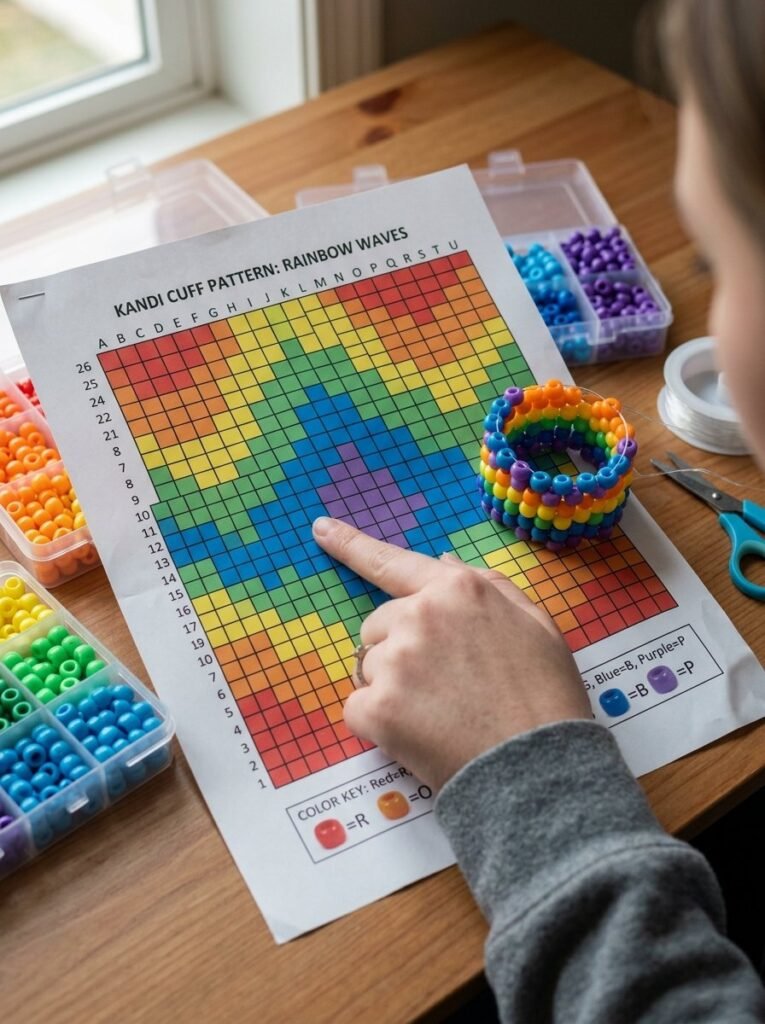
A pattern looks much easier once you understand what each square means. In most grid-based designs, one cell represents one bead. You follow the colors row by row and connect each new row to the previous structure. Kandi Pad explains that makers can work through rows by alternating the new bead with the previous row, depending on the pattern and orientation. Before starting, sort your beads by color. Then count what the pattern requires. KandiCon also emphasizes numbered, row-by-row instructions and bead-accurate charts as a way to make patterns easier to follow.
Tips for Making a Strong Kandi Cuff
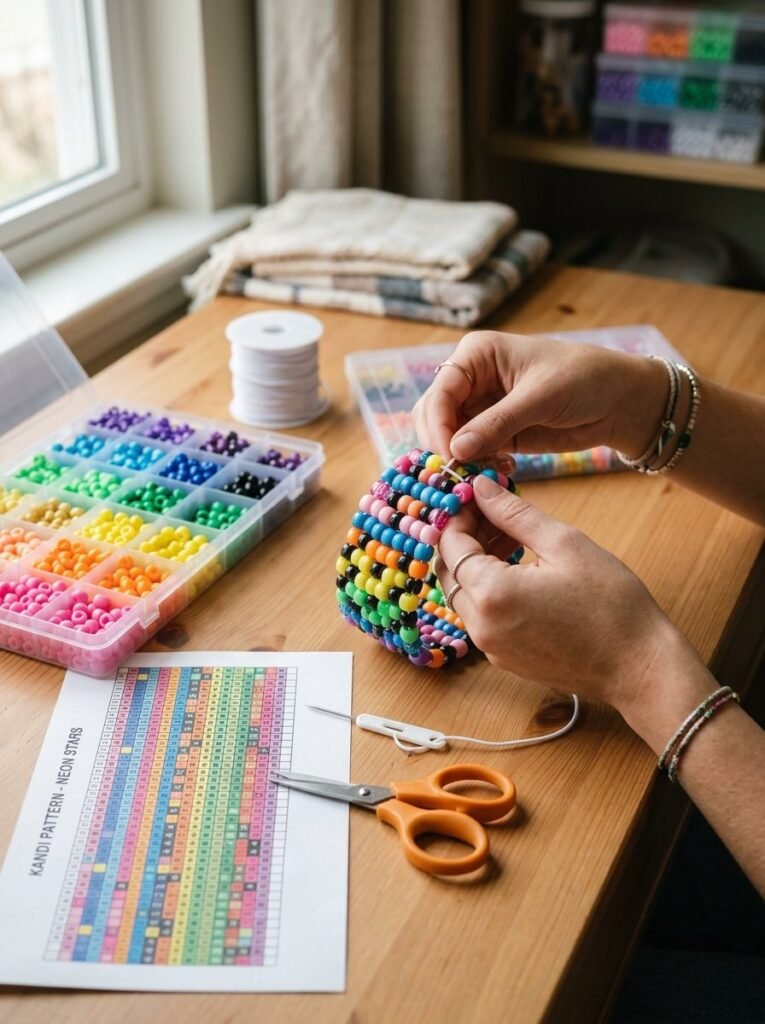
A few small habits can make the process much easier. First, sort your beads before you begin. It saves time and makes color mistakes easier to catch. Second, keep your tension steady. Loose string can make the cuff uneven, while pulling too tightly can make the work difficult to handle. Third, check each row against your pattern before adding the next one. Finally, make sure you have enough beads and cord before starting a large design. Kandi pattern resources often provide bead counts or color information, which can help you prepare before stringing.
Final Thoughts
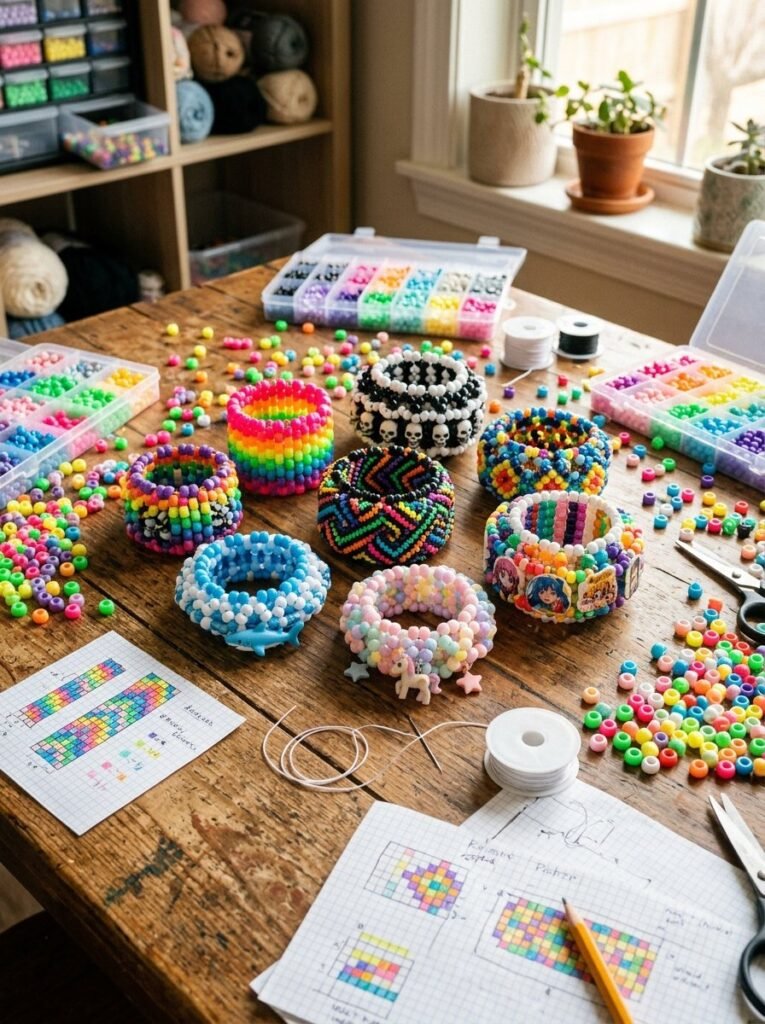
The best kandi cuff patterns are not always the most complicated ones. A simple rainbow can look amazing. A short word can carry a personal meaning. A skull can show your style. A tiny scene can turn dozens of beads into a miniature piece of art. Start with a pattern that matches your current skill level. Learn the stitch. Keep your rows organized. Then experiment with your own colors and ideas. Once you understand how the grid works, you are no longer limited to existing designs. You can turn a drawing, symbol, number, or favorite color combination into a cuff that feels completely yours.


3 Pingbacks