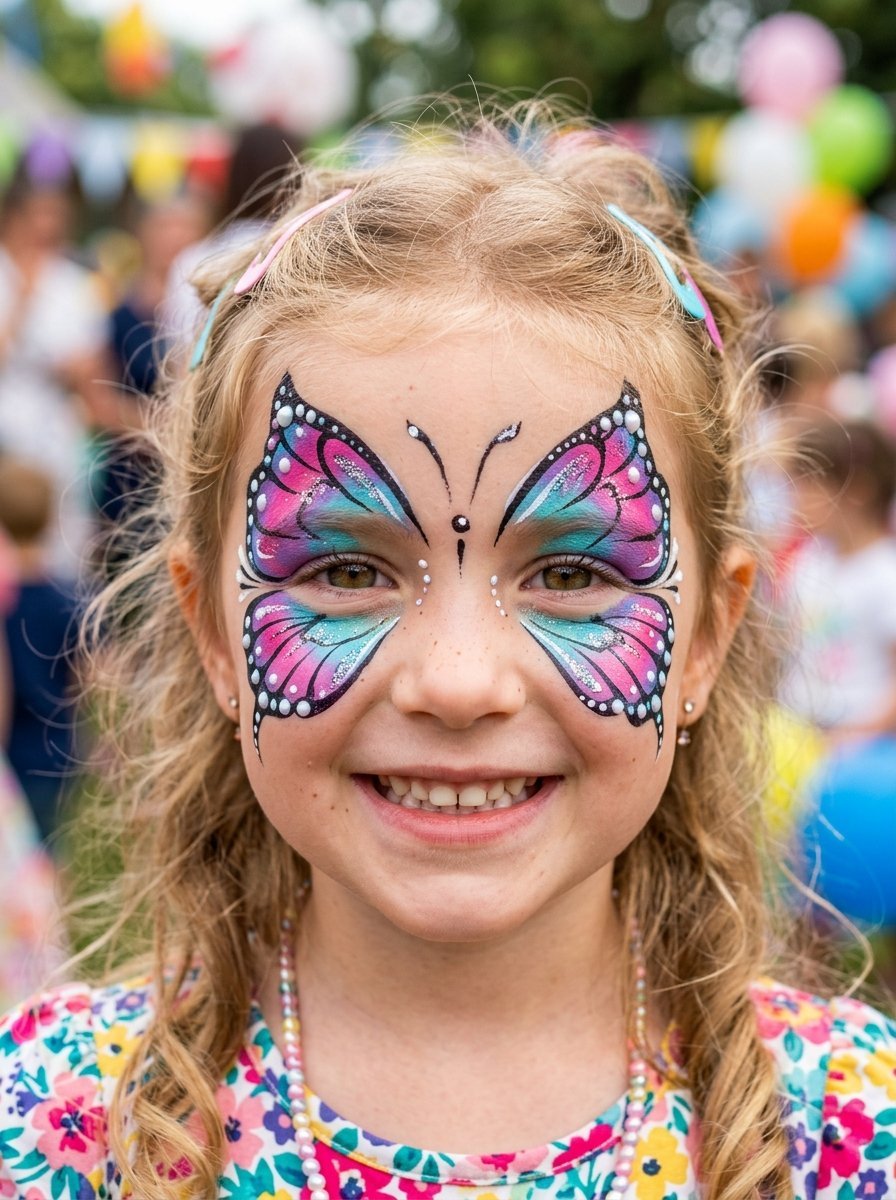


A few colors can completely change a child’s mood. One minute, a child is sitting quietly in a chair. A few minutes later, they are looking in the mirror as a butterfly, tiger, unicorn, or superhero. That simple transformation is what makes face painting so enjoyable. It combines creativity with play, and you do not need advanced artistic skills to create something memorable. With a few skin-safe products, clean brushes, and an easy design, beginners can create beautiful results at home or at a party. From cute animals to Halloween characters and colorful holiday looks, these ideas give you plenty of inspiration without making the process complicated.
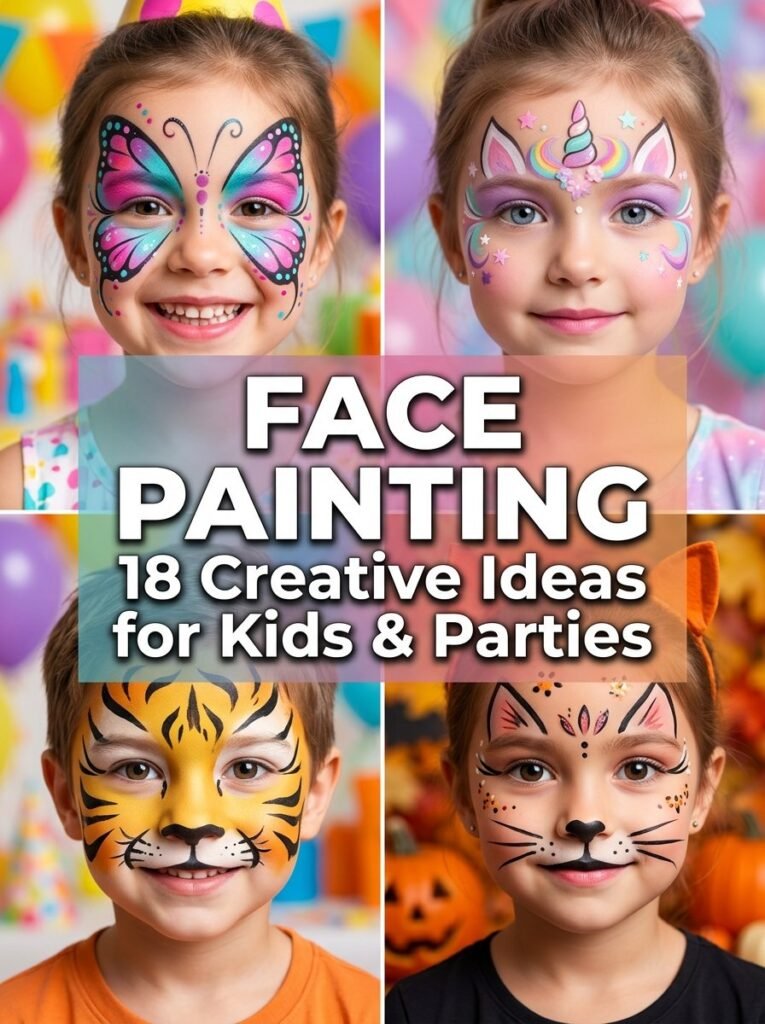
1. Easy Butterfly Face Painting

Butterflies make a great starting point because you can adjust the design to match almost any skill level. Paint two colorful wings around the eyes, add small dots along the edges, and finish with a thin body line across the nose. Pink, purple, blue, and turquoise create a bright butterfly look, while softer pastel shades create an aesthetic version. Keep the lines simple if you are painting a child’s face for the first time.
2. Cute Unicorn Design
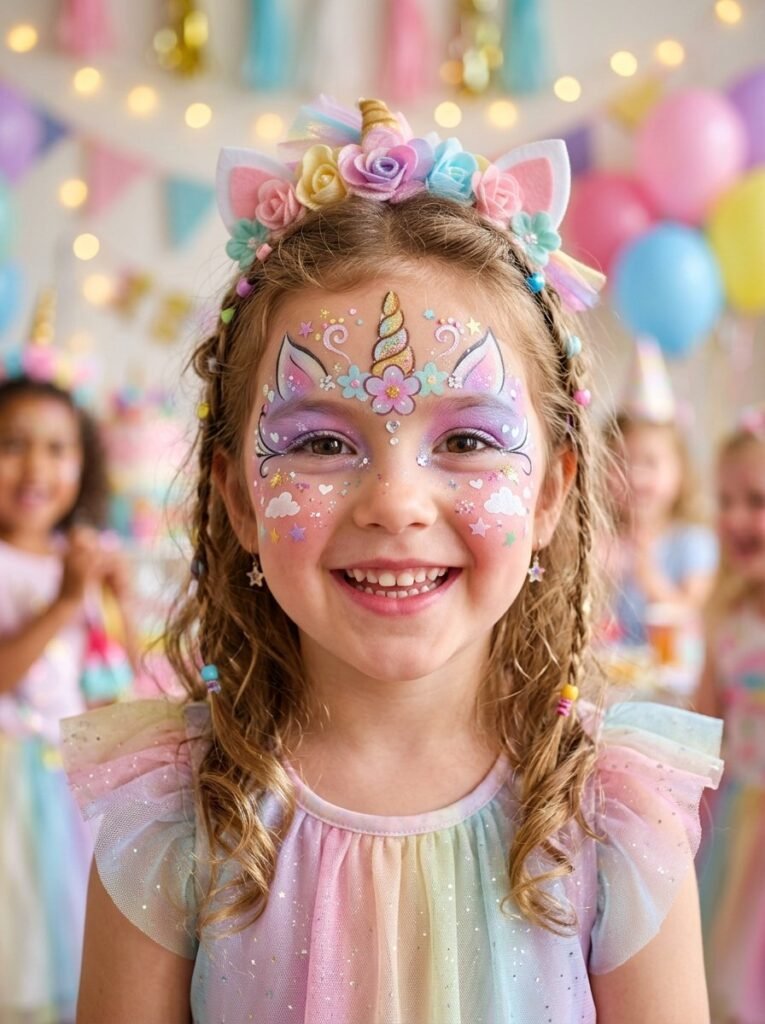
A unicorn design lets you combine several fun elements in one look. Create a small horn above the forehead, add pastel pink and purple details around the eyes, and use tiny stars or glitter-inspired shapes around the cheeks. A little rainbow detail can complete the design. Keep the colors soft and balanced so the face does not become visually crowded.
3. Friendly Tiger

A tiger design looks impressive but uses surprisingly simple shapes. Start with orange or yellow across the cheeks and forehead, then add black stripes around the eyes and sides of the face. A small black nose and mouth detail can make the expression stronger. This is one of the easiest animal designs to adapt for boys or girls because you can change the colors and stripe pattern.
4. Spiderman-Inspired Mask
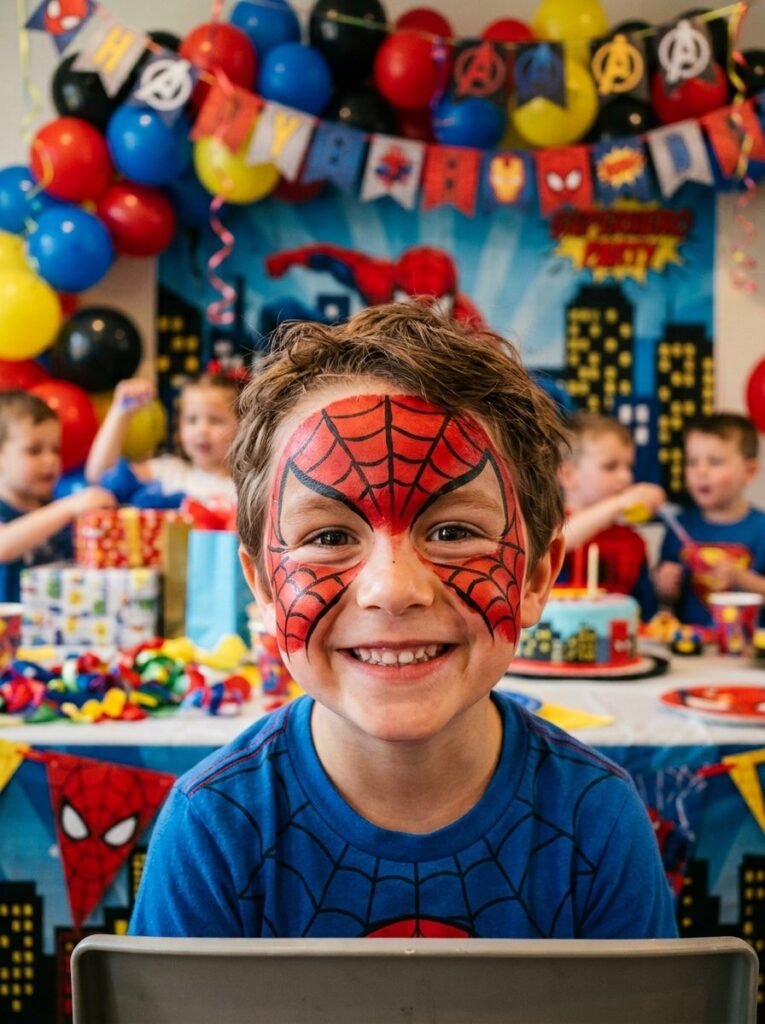
For superhero fans, a web pattern creates an instantly recognizable look. Use red around the main face area and carefully draw thin black web lines radiating from the center. You can leave the eyes uncovered for comfort and visibility. This Spiderman-inspired design works especially well for birthdays, costume parties, and superhero-themed events.
5. Halloween Cat
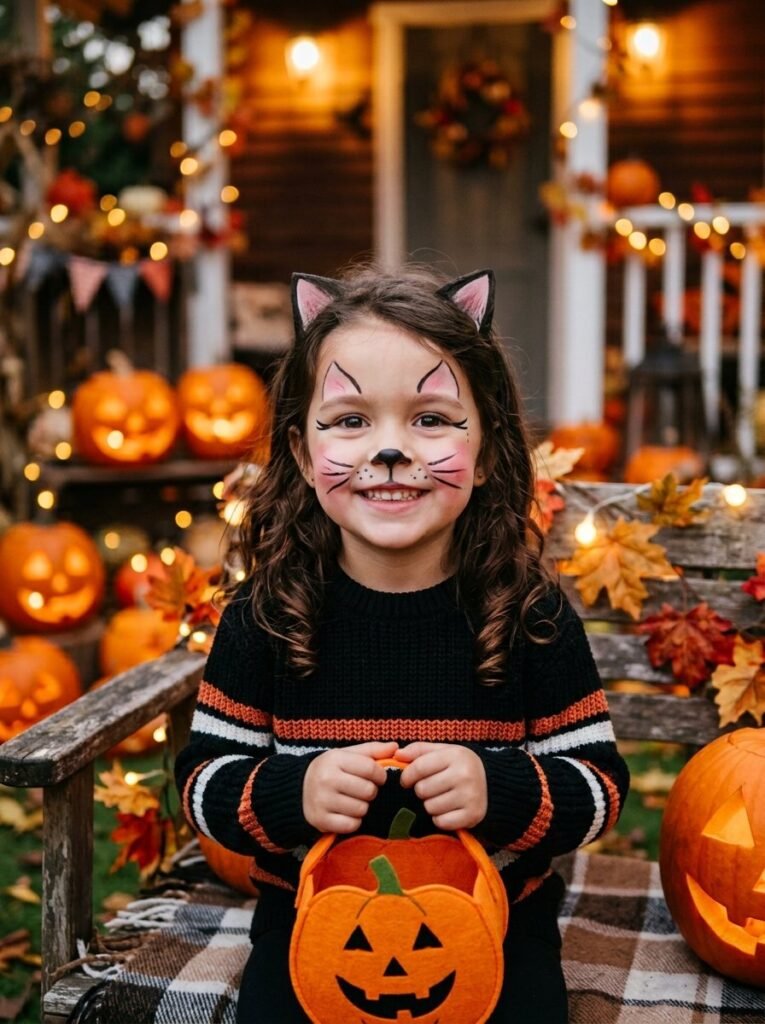
A cat design is quick, cute, and easy to customize. Paint a small black nose, add whiskers across the cheeks, and create simple cat-eye details above the eyes. For Halloween, you can make the look darker with black and gray shades, or keep it soft with pink ears and a little nose. The design works well when you need something that takes only a few minutes.
6. Simple Flower Garden

Flowers are perfect when you want something colorful without covering the entire face. Paint small flowers around one cheek and extend a few green leaves toward the temple. Use different flower shapes and colors to make the design personal. A simple flower pattern can also become a beautiful aesthetic look for spring parties, school events, and outdoor celebrations.
7. Batman-Inspired Look
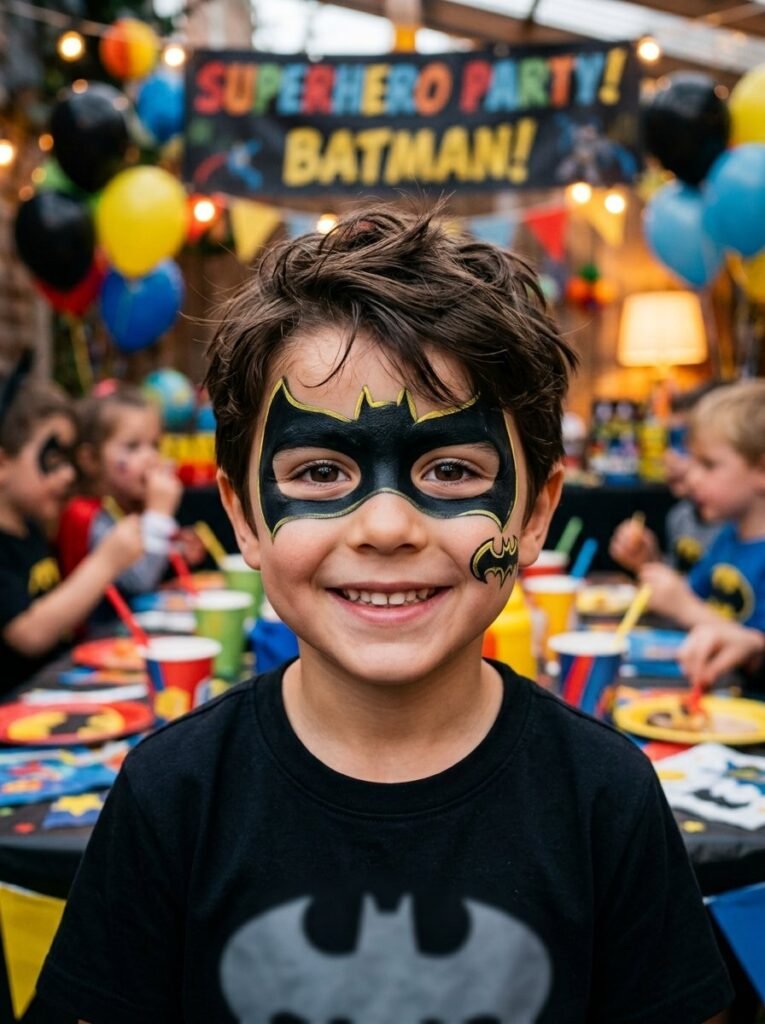
A dark superhero design does not need complicated details. Create a simple black mask around the eyes and add a small bat-inspired shape near the forehead or cheek. Keep the edges clean and avoid placing paint too close to the eyes. This Batman idea works particularly well with black, gray, and a small amount of yellow.
8. Colorful Rainbow

A rainbow design brings instant color to a child’s face. Paint curved bands across one cheek using red, yellow, green, blue, and purple, then add small white clouds at the ends. You can make the design narrow and simple or extend it toward the temple for a larger party look.
9. Mermaid Fantasy
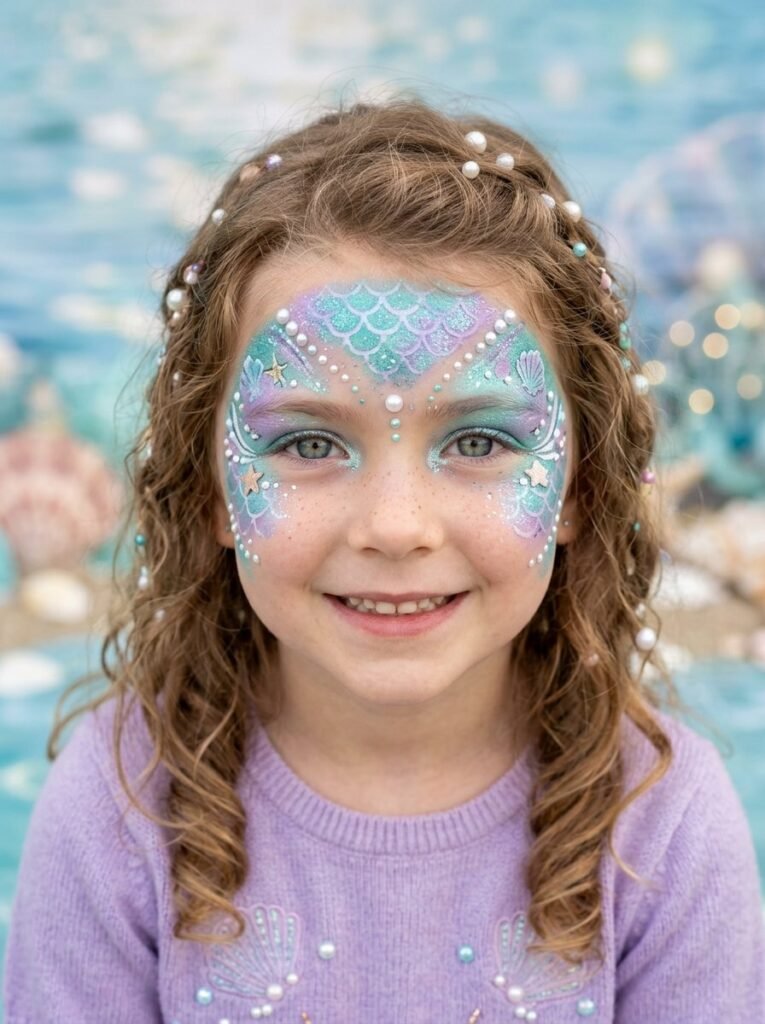
A mermaid design can look detailed without covering the entire face. Use turquoise and lavender around the eyes, add scale-like shapes near the temples, and finish with small pearl-inspired dots. A little shimmer effect can add a magical feeling when the event allows it.
10. Cute Hello Kitty Style
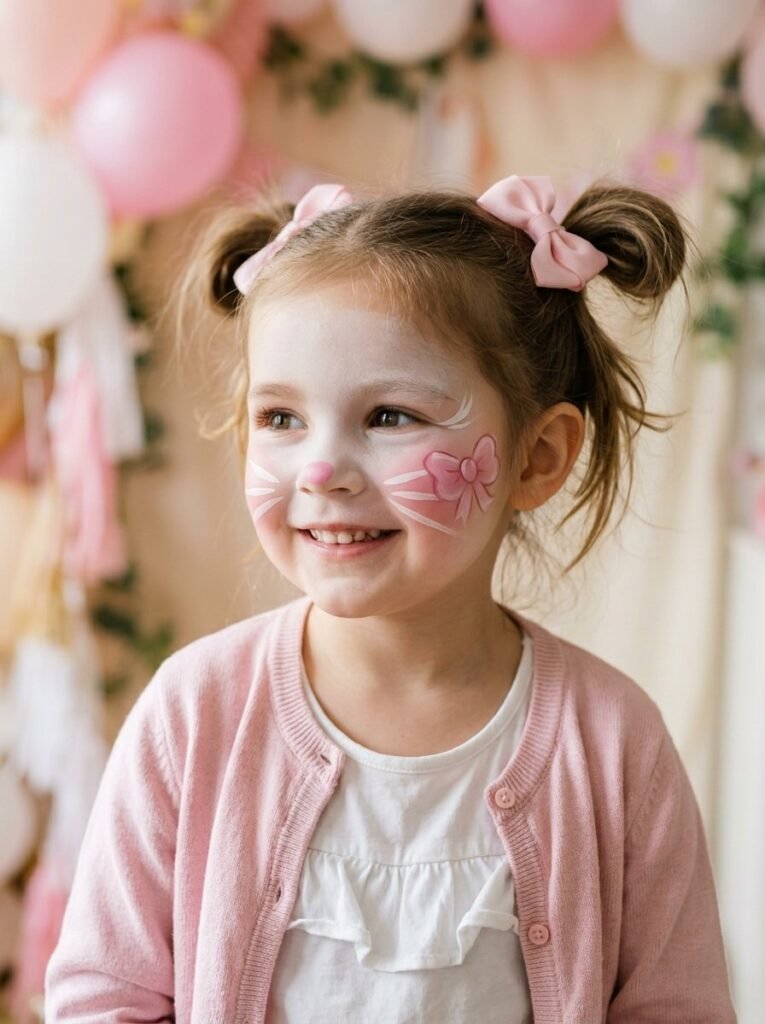
A simple character-inspired design can be very effective. Use a small bow-inspired shape, soft pink details, and a simple nose and whisker design. Keep the composition light rather than trying to recreate every character detail. This makes the look suitable for younger children who prefer cute designs.
11. Clown With a Friendly Twist

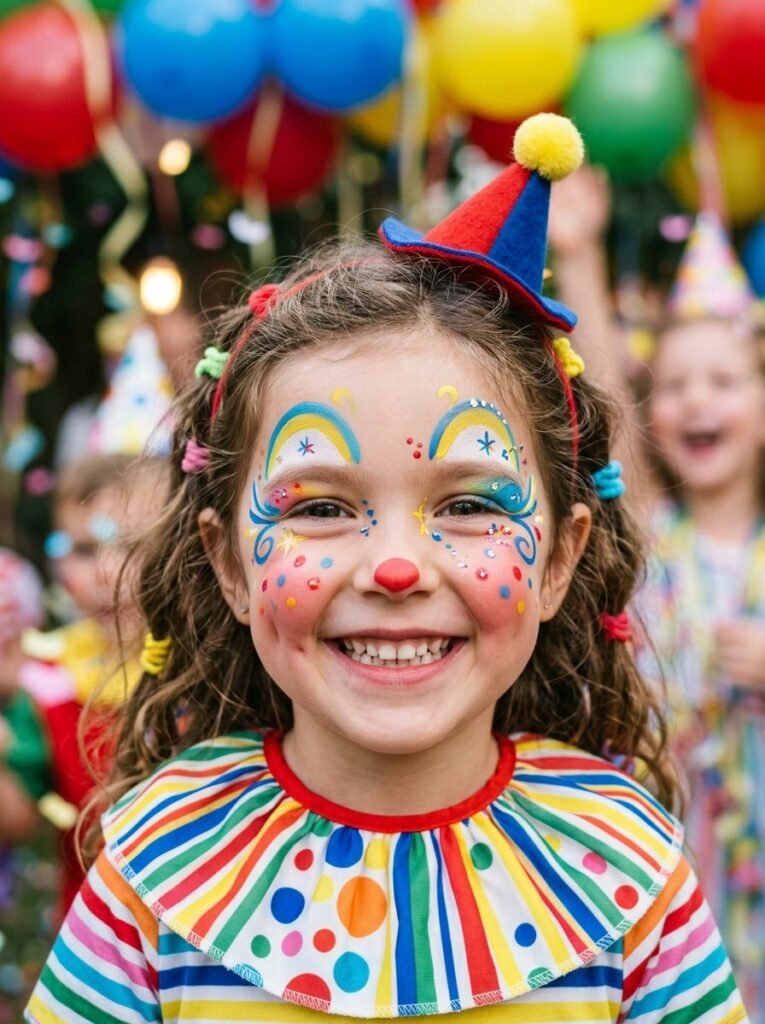
Clown makeup can range from funny to dramatic. For children, keep it friendly with bright cheeks, a small painted red nose, colorful shapes around the eyes, and a simple smile detail. Avoid overly complicated designs if the child needs to sit still for only a short time.
12. Woodland Fox
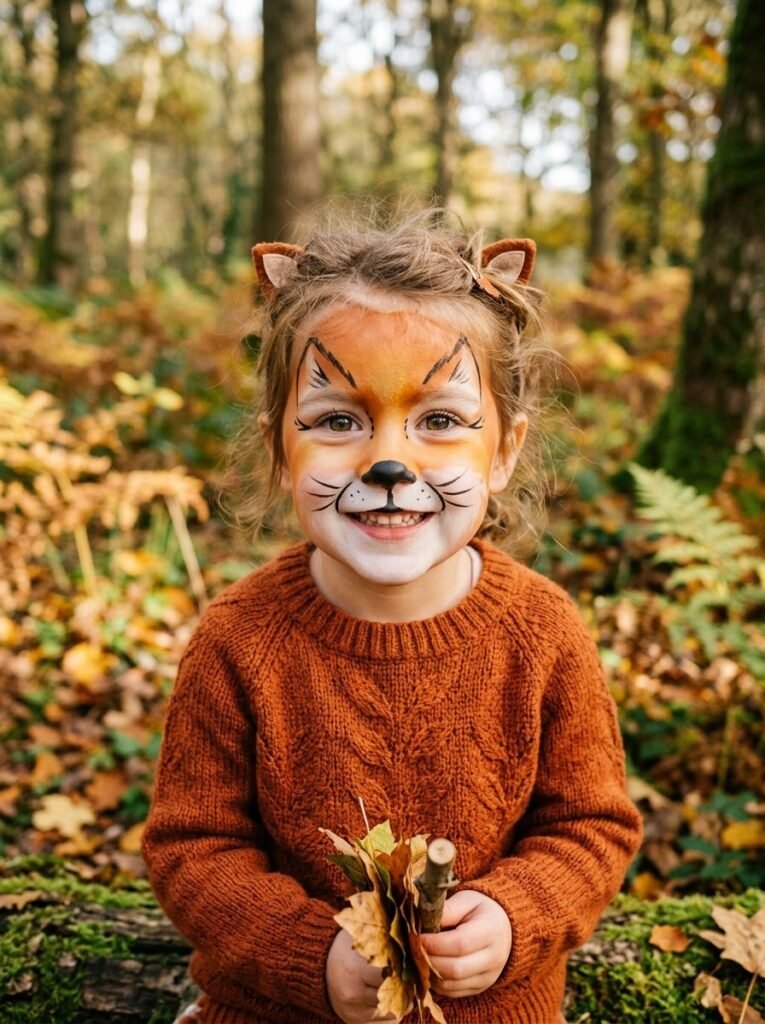
A fox design creates a warm and natural look. Use orange across the cheeks and forehead, white around the mouth and nose, and black lines for the nose and whiskers. Small leaf or woodland details can make the design more creative without adding much extra work.
13. Dinosaur Adventure
For children who love prehistoric creatures, a dinosaur design can be playful rather than scary. Use green around the cheeks, darker green spots, and small triangular scales across the forehead. Add a few yellow highlights to make the colors stand out.
14. Fourth of July Celebration
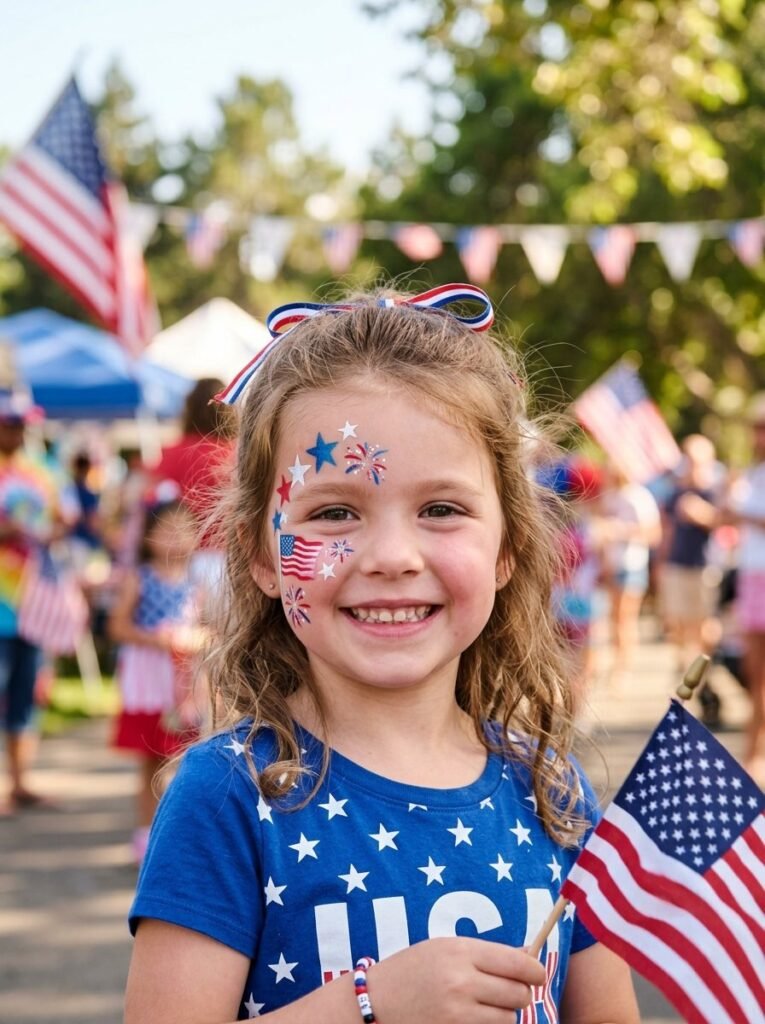
For a 4th of July party, use red, white, and blue in a clean design. Stars, stripes, small fireworks, or a patriotic heart can work well on one cheek. Keep the design compact so the colors remain clear rather than blending together.
15. Galaxy and Starry Sky
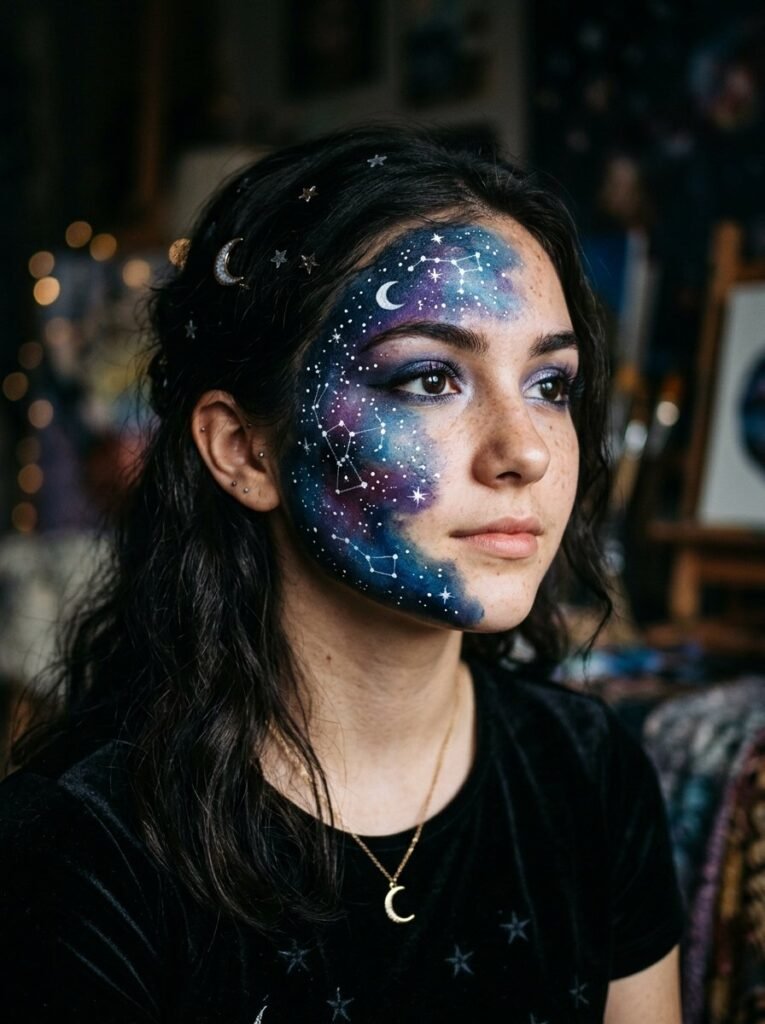
Turn the face into a tiny night sky. Use navy, purple, and deep blue around the outer cheek, then add small white stars and dots. Leave some natural skin visible so the design feels lighter. This works beautifully as inspo for older children and teens who want something more artistic.
16. Peacock-Inspired Design

Peacock colors give you a rich combination of blue, green, and turquoise. Create feather-like shapes around the outer eye and add small circular details that resemble feather eyes. Keep the center of the face mostly natural for a balanced result.
17. Magical Fairy
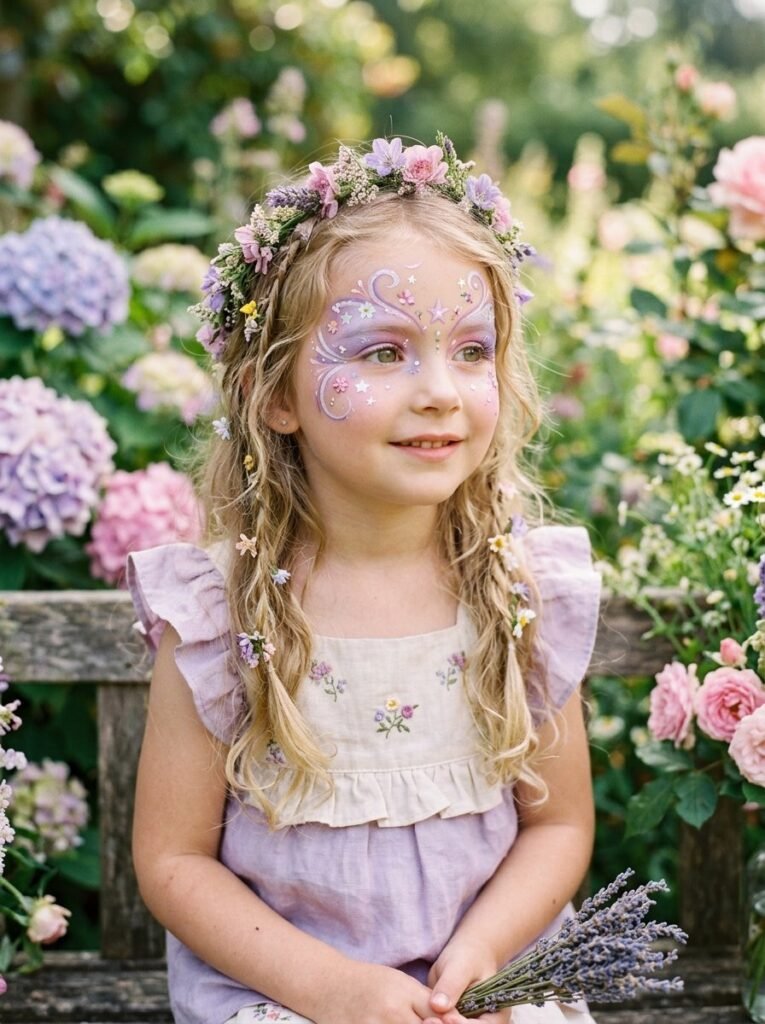
A fairy design can stay very simple. Add soft pink or lavender around the eyes, small stars near the temples, and delicate lines that extend toward the cheeks. A little shimmer-inspired detailing can complete the look without covering too much skin.
18. Halloween Pumpkin
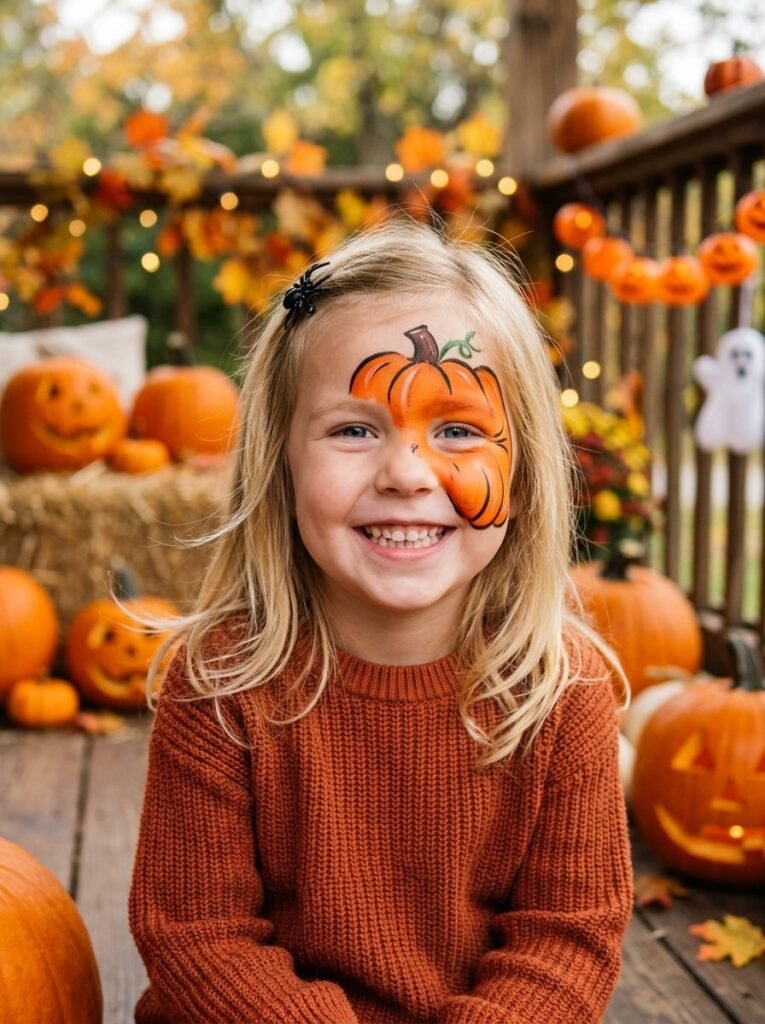
A pumpkin design gives you a strong Halloween theme without needing a full-face transformation. Use orange around one cheek, add black curved lines, and finish with a small green leaf or stem near the forehead. You can make it cute for younger children or slightly dramatic for older kids.
How to Make Face Painting Safer for Kids
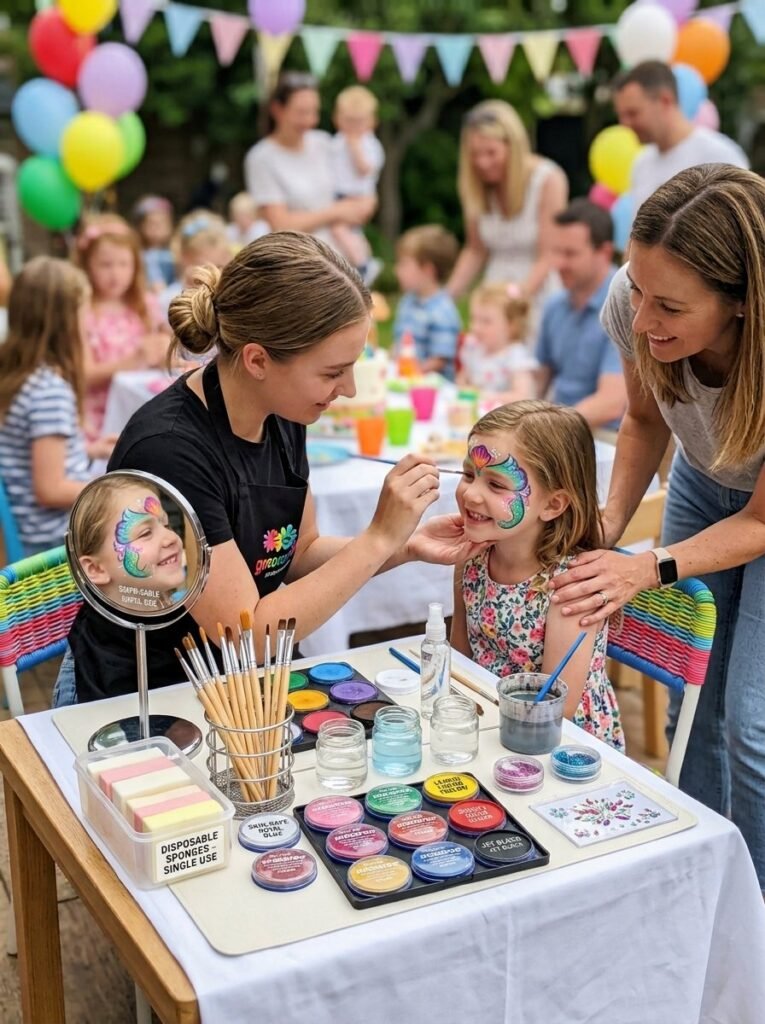
Before starting face painting, check the product label and choose cosmetics specifically intended for use on the skin. Do not use craft paint, acrylic paint, or other products that the manufacturer does not intend for skin. The FDA explains that products used around the eyes need special attention because the eye area is sensitive, and cosmetics should be used according to their intended purpose. Use clean brushes and sponges for each person. Avoid sharing products when possible, especially around the eyes and mouth. Do not paint over cuts, irritated skin, rashes, or infected areas. A quick patch test can also help when using an unfamiliar cosmetic product. Stop immediately if the child experiences irritation. For younger children, keep small accessories such as loose gems away from the mouth and supervise them closely..
How to Make Designs Look Cleaner
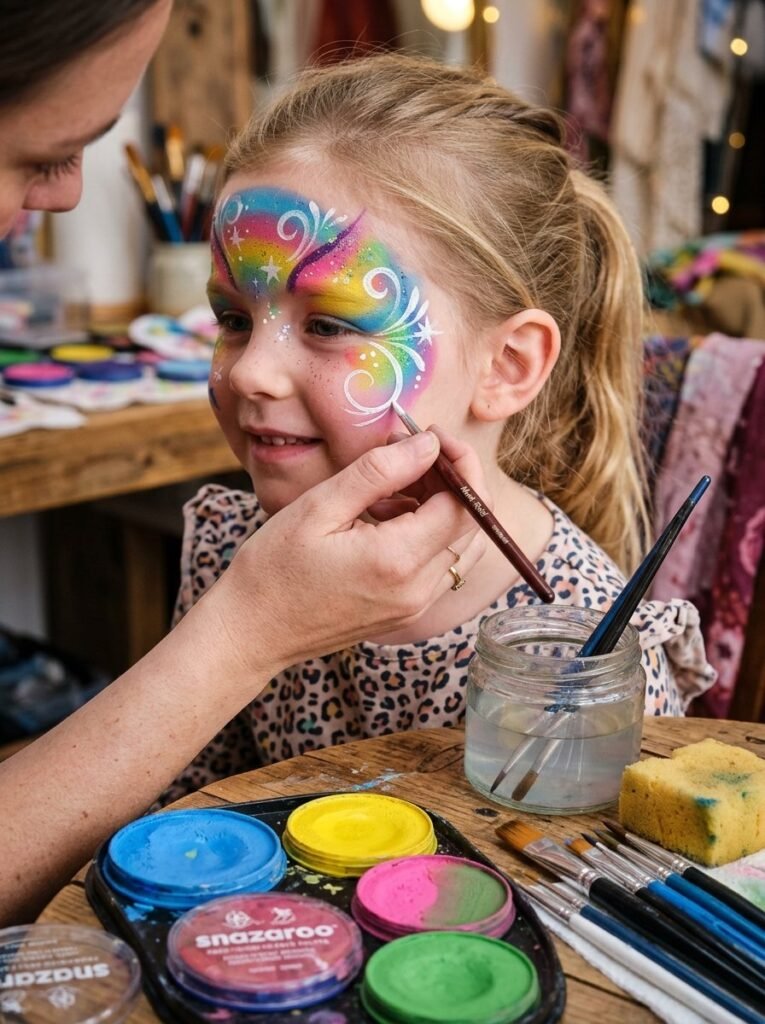
You do not need perfect artistic skills. You need a good order. Start with the largest shapes. Let the base color dry slightly before adding details. Then add thin lines, dots, stars, whiskers, or small highlights. Use a clean brush for fine lines. Hold the skin gently if you need a steadier surface. If a line goes wrong, do not panic. Let the paint dry and correct the shape with the surrounding color. The best designs often use only three or four main colors. Strong contrast makes small details easier to see.
Removing Face Paint

After the party, remove the design gently. Follow the cosmetic manufacturer’s removal instructions when available. Use a gentle cleanser or suitable makeup remover and avoid harsh rubbing, especially around the eyes. If the product does not come off easily, do not scrub aggressively. Give the remover time to loosen the makeup and rinse gently. Wash brushes and reusable tools after use, then allow them to dry completely before storing them. A beautiful design should end with comfortable, clean skin.
Final Thoughts
The best face painting designs do not need to cover the entire face or require advanced artistic skills. A butterfly, flower, cat, rainbow, tiger, superhero mask, or tiny galaxy can create a memorable look with just a few colors and simple shapes. Start with an idea that matches the child’s age and the event. Keep the design comfortable. Use products made for skin, work with clean tools, and let the child have a say in the final colors. Most importantly, make the process part of the fun. A child looking into the mirror and seeing their chosen character for the first time is often the best part of the whole experience.

