
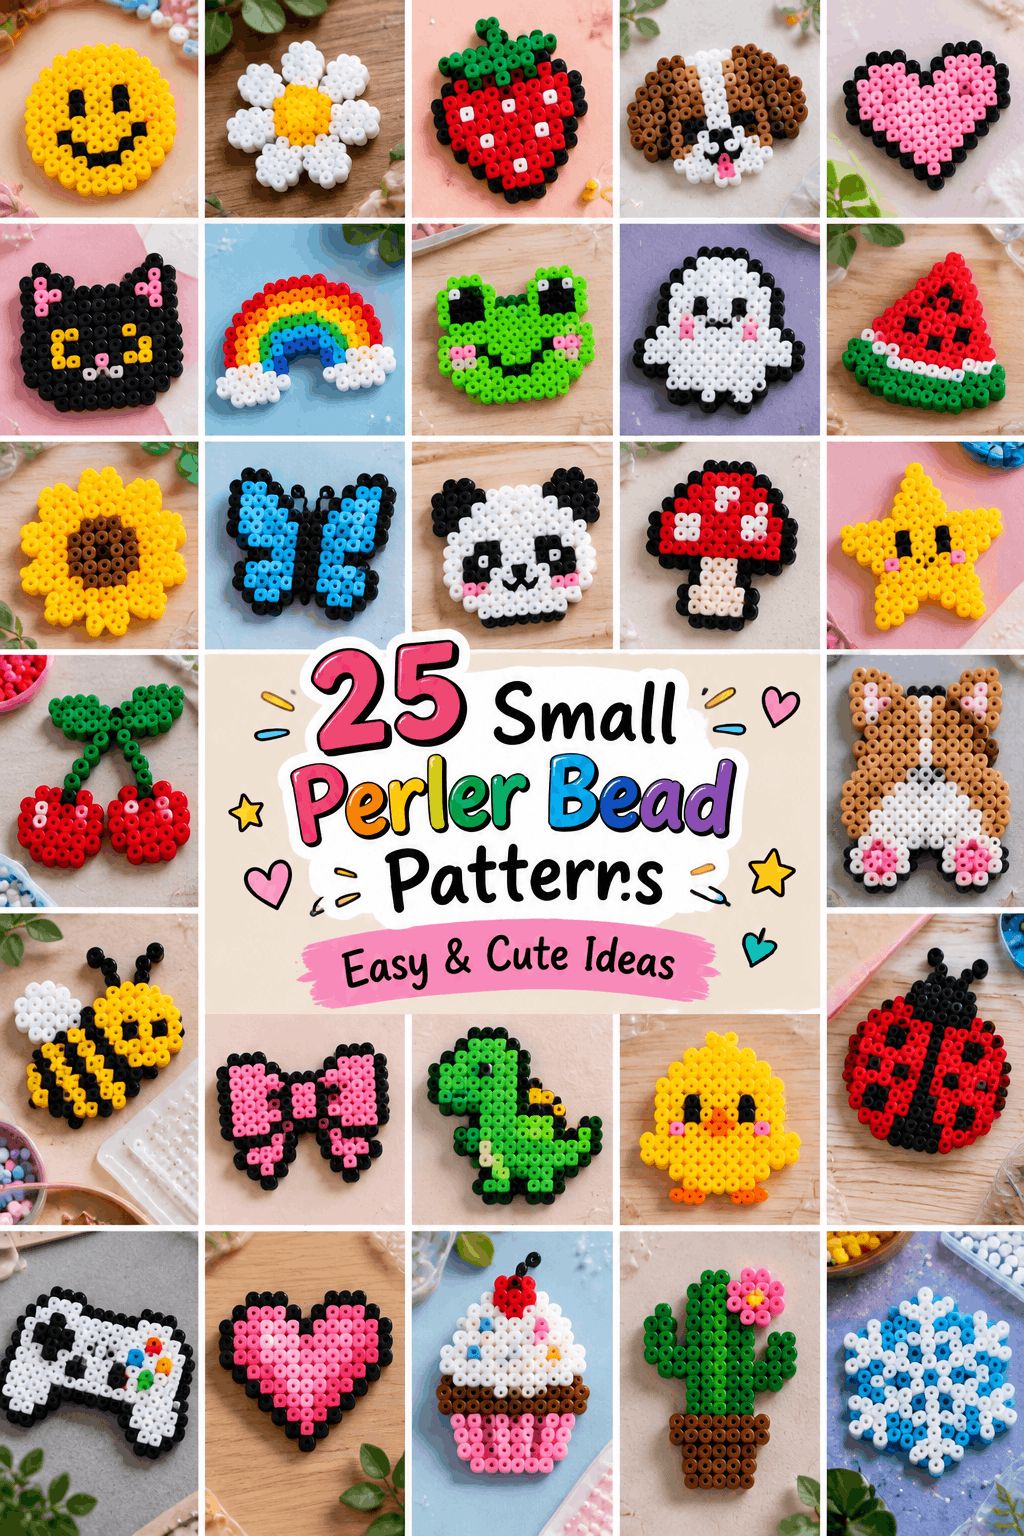
Tiny beads can create surprisingly detailed art. You place one bead at a time, follow a simple grid, and slowly watch a picture appear. That quiet process makes bead crafting relaxing for older kids, fun for families, and satisfying for anyone who enjoys pixel-style art. These small perler bead patterns include cute animals, food, flowers, characters, seasonal designs, and simple shapes that are easy to recreate.
1. Easy Small Perler Bead Patterns for Beginners
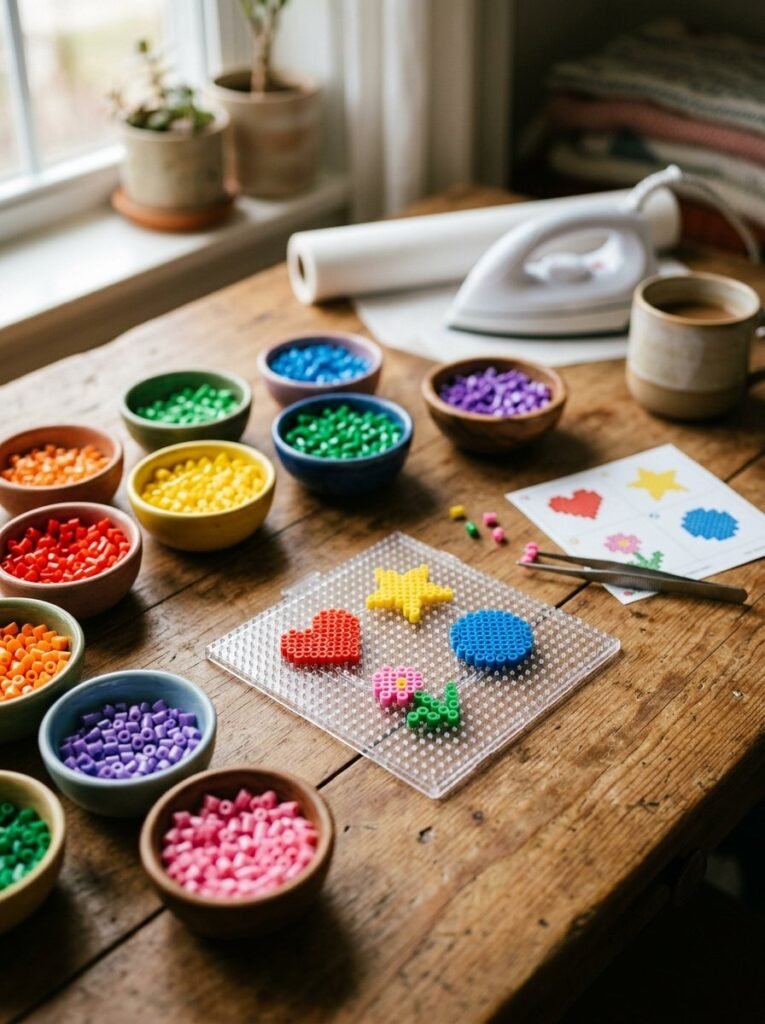
If you are new to fuse beads, start with a design that uses only a few colors. A star, heart, circle, or tiny flower can teach you how to read a grid without making the project feel difficult. Arrange the beads row by row and check your pattern before moving to the next section. This simple habit prevents mistakes and makes small perler bead patterns much easier to follow.
2. Mini Hearts and Stars

Hearts and stars are perfect when you want a quick project. Use red or pink for a heart, or try yellow and white for a star. You can make several versions by changing the colors while keeping the same grid. The finished pieces work as decorations, magnets, charms, or small gifts.
3. Cute Cat Patterns

A tiny cat can become one of the most charming projects in your collection. Start with a simple black or gray outline, then add white, pink, or brown details for the face. Pointed ears and a small tail make the shape easy to recognize even on a very small grid. Try several colors to create a playful cat family.
4. Easy Capybara
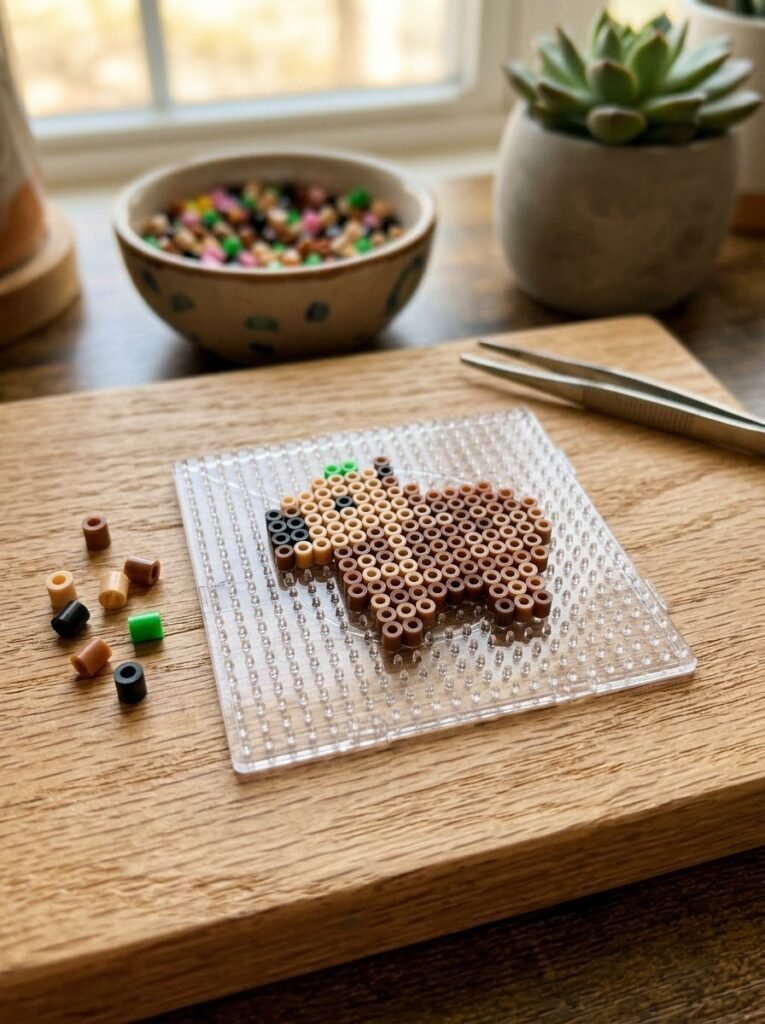
The capybara has become a favorite cute character for many craft and art projects. Its simple rounded body makes it suitable for a beginner design. Use brown and tan beads for the body, black for the eyes, and a tiny green or yellow detail for a playful accessory. Keep the shape compact so the pattern stays easy to read.
5. Mini Food Designs

Food is a great theme because many foods already have simple shapes. Try pizza, strawberries, burgers, ice cream, donuts, watermelon, or a tiny sandwich. Use a black outline to define the shape, then add bright colors inside. These small perler bead patterns can turn into magnets, keychains, desk decorations, or tiny play-food pieces.
6. Mini Pokémon-Inspired Characters

Fans of pixel-style games often enjoy recreating familiar creatures and characters with beads. Choose a simple silhouette and limit your palette to the main colors. For recognizable characters, a few carefully placed details can matter more than a large pattern. If you share your designs online, remember that fan-made creations may involve intellectual-property considerations.
7. Flower Patterns

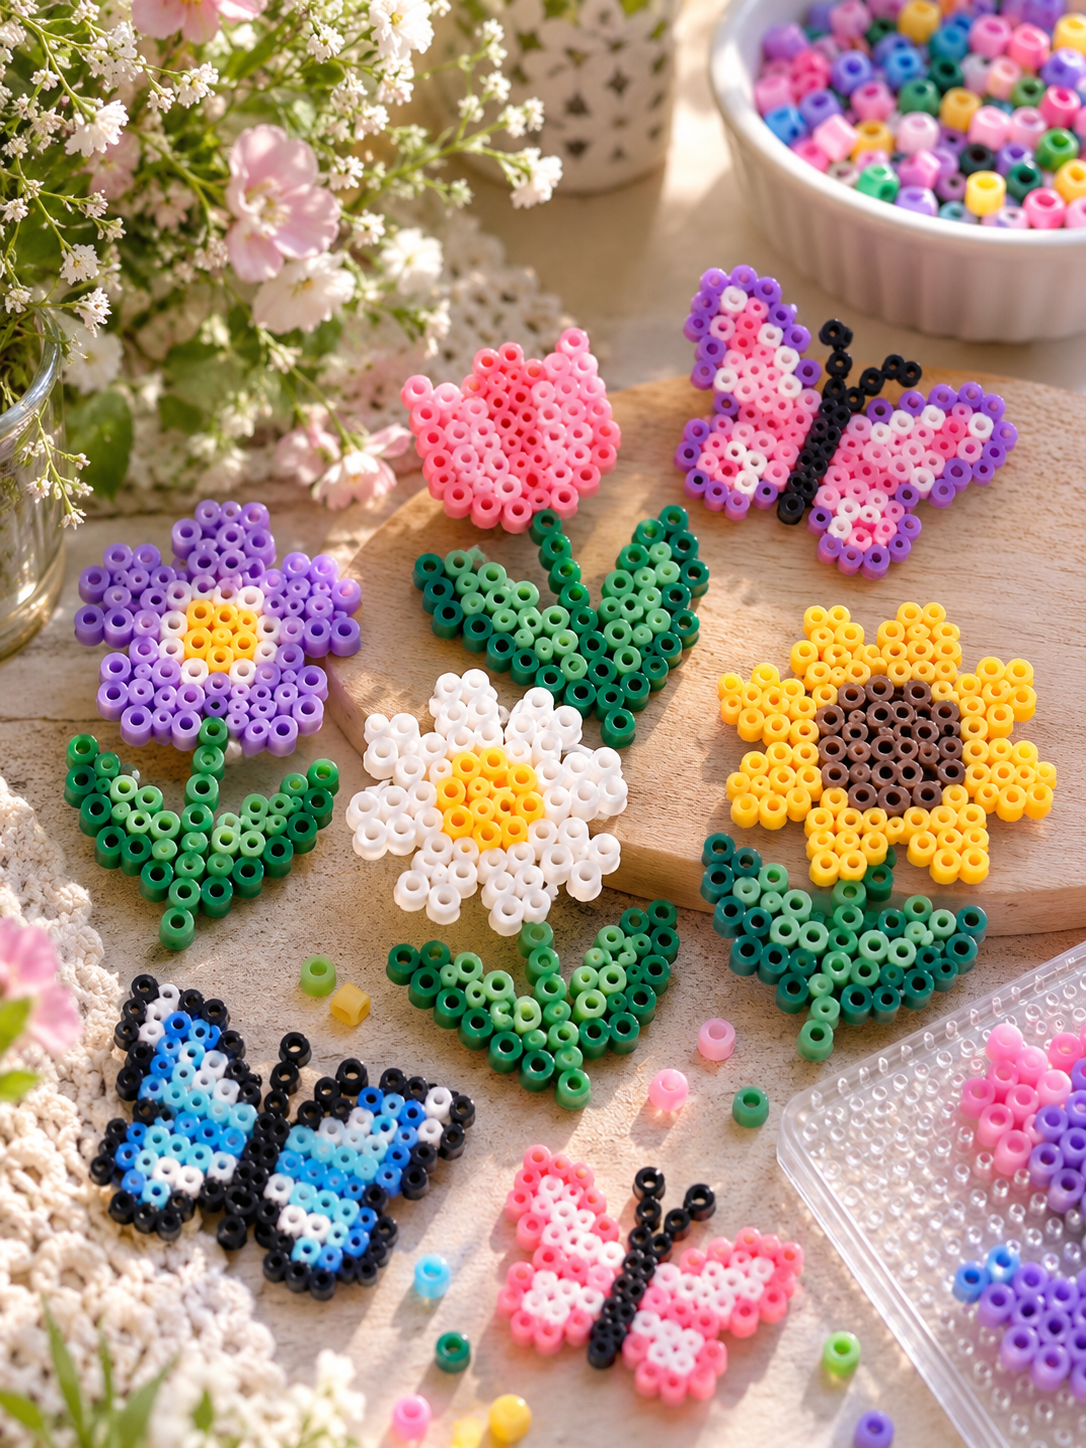
Flowers work beautifully on a small grid because their petals can use simple repeated shapes. Make a five-petal flower, a tiny daisy, or a simple blossom with a contrasting center. Pink, purple, yellow, and white create a soft look, while red and orange feel brighter. Add a green stem if your pegboard gives you enough space.
8. Halloween Mini Patterns
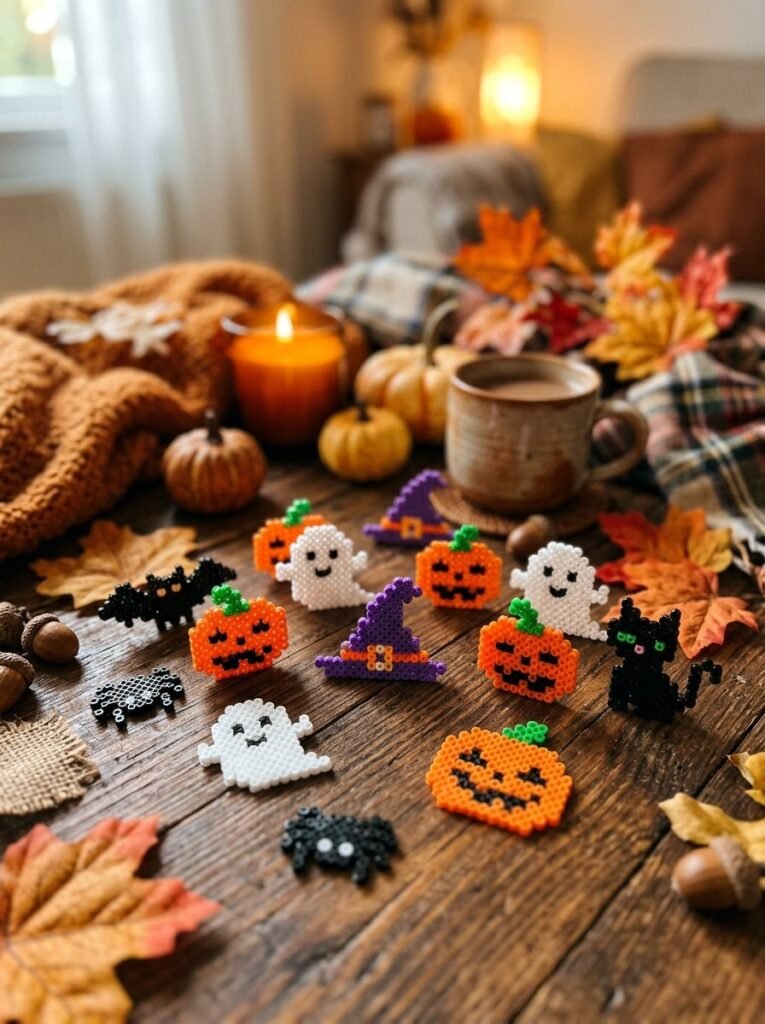
Halloween is perfect for tiny designs. Create a pumpkin, ghost, bat, spider, witch hat, or black cat. Orange and black create the classic look, while purple and green add variety. A small design also makes it easier to create several decorations instead of spending hours on one large project.
9. Christmas Patterns

Christmas designs can stay simple and still look beautiful. Try a small tree, snowflake, stocking, candy cane, gift box, or star. Green, red, white, and gold-inspired bead colors create a traditional holiday palette. You can make several pieces and turn them into ornaments or a small seasonal display.
10. Anime-Inspired Mini Characters
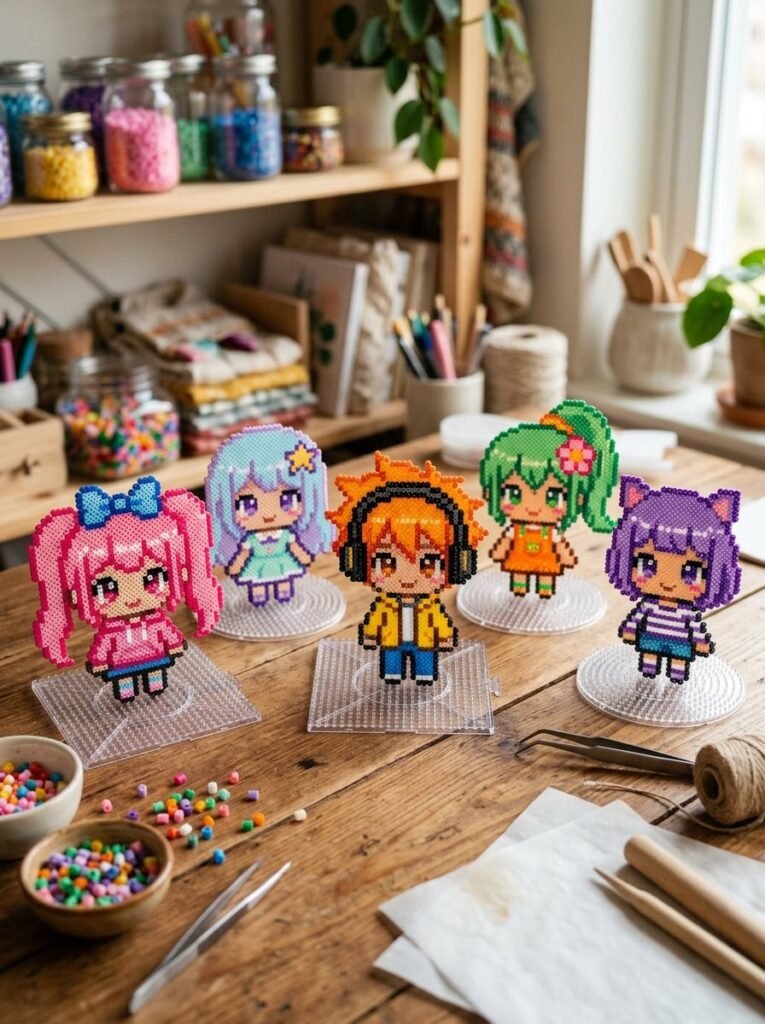
Anime-inspired bead art works best when you simplify the character into clear shapes. Focus on hair color, clothing, eyes, and one recognizable accessory rather than trying to capture every detail. A limited palette keeps the grid manageable. You can also design original characters with colorful hair, simple outfits, and expressive faces.
11. Circle and Hexagon Designs
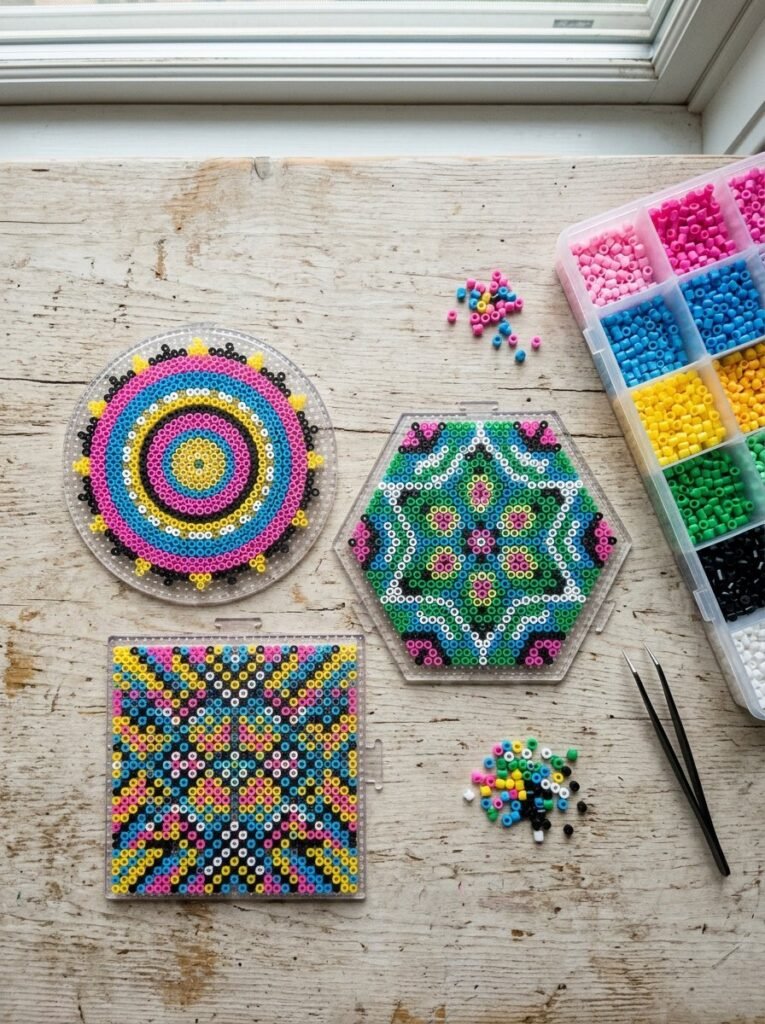
Geometric patterns are ideal when you want something calm and structured. Start with a circle, then build outward using repeated colors. A hexagon pegboard gives you another shape to experiment with. Perler itself provides projects using small circle, hexagon, and square pegboards, showing how different boards can create different layouts.
12. Black and White Patterns

Black and white designs have a clean graphic look. Try a panda, checkerboard heart, tiny ghost, bow, cat face, or simple abstract pattern. Because there are only two main colors, it becomes easier to spot mistakes. You can also add one bright accent color for contrast.
13. Cute Duck Pattern

A tiny yellow duck needs only a few basic shapes. Use yellow for the body, orange for the beak and feet, and black for the eyes. Add a small blue or green detail if you want the design to feel more playful. This is an easy project for children who are learning to count rows on a grid.
14. Gummy Bear Pattern

A gummy bear shape translates nicely into bead art. Use one bright color for the body and a darker shade for small details. Red, green, orange, yellow, and pink can create a colorful collection. Make several bears and arrange them like a tiny candy display.
15. Bow and Star Designs

Bows and stars are useful when you want patterns that look decorative without requiring many beads. A bow can become a hair accessory design, while stars can decorate cards, notebooks, or gift boxes. Try pastel shades for an aesthetic look or bright colors for a playful collection.
16. Alien and Space Patterns

Give your craft table a little science-fiction theme. Create a tiny green alien, rocket, moon, planet, or shooting star. Use black as the background and bright colors for the objects. The contrast makes tiny space designs easy to recognize.
17. Rave-Inspired Colorful Patterns

For a bold look, use neon-style color combinations such as bright pink, electric blue, green, yellow, and purple. Build simple geometric shapes, stars, flowers, or smiley faces. You do not need a complicated pattern. Strong color contrast can make even a small design stand out.
18. Easy Christmas Minis

If a full Christmas scene feels too large, make miniature versions of individual decorations. A tiny tree can take only a few rows. Add a small star on top and a contrasting base. Create several trees in different colors and arrange them together for a miniature holiday forest.
19. Easy Food Characters

Food becomes even more fun when you give it a face. Turn a strawberry into a smiling character or make a tiny ice cream cone with cute eyes. Simple faces need only a few black beads, so they work well on small grids. Let children invent their own food characters and names.
20. Flower and Butterfly Minis

Flowers and butterflies pair naturally together. Create a tiny flower first, then place a butterfly beside it using two pairs of wings. Use matching colors to create a coordinated set. These designs can later become magnets, card decorations, or small framed artwork.
21. How to Read a Perler Bead Grid

A grid works like a tiny map. Each square represents the position of one bead. Start at one corner and count across each row instead of jumping around the pattern. Marking completed rows can help prevent losing your place. Perler also provides actual-size patterns that can sit underneath clear pegboards, making placement easier.
22. How to Fuse Your Finished Design

Once the bead arrangement looks correct, the design needs heat to fuse. Perler recommends placing the pegboard on a flat, heat-safe surface, covering it with ironing paper, and using a medium-temperature dry iron. The company recommends adult-only fusing and says not to place the iron directly on the beads or pegboard. Their standard method also recommends letting the design cool before removing it and repeating the process on the other side.
23. Avoid Over-Ironing

It can be tempting to keep ironing until every hole disappears, but that can change the shape of the project. Perler recommends keeping the bead centers open when properly fused and warns that over-ironing can close the centers and make later assembly harder. Let the design cool before handling it so the shape can set properly.
24. Turn Minis Into Useful Projects

A tiny bead design does not have to stay on the craft table. Depending on the shape and construction, you can turn finished pieces into decorations, magnets, charms, ornaments, or small display art. Some Perler projects also use beads in jewelry and other assembled designs.
25. Make Your Own Pattern

After making a few designs, try creating one from scratch. Draw a simple shape on graph paper and color each square according to the bead you want to use. Begin with a small icon rather than a detailed picture. A heart, flower, cat, star, or food shape can become your first original design. Perler also encourages users to change colors and create their own variations from basic patterns.
Final Thoughts
The best bead projects often begin with something very small. One color becomes a shape, a few shapes become a character, and soon the whole grid turns into a tiny piece of art. Start with easy designs, learn how to follow the grid, and experiment with colors once you feel comfortable. From cute cats and capybaras to flowers, food, Christmas decorations, anime-inspired characters, aliens, and geometric shapes, there is plenty of room to make each project your own.


3 Pingbacks