10 DIY Painted Table Ideas That Look Custom Made

An old table with scratched wood or a finish that has seen better days does not need to go to the curb. I have repainted more secondhand tables than I can count at this point, and the difference between a rushed weekend job and one that looks genuinely custom usually comes down to prep work and picking the right technique for that specific table. These ten ideas cover dining tables, coffee tables, dressing tables, and even a picnic table, with enough detail that you can actually follow along instead of guessing at the missing steps.

1. Two Tone Dining Table Base and Top
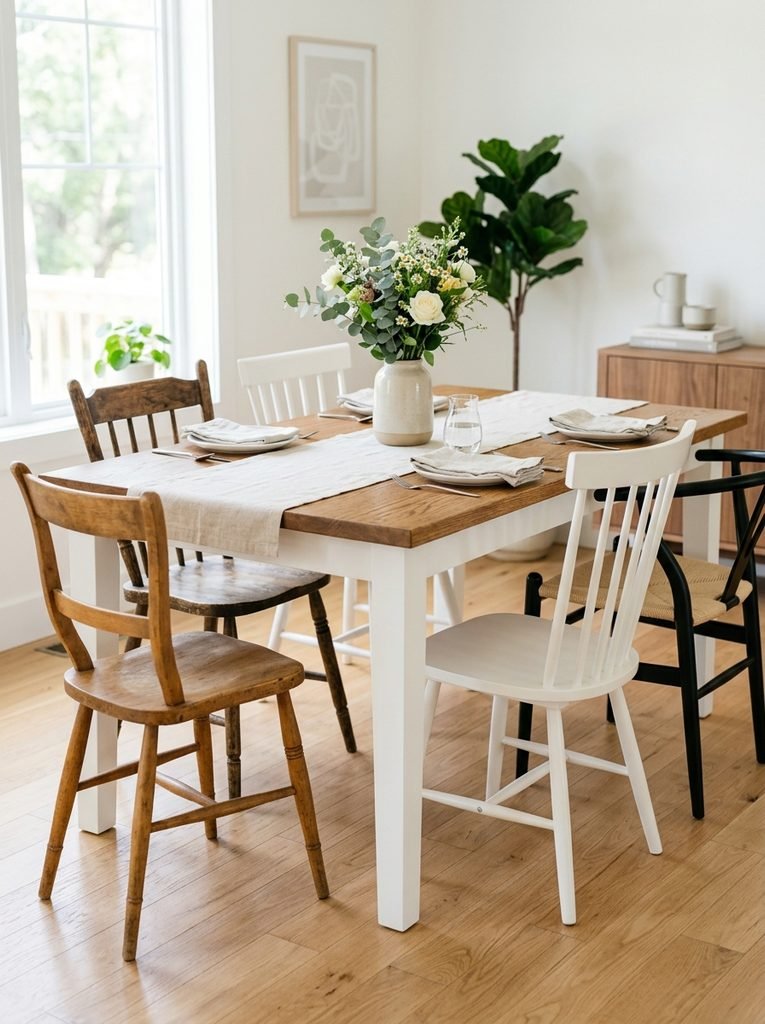
This is one of the most forgiving ways to update a dining table because you are only painting the legs and apron, not the whole surface that takes daily wear. Sand the base lightly to knock off the shine, wipe it down, then apply two coats of a durable furniture paint in white or a soft black. Leave the tabletop as natural wood, or sand it back and apply a fresh stain if the current finish is uneven. The contrast between a painted base and a natural top reads as intentional and pulls together mismatched dining chairs better than a fully painted table does, which fits the layered look we cover in our dining room decor guide.
2. Chalk Paint Coffee Table Refresh
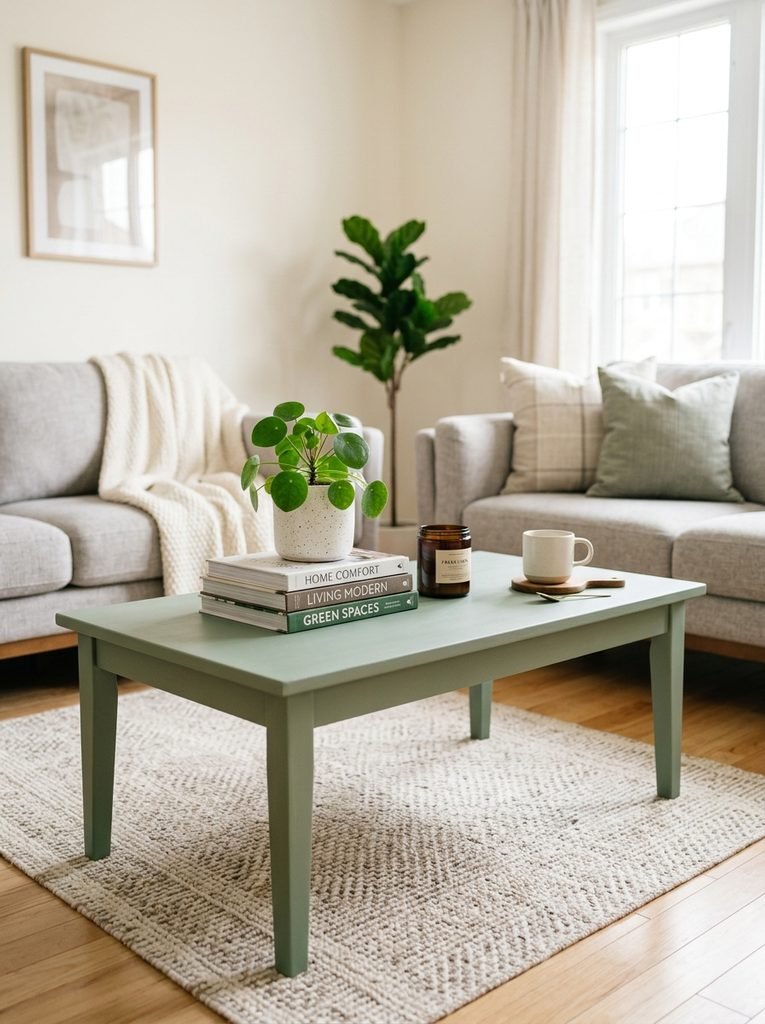
Chalk paint is the easiest starting point if you have never painted furniture before, since it usually skips the sanding and priming most other paints require and gives you that soft matte finish without much technical skill. A chalk paint furniture option like this one goes on thick enough to cover most existing finishes in two coats, which matters a lot on an older coffee table that has years of wear built into the surface. Once it dries, a light hand sanding on the edges and corners will reveal a bit of the wood underneath for a worn in look that feels collected rather than freshly painted.

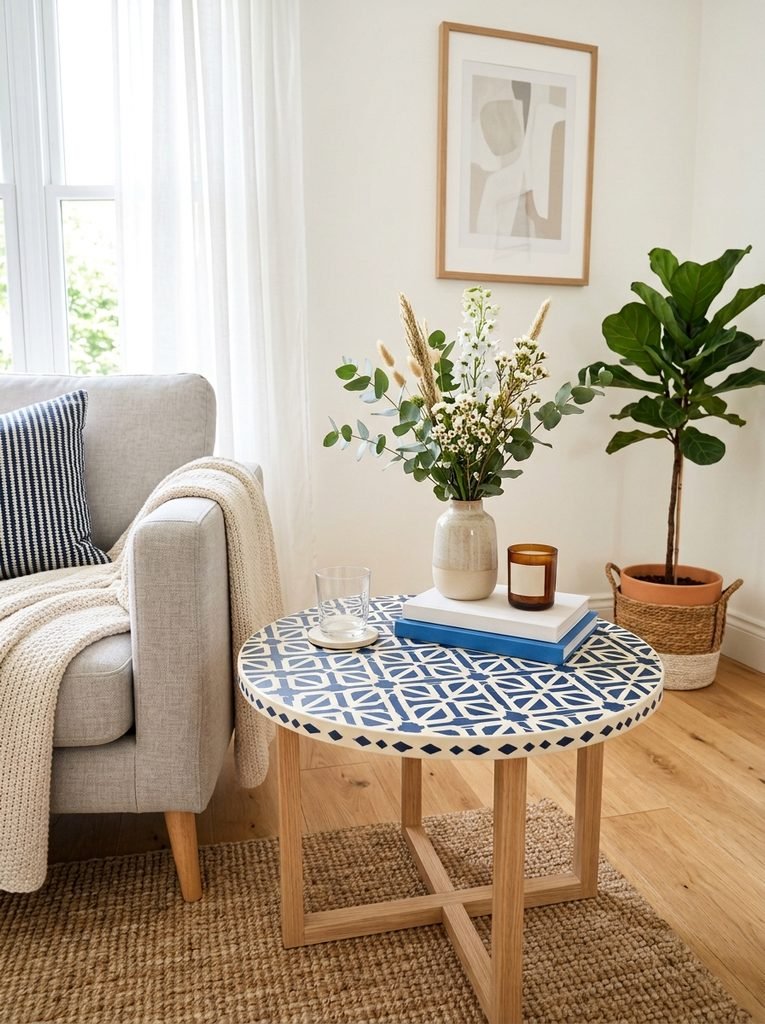
A stenciled tabletop takes longer than a solid color repaint but the payoff is a piece that genuinely looks like it came from a specialty furniture shop. Paint the base color first and let it cure fully for at least 24 hours before taping down your stencil, since painting over tacky base coat will lift the color when you remove the tape. A stencil kit furniture set gives you repeatable geometric or floral patterns without having to freehand anything, and using a stencil brush with very little paint loaded on it in a dabbing motion prevents the paint from bleeding under the edges. Seal the whole top with a clear protective coat once the pattern is fully dry.

4. Farmhouse Whitewash Wood Table
Materials Needed:
- White or cream latex paint
- Water for diluting
- Clean rags
- Fine grit sandpaper
- Clear matte sealant
How to Make It:
- Sand the table lightly with fine grit sandpaper to open up the wood grain slightly.
- Mix the paint with water in roughly a one to one ratio until it has a thin, milky consistency.
- Brush the diluted paint onto a small section of the table with the wood grain.
- Immediately wipe most of the paint back off with a clean rag, leaving color settled into the grain lines.
- Repeat section by section, checking that the finish stays even as you move across the surface.
- Let dry fully for 24 hours, then apply a clear matte sealant to protect the finish from daily use.
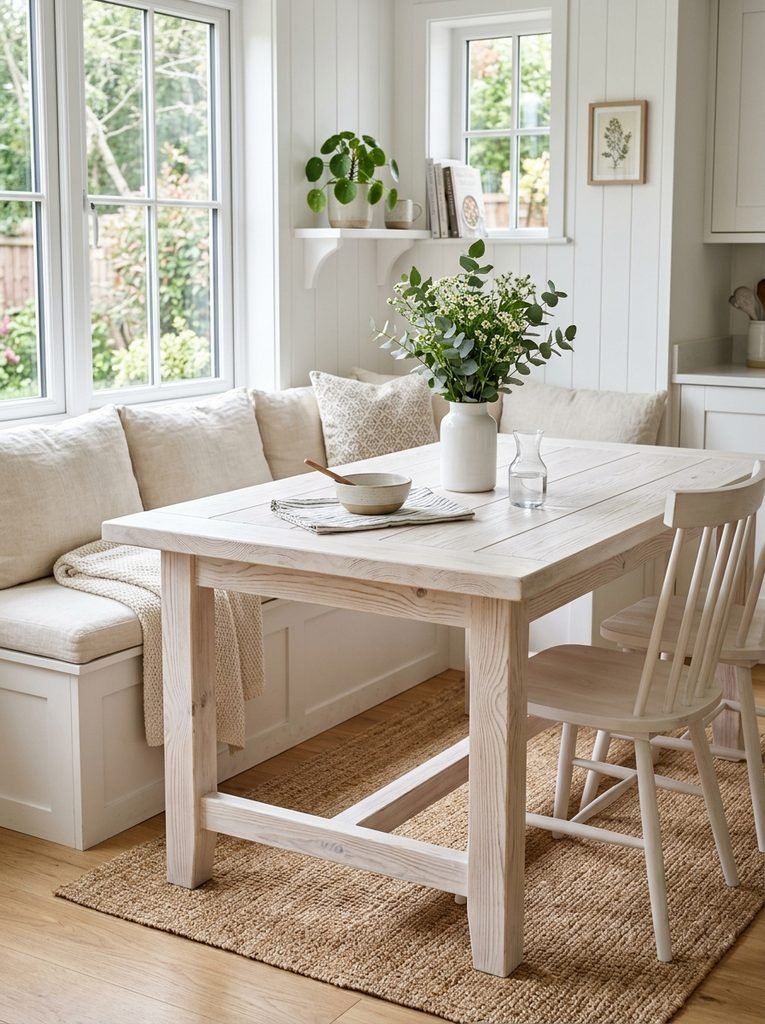
This technique works best on tables with visible wood grain since the whole point is letting the natural texture show through the color rather than covering it completely. It fits especially well into a farmhouse dining room decor style space.
5. Bold Color Blocked Kitchen Table
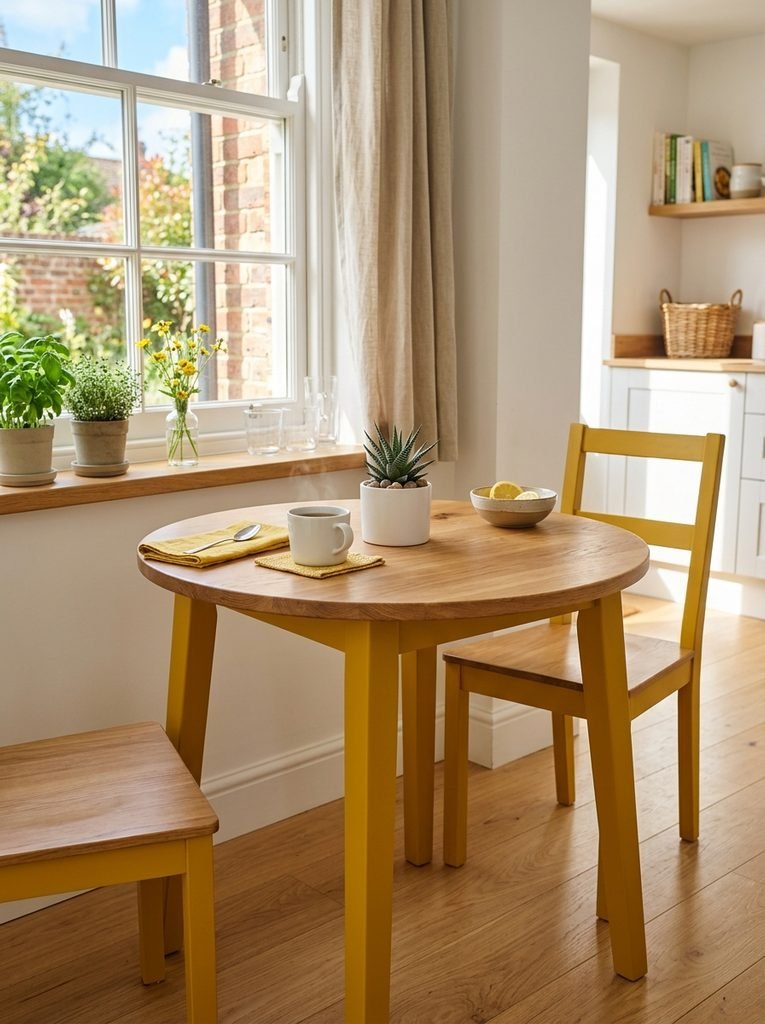
If your kitchen already leans neutral, painting just the table legs in one confident color gives the room a focal point without committing to a full room repaint. Mustard, terracotta, and deep forest green all read as warm and current rather than trendy in a way that will feel dated in a year. Keep the tabletop natural or in a muted tone so the bold color has room to stand out instead of competing with a second loud element.
6. Painted and Recovered Dressing Table
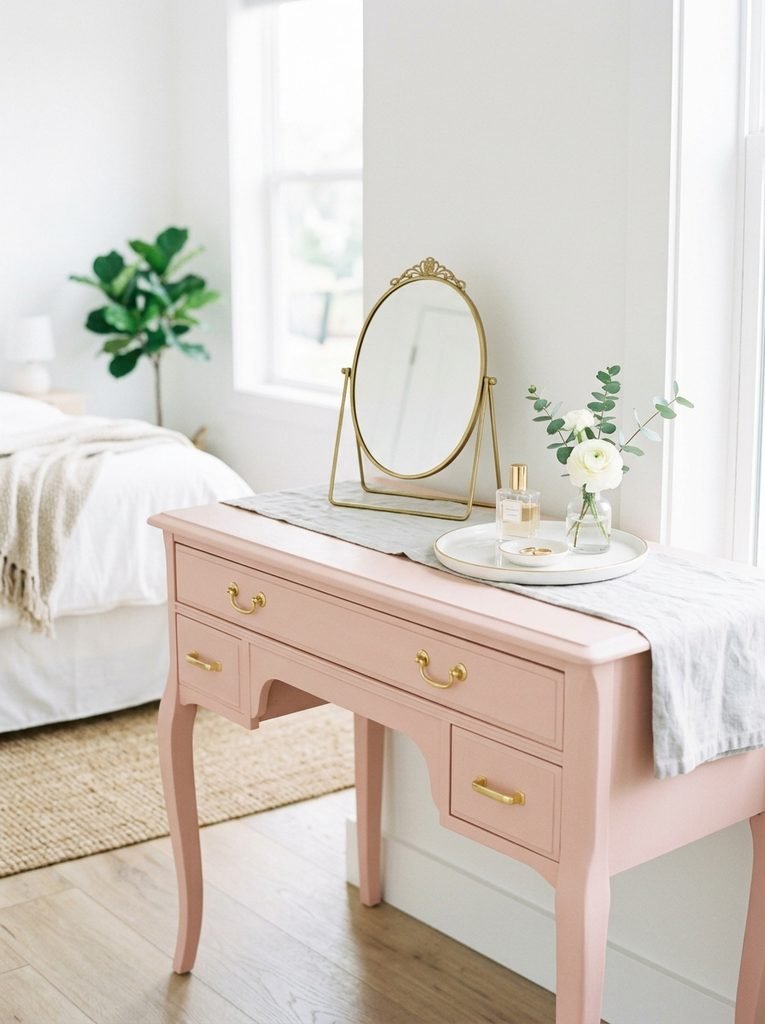
Old dressing tables are usually solid wood underneath dated hardware and a tired finish, which makes them some of the best secondhand pieces to repaint. Remove all the drawer pulls first, sand the surfaces, then paint in two thin coats rather than one thick one to avoid drips pooling in the trim details vanities tend to have. Swapping in new brass or matte black hardware after painting changes the entire feel of the piece for a cost that is a fraction of buying new furniture.
7. Cloth Covered Protective Table Top
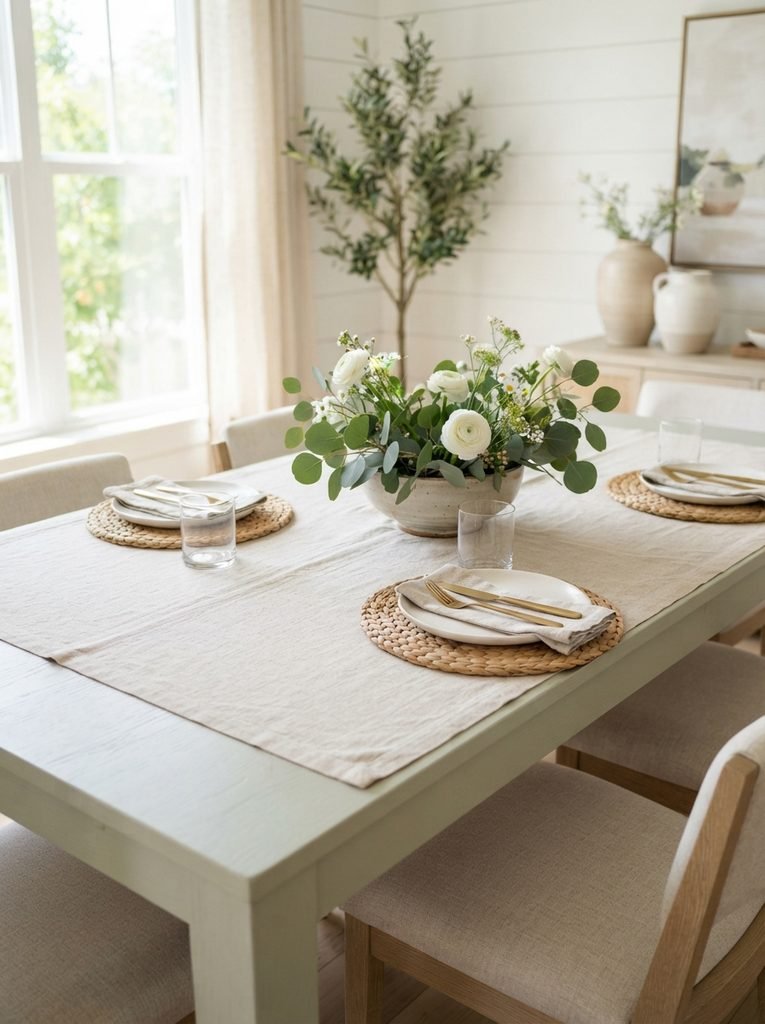
Painted tabletops, especially ones that get daily use like a kitchen or dining table, need some kind of protection from scratches, hot dishes, and spills or the finish will not last. A table top protector cloth layered over the surface lets you still show off the painted finish around the edges while keeping the center protected during meals. This is especially useful if you went with a lighter paint color, since light finishes show scuffs and stains faster than darker ones.

8. Waxed and Sealed Wood Finish Table
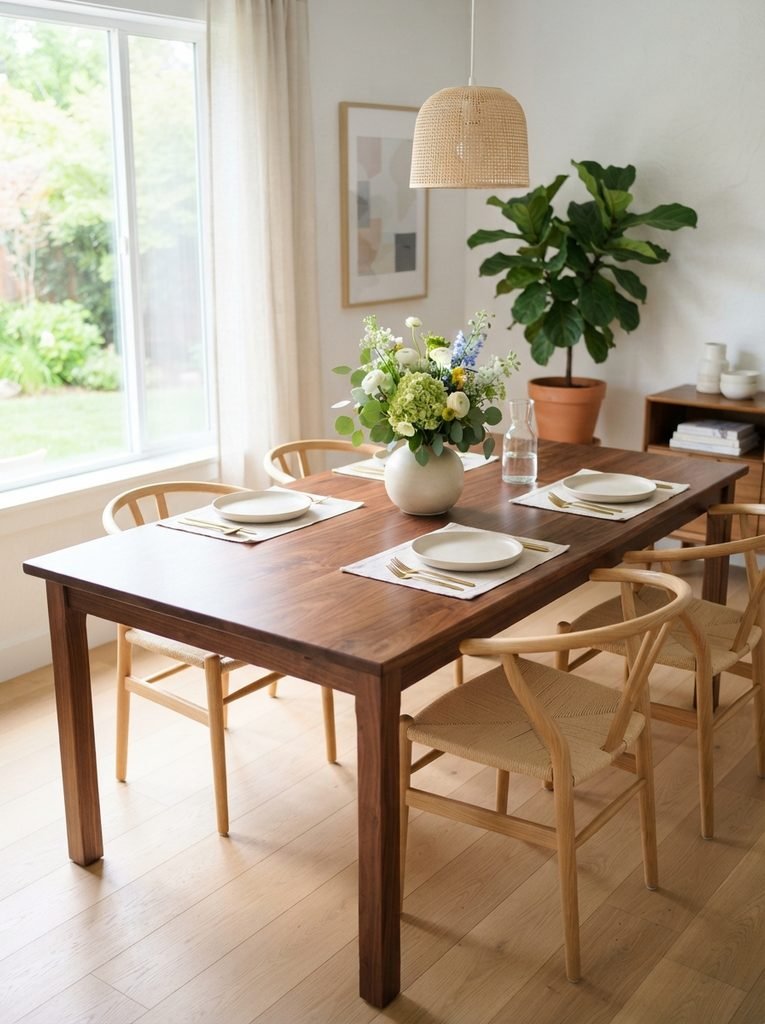
Not every table needs paint. Sometimes the best update for a wood table is stripping the old finish back and applying a fresh wax to bring out the natural grain and deepen the color. A furniture wax finish applied in thin layers with a soft cloth and buffed between coats builds a warm sheen that regular furniture polish cannot replicate, and it also adds a layer of water resistance to bare or lightly finished wood. This works particularly well after refinishing a table you have sanded back to raw wood, since wax settles into the grain rather than sitting on top of it like a thick varnish would.

9. Matching Painted Chair Set
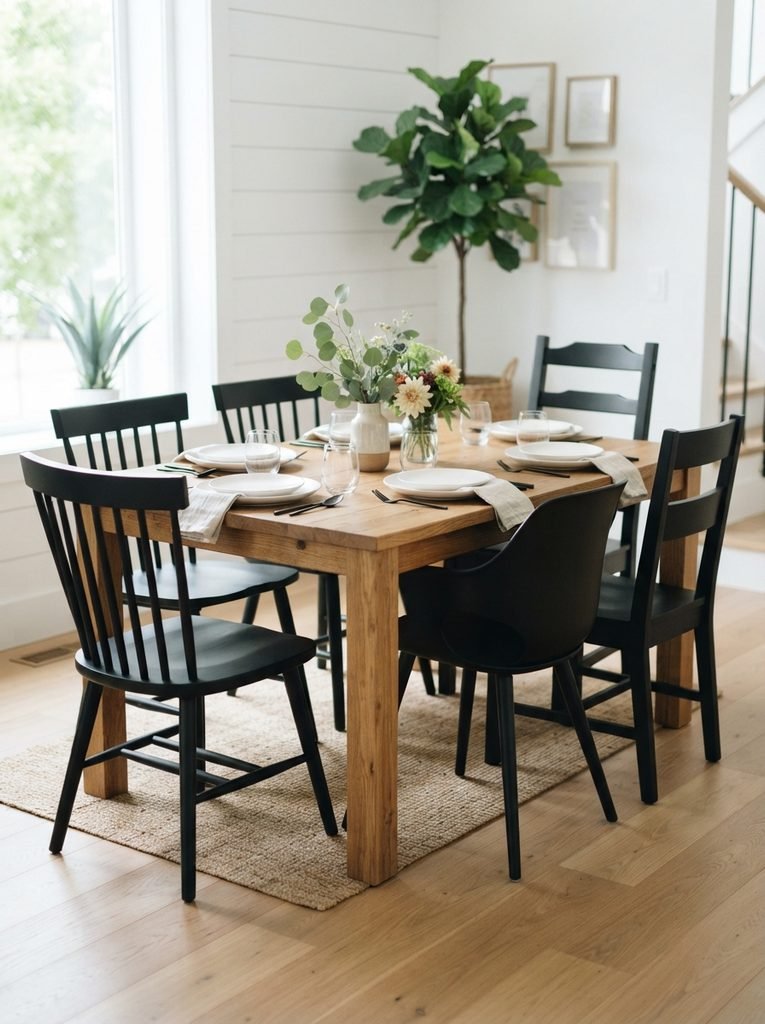
If you have collected mismatched chairs over the years from different sources, painting them all the same color is the fastest way to make them look like a coordinated set. Matte black, cream, and deep navy are the most forgiving choices since they hide small differences in wood tone and style between chairs better than a lighter or more saturated color would. Focus your sanding effort on the seat edges and arm rests where hands and clothing make the most contact, since that is where chipping shows up first.
10. Painted Picnic Table Top
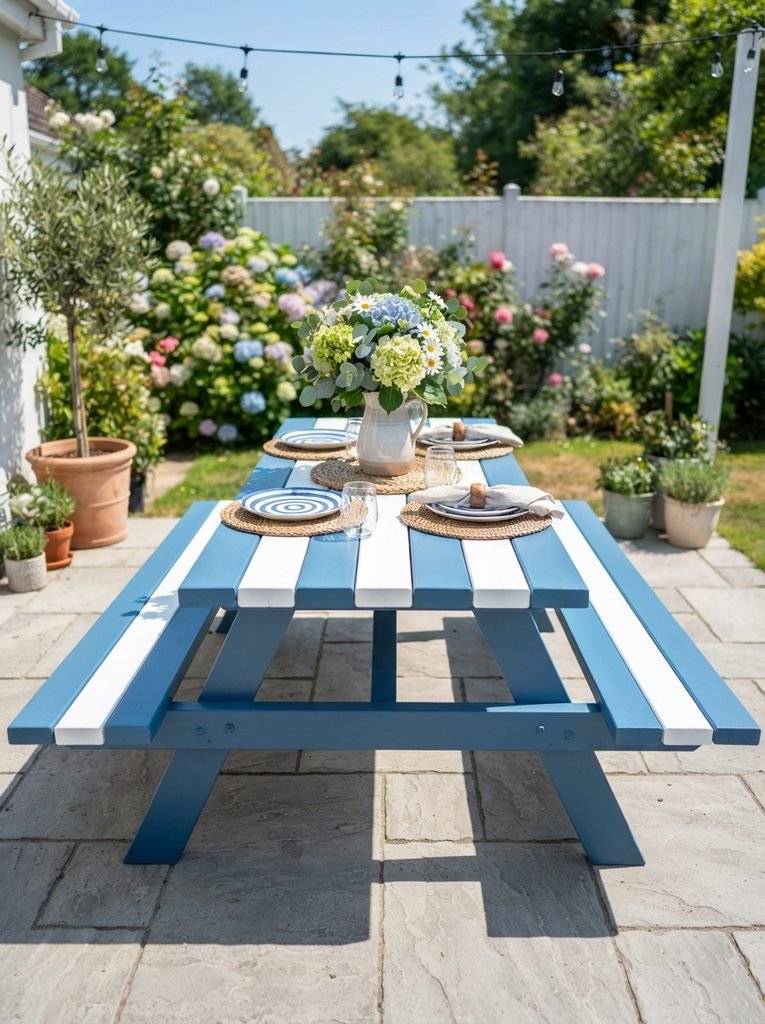
Outdoor tables need exterior grade paint rather than the interior furniture paint used on the rest of this list, since regular paint will crack and peel fast once it is exposed to sun and rain. Choose a paint labeled specifically for outdoor wood or masonry, and add a coat of exterior sealant even if the label says it is not required, since picnic tables take more direct weather exposure than almost any other painted surface in this list. Simple painted stripes across the tabletop boards are one of the easiest patterns to execute outdoors because the existing board lines act as a built in guide for your tape.
Final Thoughts on DIY Painted Table Ideas
The biggest difference between a table repaint that looks amateur and one that looks custom almost always comes down to prep work and letting each coat cure properly before moving to the next step. Pick whichever table in your home needs the most help first, and treat it as practice for the next one once you see what works.