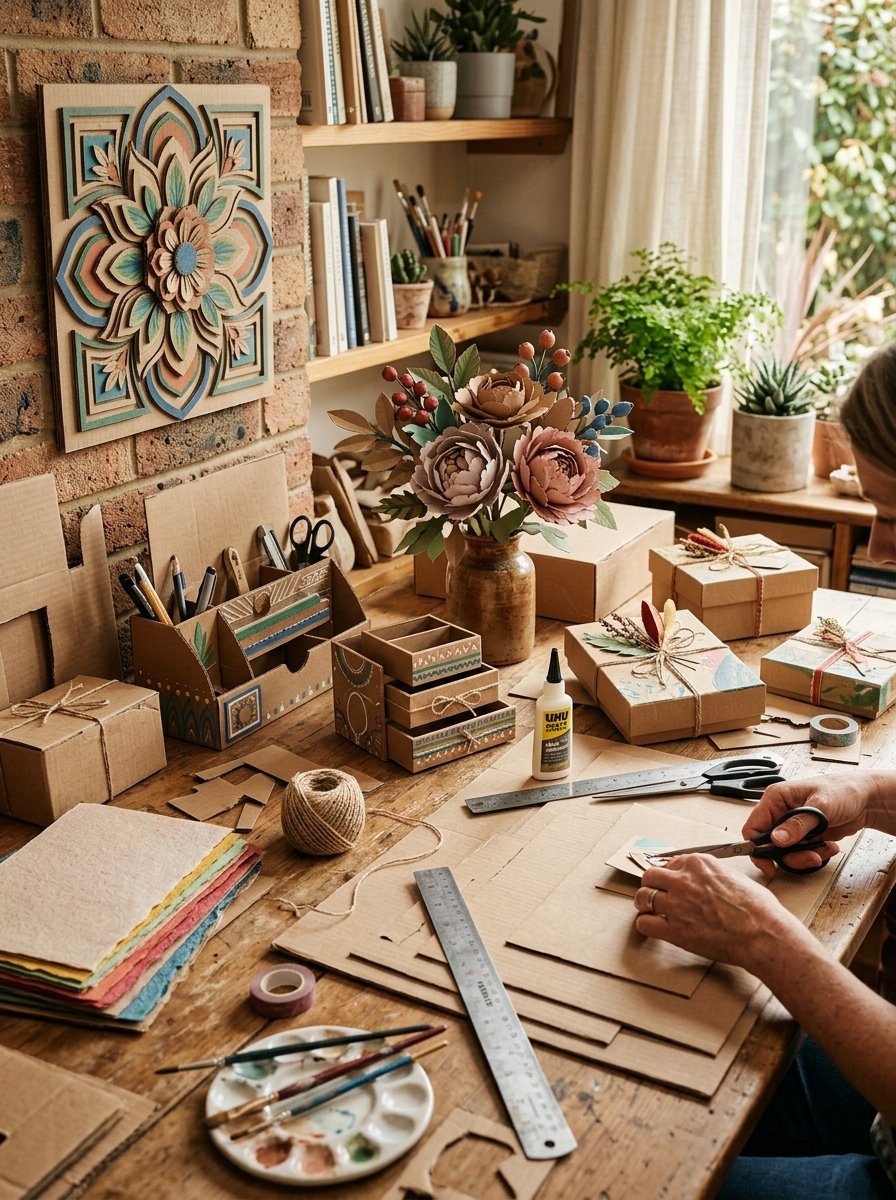

A plain cardboard box can look like something you should throw away. But with a pair of scissors, some glue, paint, and a little imagination, that same box can become wall art, storage, room decor, or a fun project for kids. That is what makes cardboard crafts diy projects so practical. You do not need expensive supplies. Most projects start with cardboard from delivery boxes, cereal boxes, or packaging you already have at home. The key is to clean the cardboard, choose a project that matches its thickness, and measure before cutting.
Below are 15 creative projects that turn simple cardboard into useful and attractive pieces.

1. Cardboard Wall Art for Room Decor
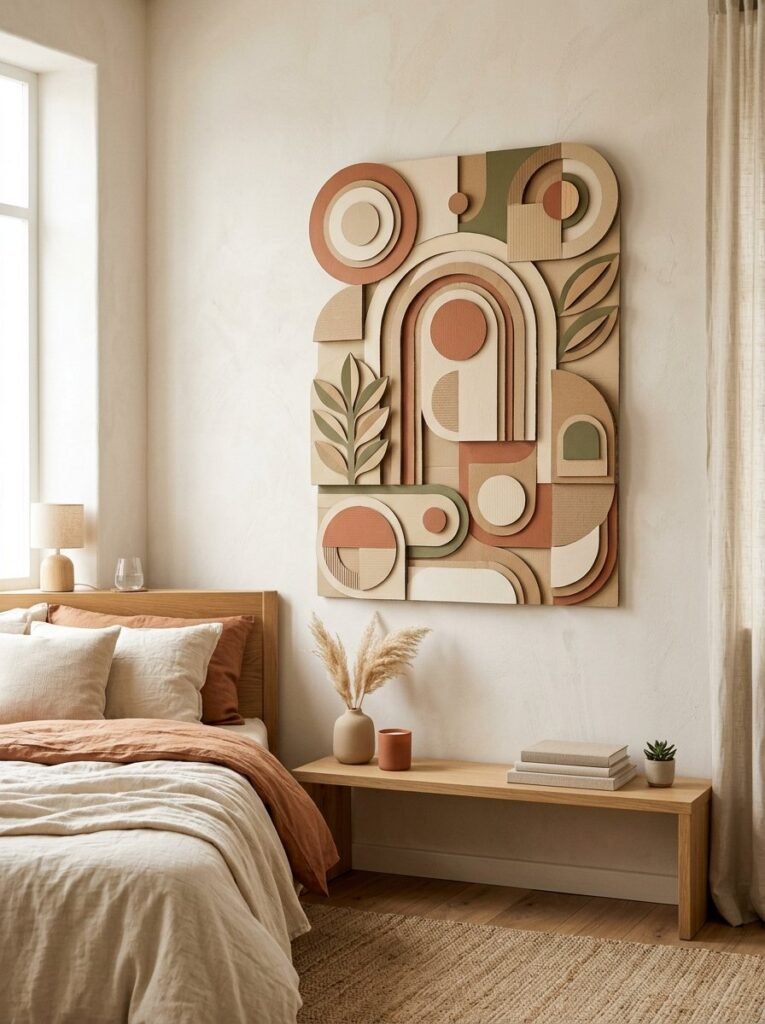
Start with flat cardboard and cut several simple geometric shapes. Circles, arches, leaves, and squares work especially well. Arrange the pieces into a balanced pattern before attaching them to a larger cardboard backing. Paint the shapes in two or three matching shades. Cream, beige, terracotta, black, and muted green can create an easy aesthetic look. This project works especially well as wall art hanging decor because it adds texture without making the wall feel crowded. You can also create a matching set for a bedroom, study corner, or hallway.
2. Easy Cardboard Organizer for Small Items

Turn a sturdy box into a simple desk organizer. Cut the box into sections and create compartments for pens, scissors, notebooks, chargers, or small stationery. Cover the outside with decorative paper or paint it in one color. Add small labels if you want each section to have a clear purpose. This is one of the most useful cardboard crafts diy projects because the finished piece solves a real storage problem. It can work as an organizer paper project for a study desk, craft area, or child’s room.
3. Cardboard Photo Frame
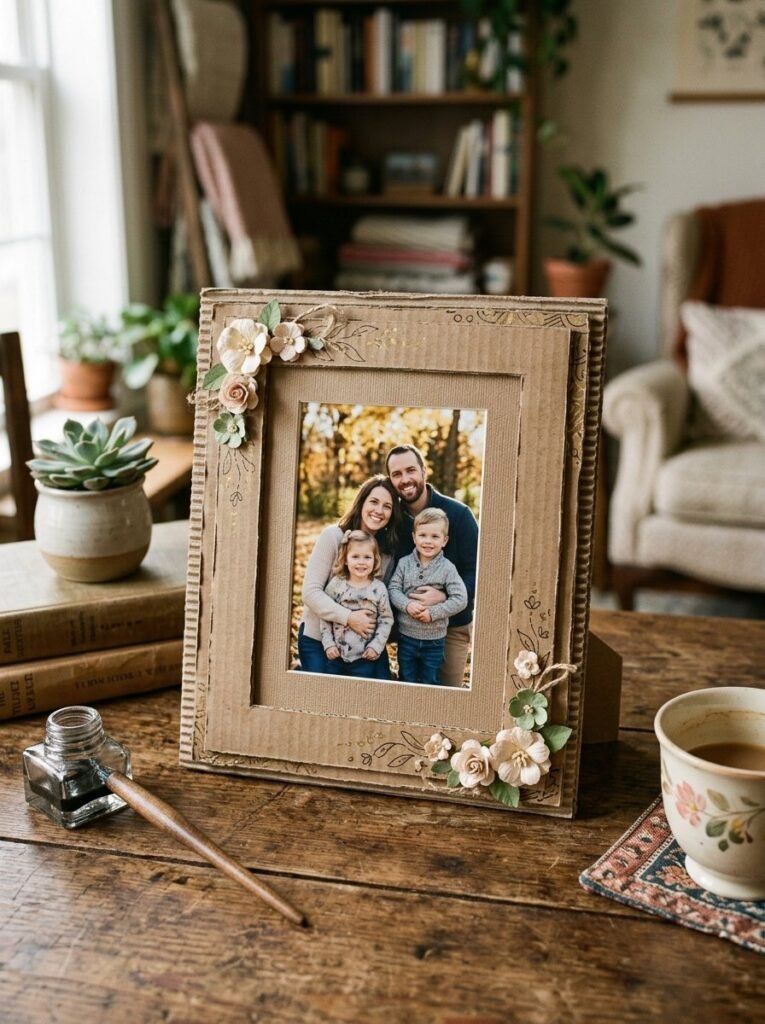
Cut two rectangles from strong cardboard. Cut a smaller opening in the center of one piece, then attach the two layers around the edges. Decorate the frame with paper flowers, paint, fabric scraps, buttons, or small cardboard shapes. Keep the design simple if you want a modern finish. A handmade frame can become a thoughtful gift for a friend or family member. It also gives you an easy way to add personal details to your room decor.
4. Cardboard Hanging Wall Organizer
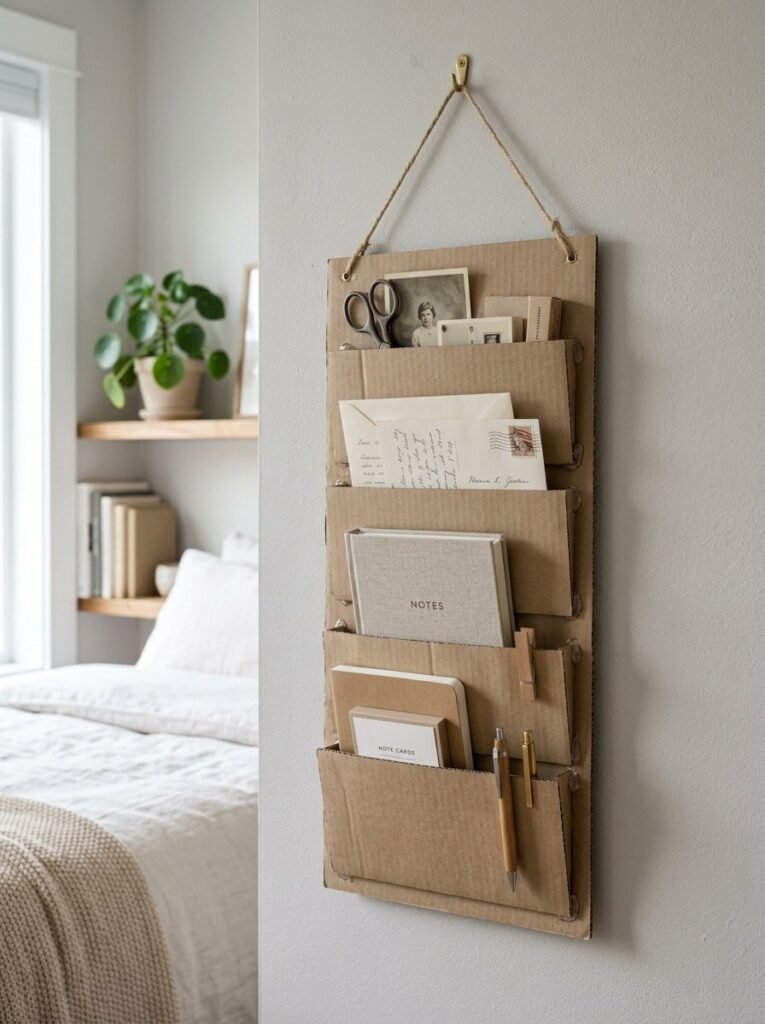
Need storage but have little floor space? Make a hanging organizer from layered cardboard pockets. Cut several matching pieces and fold or glue them into pockets. Reinforce the back with another cardboard sheet. Add string, ribbon, or a strong hanging system suitable for the finished weight. Use it for letters, notebooks, craft supplies, or lightweight accessories. This combines organizer storage with easy wall decor, making it useful for bedrooms, home offices, and children’s study areas.
5. Cardboard Letter Wall Decor

Choose a name, initial, or short word. Draw the letters onto cardboard and cut them carefully with a craft knife. Children can decorate the letters with paint, paper, yarn, or stickers. Adults can create a cleaner finish using neutral colors and simple patterns. Large cardboard letters work beautifully as room decor wall pieces. They can also make personalized gifts for birthdays, nurseries, or study spaces.
6. Cardboard Flower Wall Art
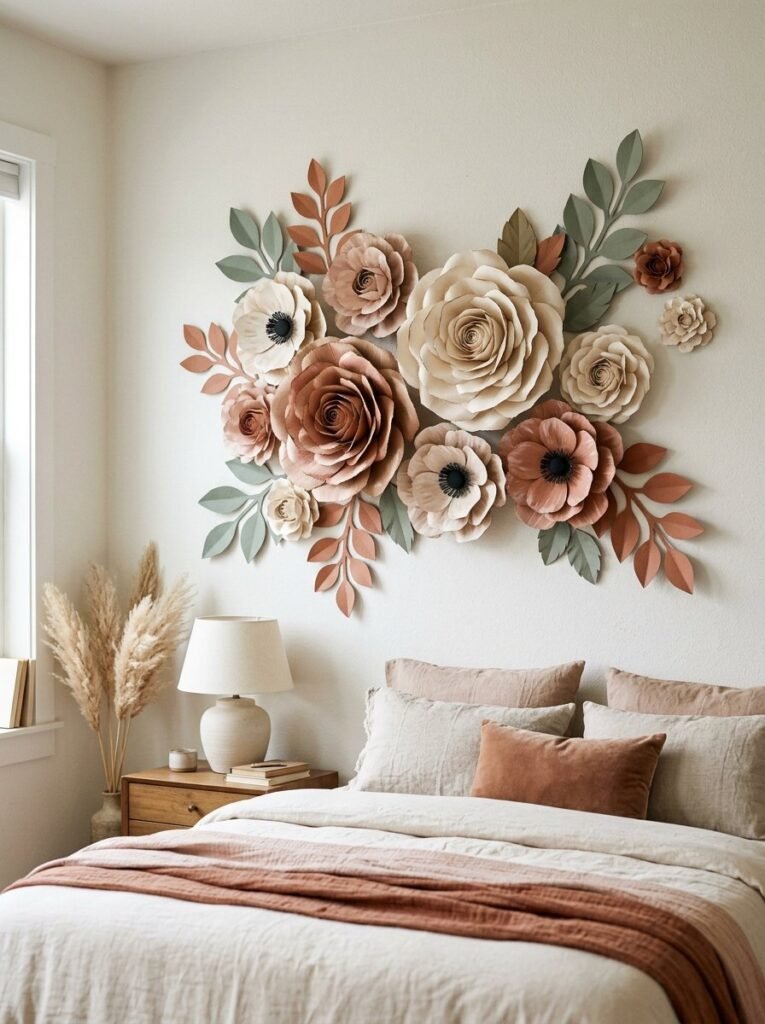
Cardboard flowers are surprisingly easy to make. Draw several petal shapes in different sizes, cut them out, and gently bend the pieces to create dimension. Layer the petals from large to small and secure the center. Paint each flower in one shade or use several colors for a garden-inspired display. Arrange several flowers together on a wall. This creates wall art hanging ideas that feel handmade without requiring complicated tools.
7. Cardboard Food Stand for Pretend Play
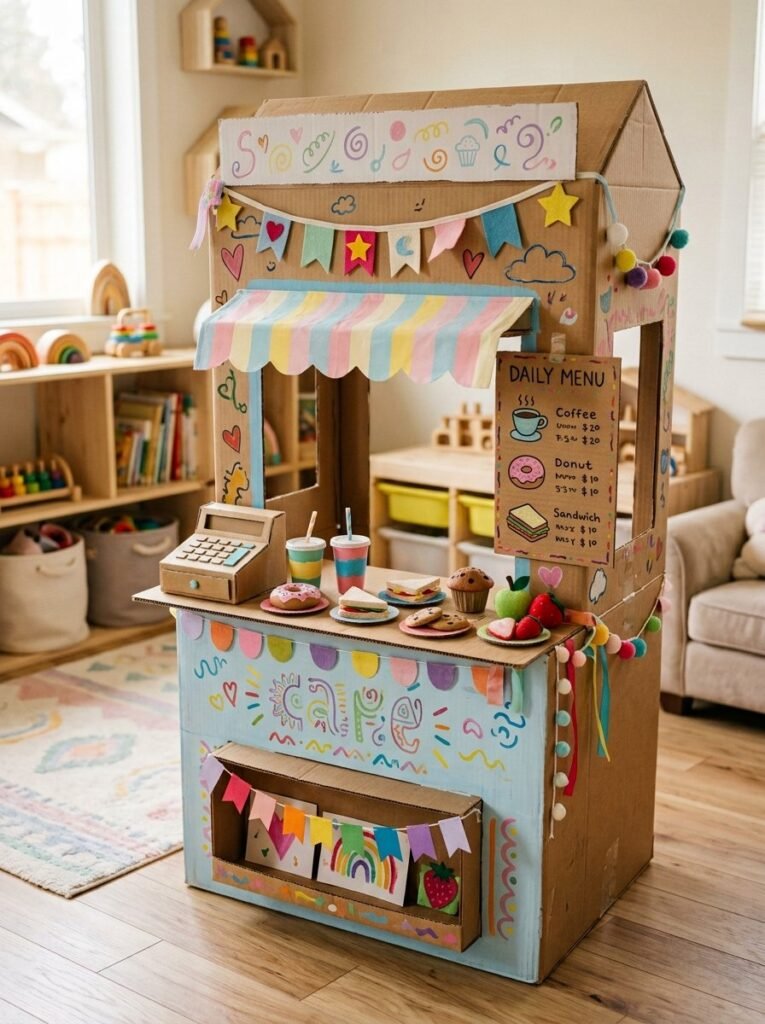
A large cardboard box can become a small pretend-play food stand. Cut a serving window into the front and reinforce the edges. Kids can decorate the stand with painted signs, paper food, pretend menus, and colorful patterns. A simple counter can sit below the opening. This project gives children a chance to combine crafting with imaginative play. Keep the structure stable and supervise cutting and assembly.
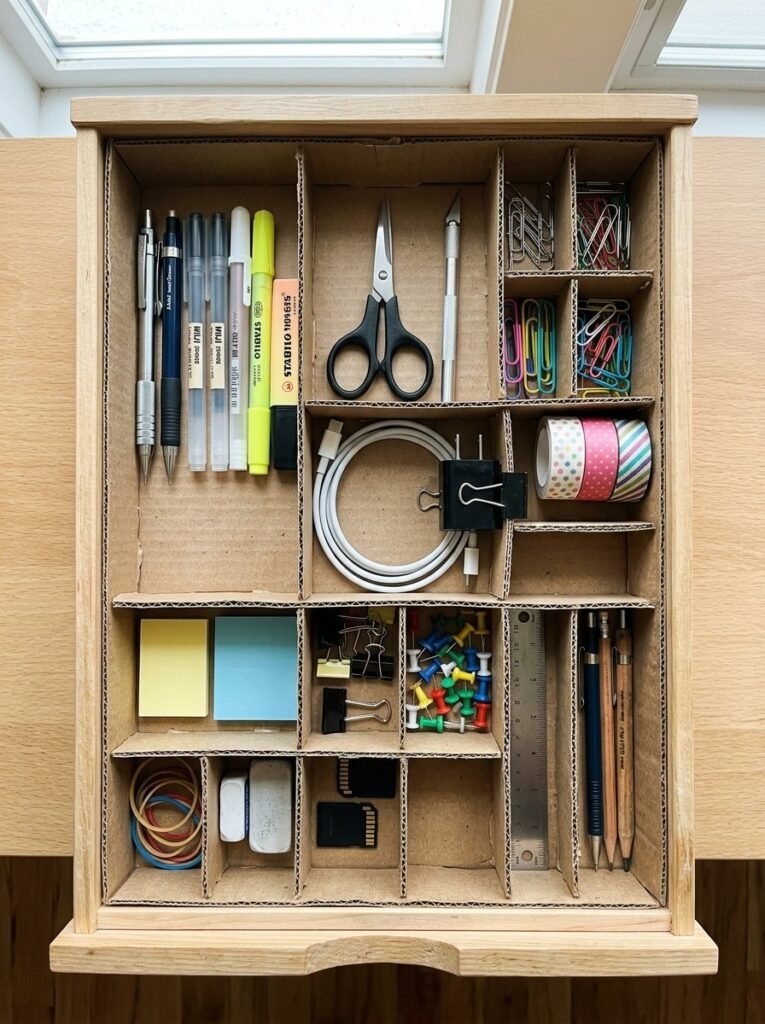
8. Cardboard Desk Drawer Organizer

Small cardboard strips can transform a messy drawer into an organized space. Measure the inside of the drawer first. Then cut strips that fit together to create sections for clips, cables, stationery, jewelry, or other small objects. You can cover the strips with decorative paper for a cleaner look. This organizer easy project costs very little and can be adjusted to almost any drawer size.
9. Cardboard Mirror Frame
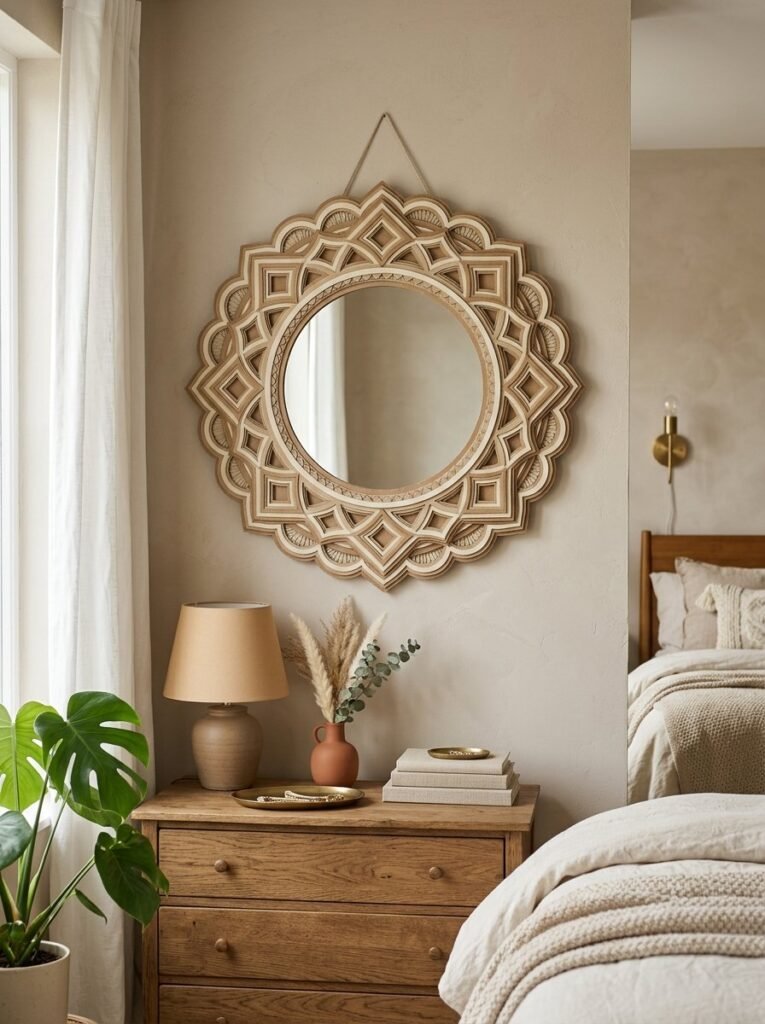
Create a decorative frame around a lightweight mirror using layered cardboard. Cut several identical shapes and stack them to build depth. You can choose a rounded, scalloped, floral, or geometric design. Paint the finished frame or cover it with textured paper. This project can turn a basic mirror into an attractive piece of wall art hanging decor. Make sure the hanging method matches the weight of the mirror and frame.
10. Cardboard Pencil Holder
Use a small cardboard tube or build a rectangular holder from cardboard pieces. Cover it with patterned paper, paint, fabric, or simple drawings. Kids can personalize theirs with animals, stars, flowers, or their favorite colors. Place several holders together to create a complete desk station. This is an easy for kids project that also introduces basic measuring, cutting, decorating, and organizing skills.
11. Cardboard Hanging Plant Holder
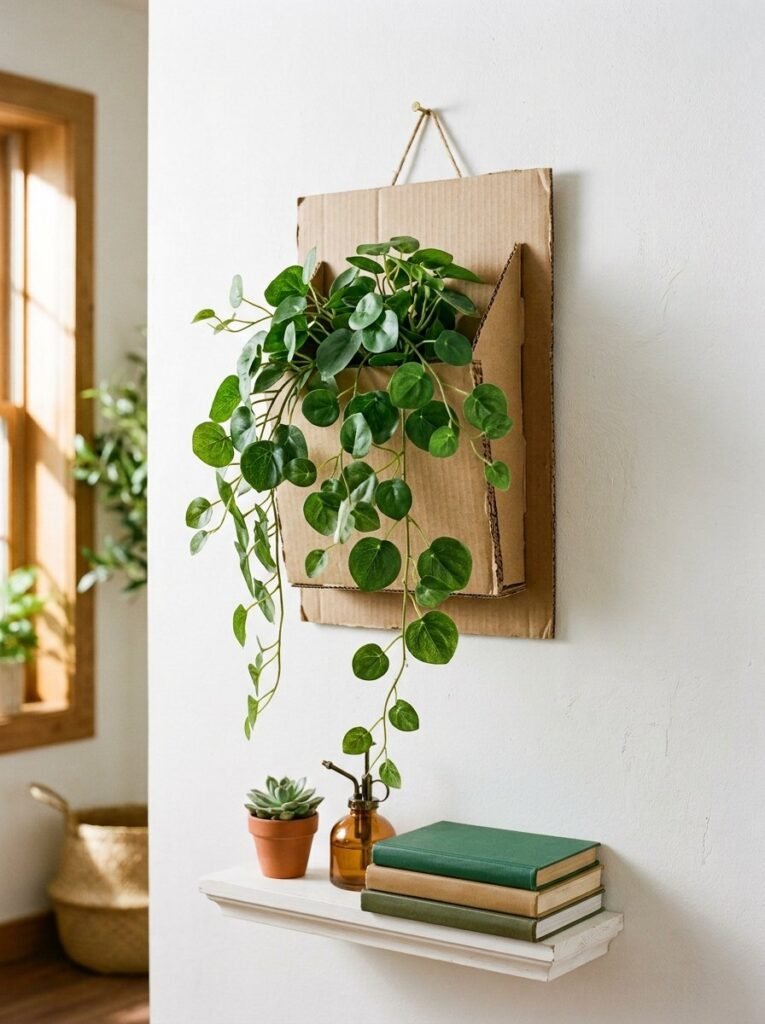
For a decorative display, build a cardboard sleeve or wall-mounted holder for lightweight artificial plants. Use several layers to strengthen the shape. Paint the outside or cover it with paper that matches your interior. For safety, use lightweight artificial plants unless the structure has been specifically designed and tested to support the weight of a real planter. The finished piece can add a natural touch to simple decorating ideas.
12. Cardboard Geometric Wall Hanging
Cut triangles, arches, circles, and rectangles from cardboard. Combine different sizes to create a layered wall hanging. Try a monochrome palette for a minimalist room or use warm colors for a more playful look. Add string to the back and hang the finished piece from a suitable wall hook. This idea is especially useful when you want wall art easy tutorials that create a polished result without complicated materials.
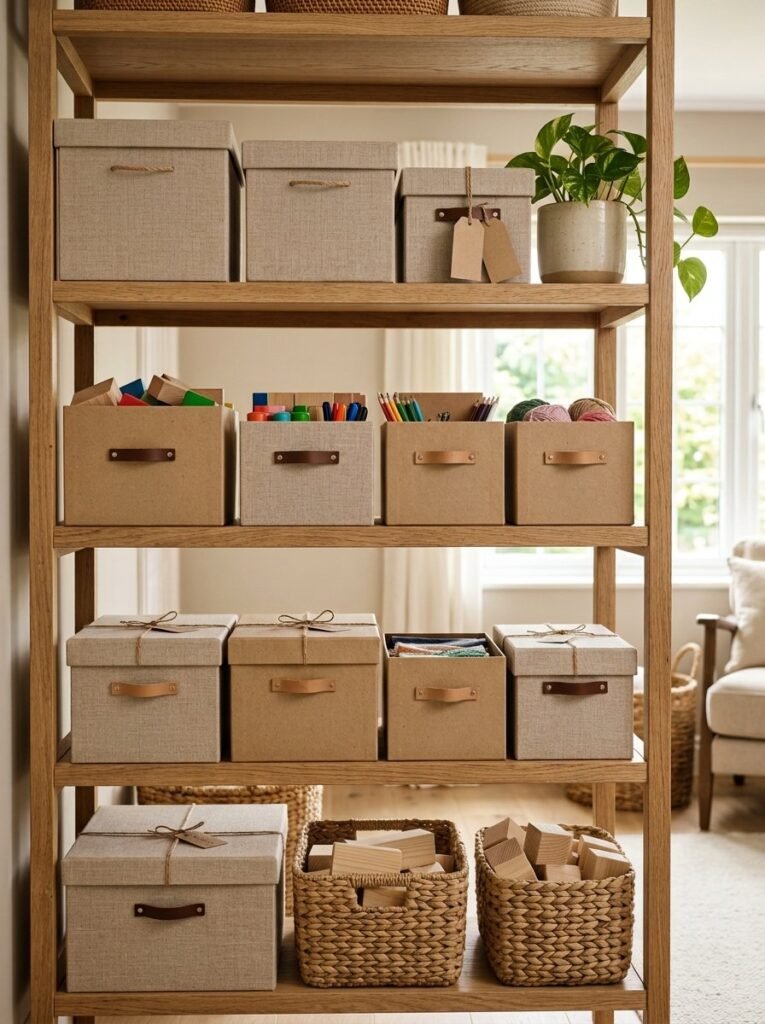
13. Cardboard Storage Box With Lid
Take a sturdy cardboard box and turn it into attractive closed storage. Measure the box before adding a lid. Cover the outside with fabric, decorative paper, or paint. Add a simple handle using ribbon or sturdy cord if appropriate for the box. Use it for craft supplies, documents, toys, accessories, or seasonal decorations. A few matching boxes can make open shelving look much more organized.
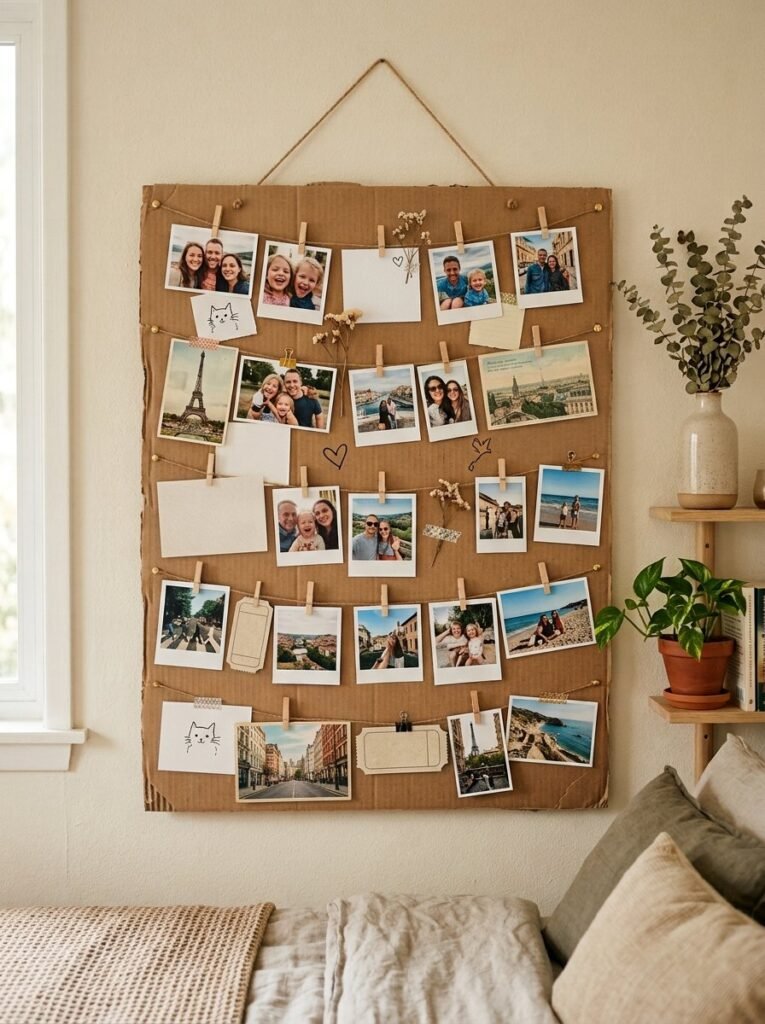
14. Cardboard Picture Collage Board

Create a large backing board from thick cardboard. Cover it with fabric, paper, or paint, then arrange photographs, drawings, postcards, or small memories across the surface. Use clips, removable adhesive, or another suitable attachment method so you can change the display later. This makes a personal piece of room decor and gives an empty wall some character. It can also become a meaningful handmade gift.
15. Cardboard Craft Gift Box
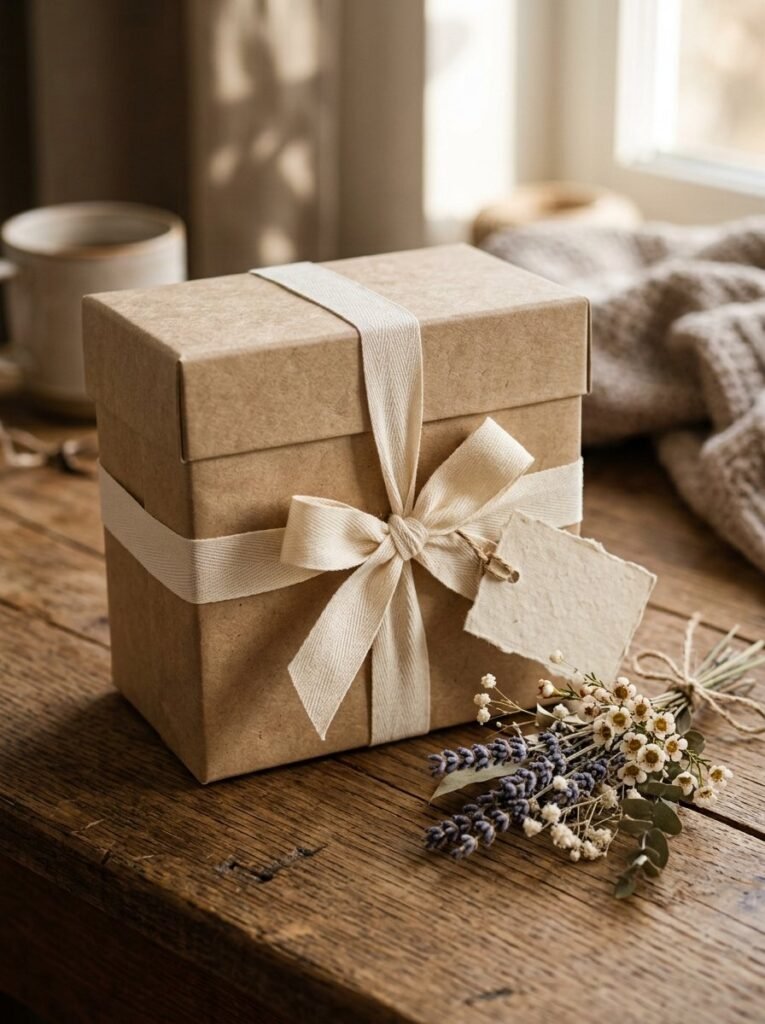
Finish your project collection with a simple handmade gift box. Cut cardboard panels to the size you need and create a folding structure with a separate lid. Cover it with kraft paper, fabric, or decorative paper. Add ribbon and a small handmade card for a personal touch. This cardboard crafts diy idea works especially well when you want packaging that feels thoughtful rather than ordinary. You can customize the box for birthdays, holidays, handmade gifts, or small keepsakes.
How to Make Cardboard Crafts Look Better
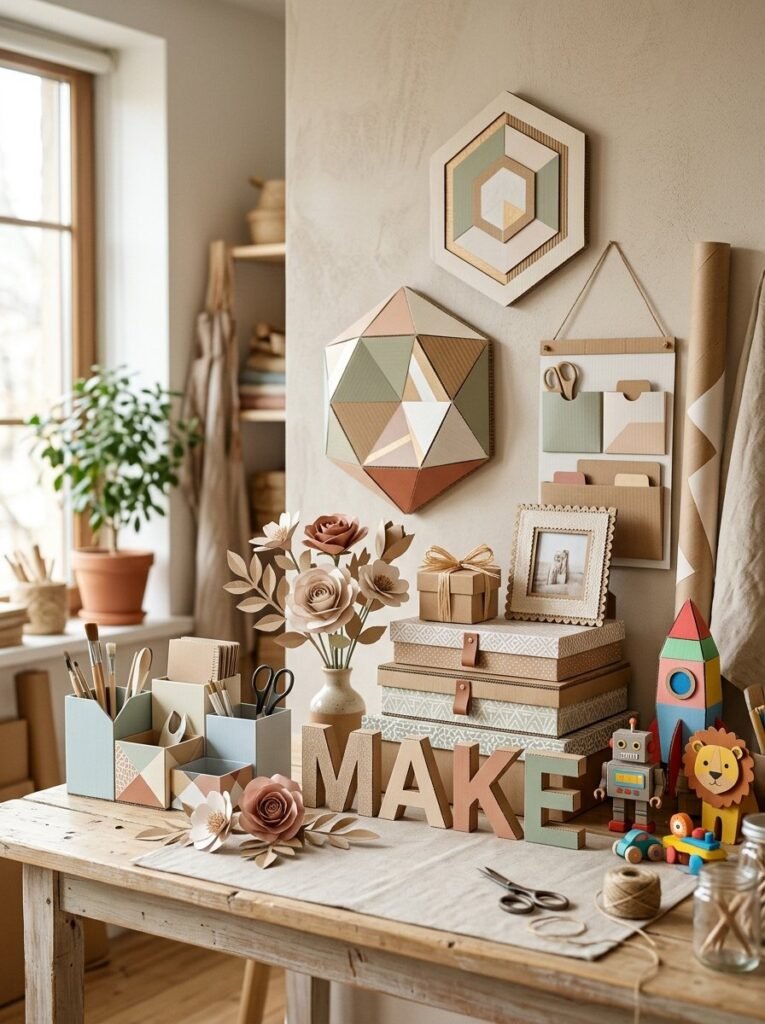
Good preparation makes a major difference. Start with clean, dry cardboard that has no strong odor, moisture damage, or sharp exposed edges. Use a ruler for straight cuts and mark measurements lightly before cutting. When a project needs glue, give each joint enough time to set before adding weight. For an easy aesthetic finish, choose a limited color palette instead of using every color at once. Kraft paper, white, beige, black, muted green, and terracotta work well together. If children join the project, choose age-appropriate materials and let an adult handle sharp cutting tools. For younger children, focus on tearing paper, painting, decorating, and assembling prepared pieces.
Final Thoughts
The best cardboard crafts diy projects do more than fill an afternoon. They give an ordinary material a second purpose. A leftover box can become a desk organizer. Flat cardboard can become wall art. A sturdy package can turn into storage, a pretend-play stand, or a personalized gift box. Start with one simple project. Measure carefully, keep the design practical, and let your own style guide the decoration. Once you see what cardboard can do, you may start looking at every empty box a little differently.

