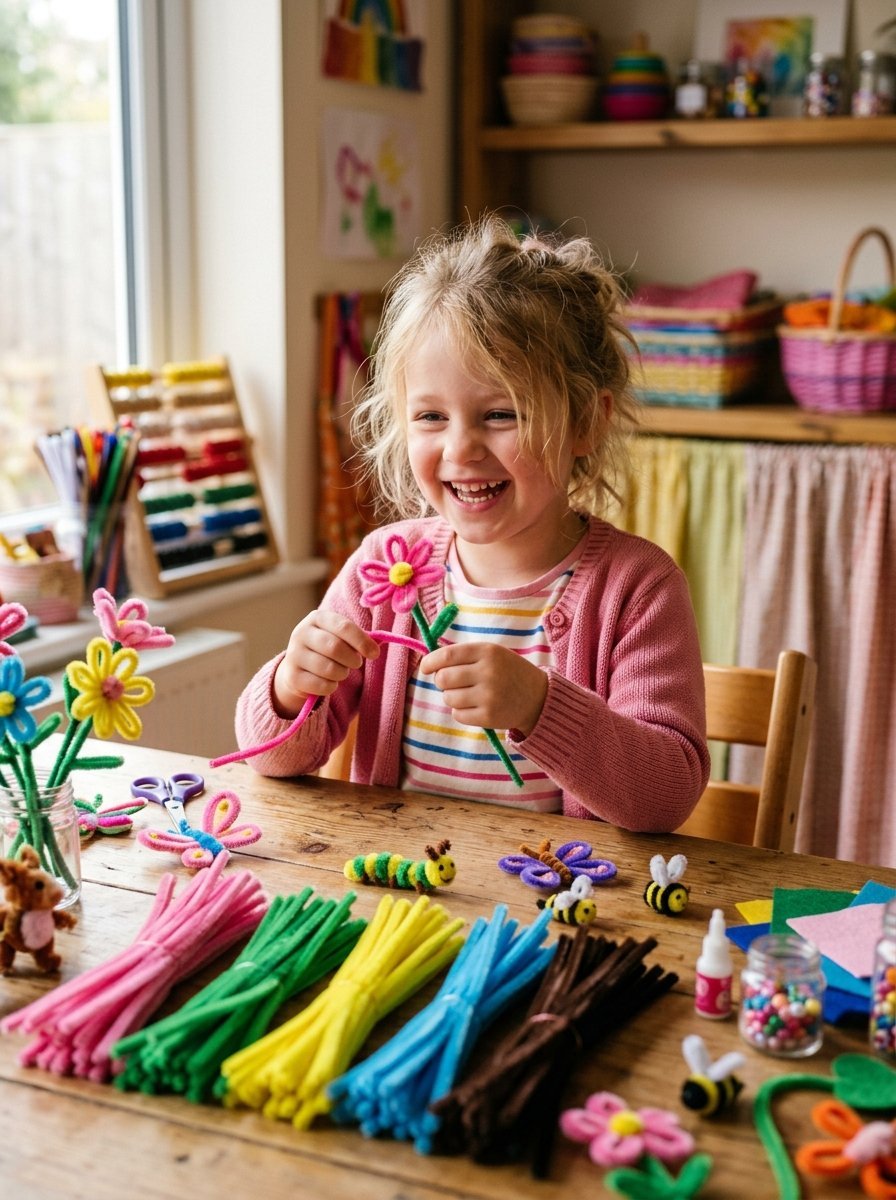

A rainy afternoon can become a little creative adventure with a handful of colorful craft stems. Kids can bend, twist, curl, and shape them into flowers, animals, decorations, and tiny gifts. The best part is that most projects need only a few simple supplies. Whether you are planning a classroom activity, a weekend project, or a quiet afternoon at home, these pipe cleaner crafts give children plenty of ways to create something with their own hands.

1. Easy Pipe Cleaner Crafts for Kids

Start with simple shapes before moving toward detailed designs. A flower, heart, butterfly, or small animal can teach children how to bend and twist the material without making the activity feel difficult. Choose bright colors and let kids make their own combinations. This simple approach works especially well for beginners because every project can become a small success.
2. Flower Bouquet

Flowers are one of the easiest projects to make. Bend one colorful stem into several rounded petals and twist the center to hold the shape. Add a green stem underneath, then make several flowers in different colors. Put them together for a small bouquet that can brighten a bedroom, desk, or craft corner.
3. Butterfly Craft
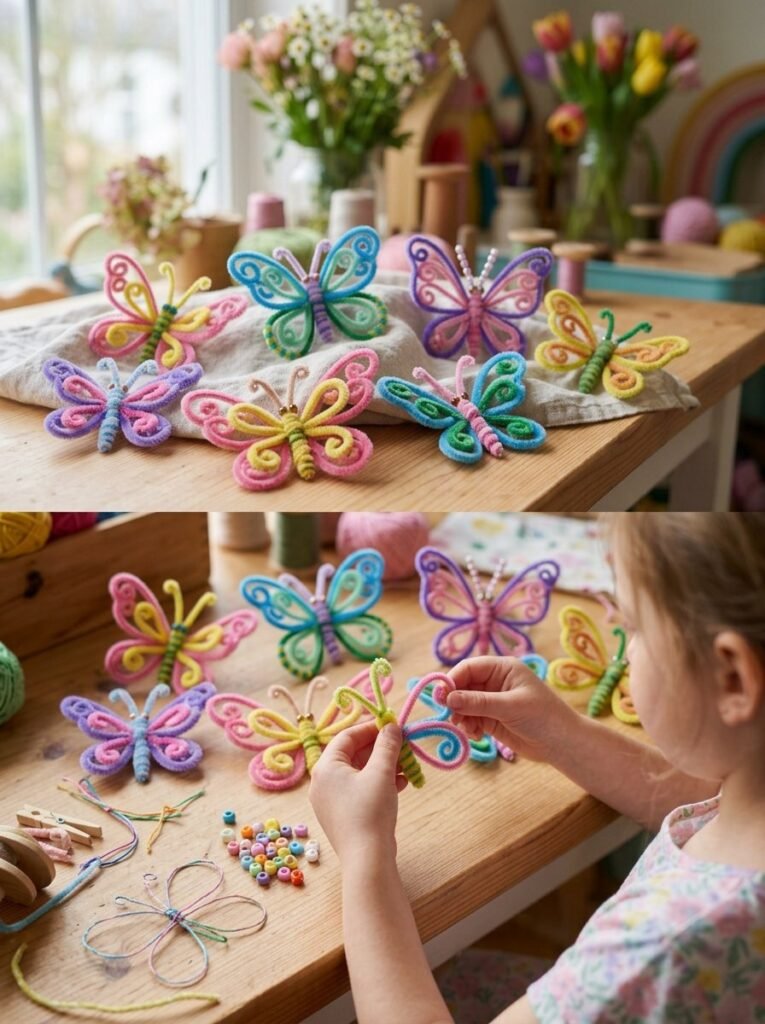
A butterfly is another fun choice for kids. Create two large loops for the upper wings and two smaller loops for the lower wings. Twist the center and shape two tiny antennae at the top. Use contrasting colors to make each butterfly look different. Kids can attach the finished butterflies to cards, gift boxes, or bedroom decorations.
4. Cute Animal Ideas
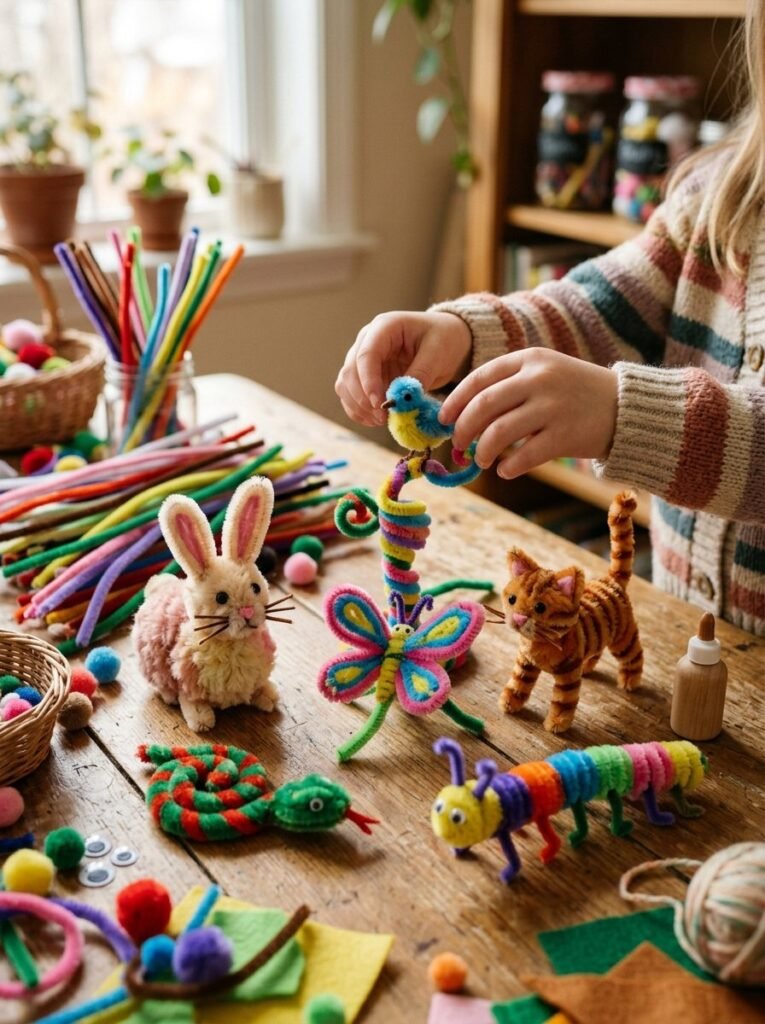
Once children understand basic loops and twists, they can create small animals. Try a butterfly, snake, caterpillar, rabbit, cat, or tiny bird. Use different colors for the body, ears, wings, or tail. The goal is not perfect proportions. Let kids create funny characters with their own personalities.
5. Simple Keychain Designs

A small heart or flower can become a cute keychain. Shape the pipe cleaner tightly, then connect it to a suitable keychain ring with adult assistance. Keep the design simple so it does not become bulky. These projects can also work as small handmade gifts for friends, teachers, or family members.
6. Christmas Decorations
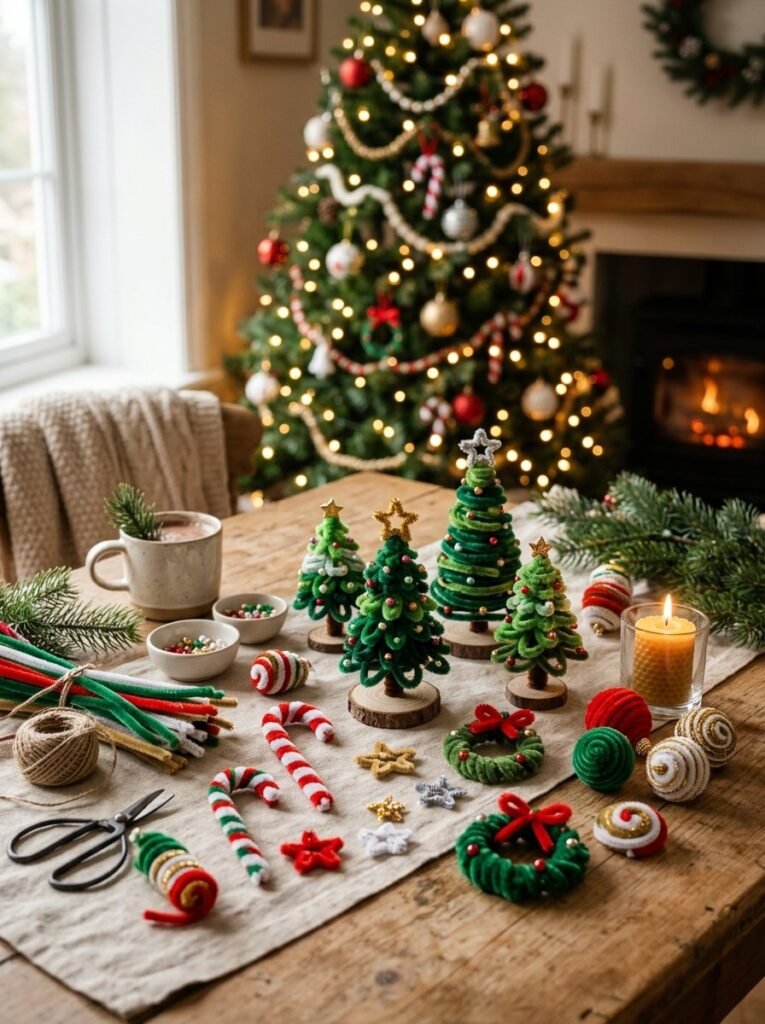
Holiday crafting becomes more exciting when children can make their own decorations. Create tiny Christmas trees, stars, candy-cane shapes, wreaths, and simple ornaments. Green and red work well, but adding gold, silver, or white can give the decorations a softer look. Hang finished pieces on a small tree or use them to decorate wrapped gifts.
7. Halloween Pumpkin Crafts

Halloween offers plenty of fun shapes. Make a tiny orange pumpkin by creating several curved loops around a central point. Add a short green stem and a curled leaf. Kids can make several pumpkins and place them beside books, on a craft shelf, or around a Halloween display.
8. Easy Projects for Toddlers

For toddlers, keep the activity extremely simple. Adults can prepare basic shapes such as circles, spirals, or large flowers while children choose colors and help arrange the pieces. Always supervise young children closely and keep loose small parts away from children who may put objects in their mouths. CPSC guidance specifically warns about small parts and recommends choosing materials according to a child’s age and abilities.
9. Green Nature-Inspired Crafts

Green stems can quickly become leaves, vines, grass, and plant shapes. Combine them with colorful flowers to create a miniature garden. Older kids can build a small scene with flowers, butterflies, leaves, and insects. This idea gives them a chance to think about how different shapes fit together.
10. Boyfriend and Friendship Gifts
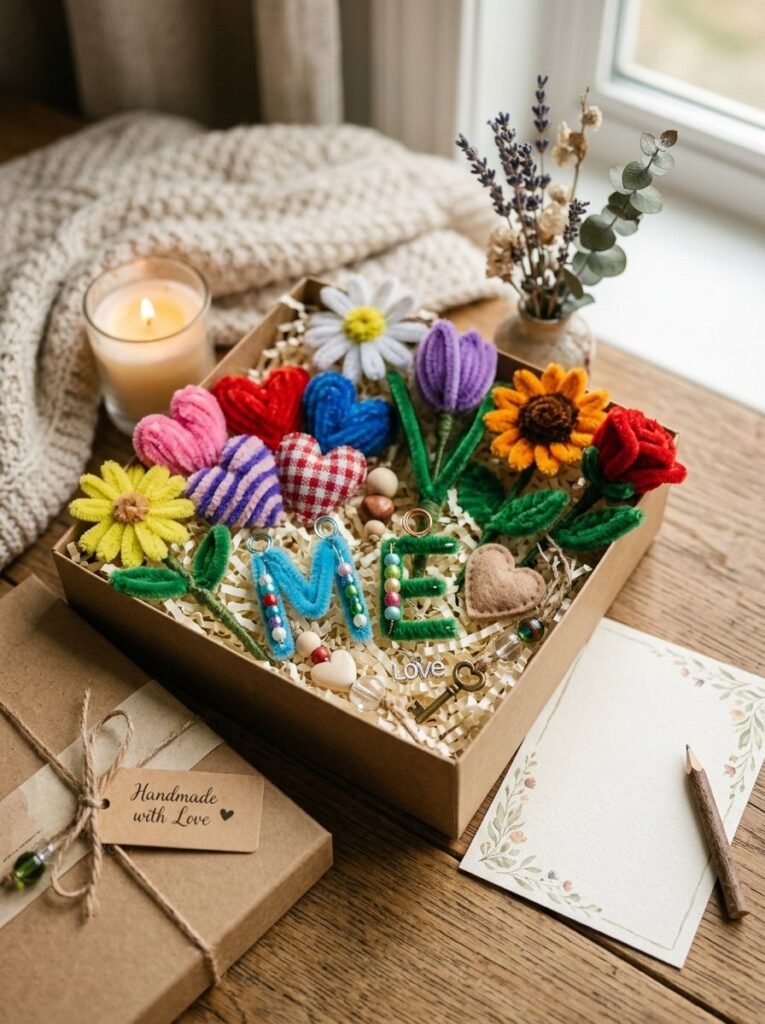
Handmade gifts often feel more personal because someone spent time making them. A small heart, flower bouquet, initial, or simple charm can make a thoughtful present for a boyfriend, best friend, sibling, or parent. Choose colors that match the person’s personality rather than simply following a fixed pattern.
11. Aesthetic Flower Garden
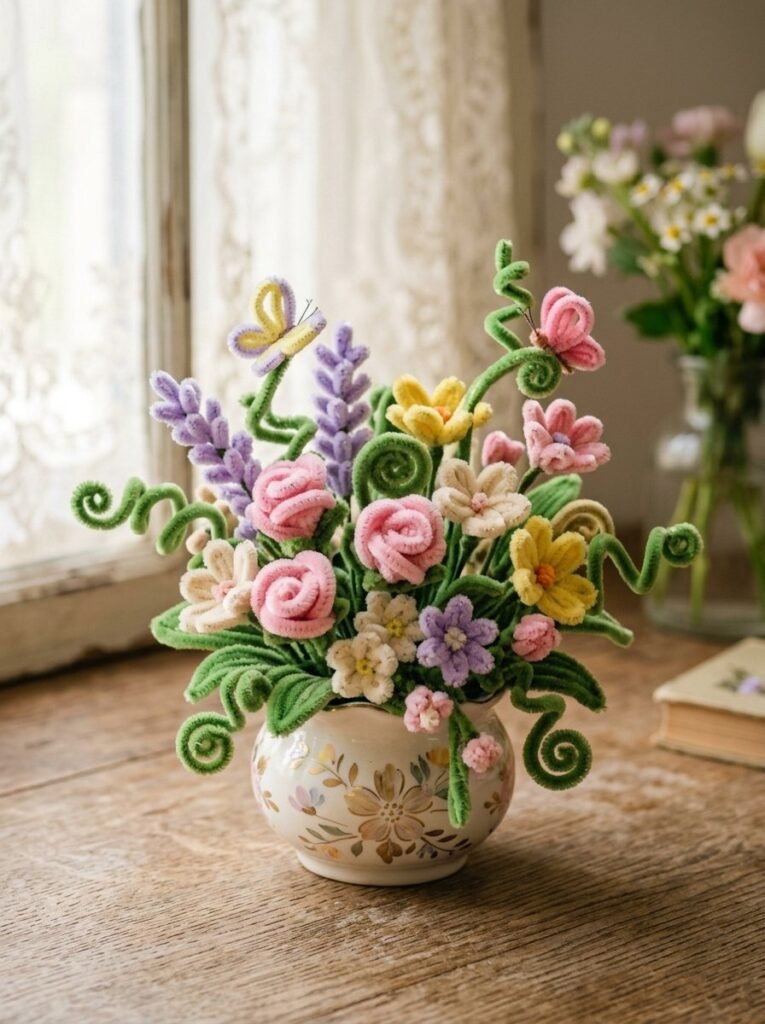
For a more decorative project, create a complete miniature flower garden. Mix tall flowers with small buds, green stems, curled leaves, and tiny butterflies. Use pastel colors for a soft aesthetic or bright colors for a playful children’s display. Place the finished garden in a small container to create a cheerful desk decoration.
12. Halloween Spider and Web

A simple black spider makes a fun Halloween project. Bend one black stem into the body and create several short curved legs around it. For a larger display, combine white stems into a simple web shape. Add several spiders around the web for a playful decoration.
13. Step-by-Step Animal Figures

Animal figures become easier when you break them into parts. First make the body, then add the head, legs, ears, wings, or tail. A rabbit can use simple loops for ears, while a butterfly needs two pairs of wings. Following tutorials step by step helps children understand how one small shape connects to another.
14. Cute Flower Rings
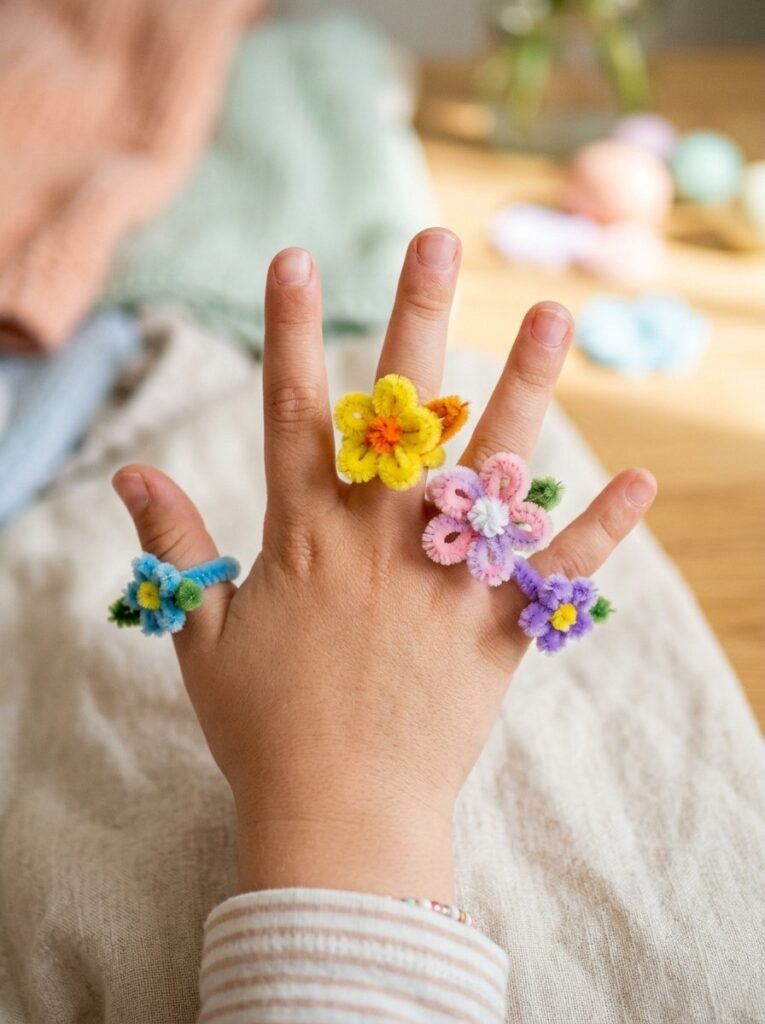
Turn small flowers into wearable craft rings. Make a tiny flower, twist the remaining stem into a circle, and adjust it gently around the finger. Keep the ring loose and comfortable. Kids can create matching colors for friends or make a different flower for each outfit.
15. Simple Spiral Decorations
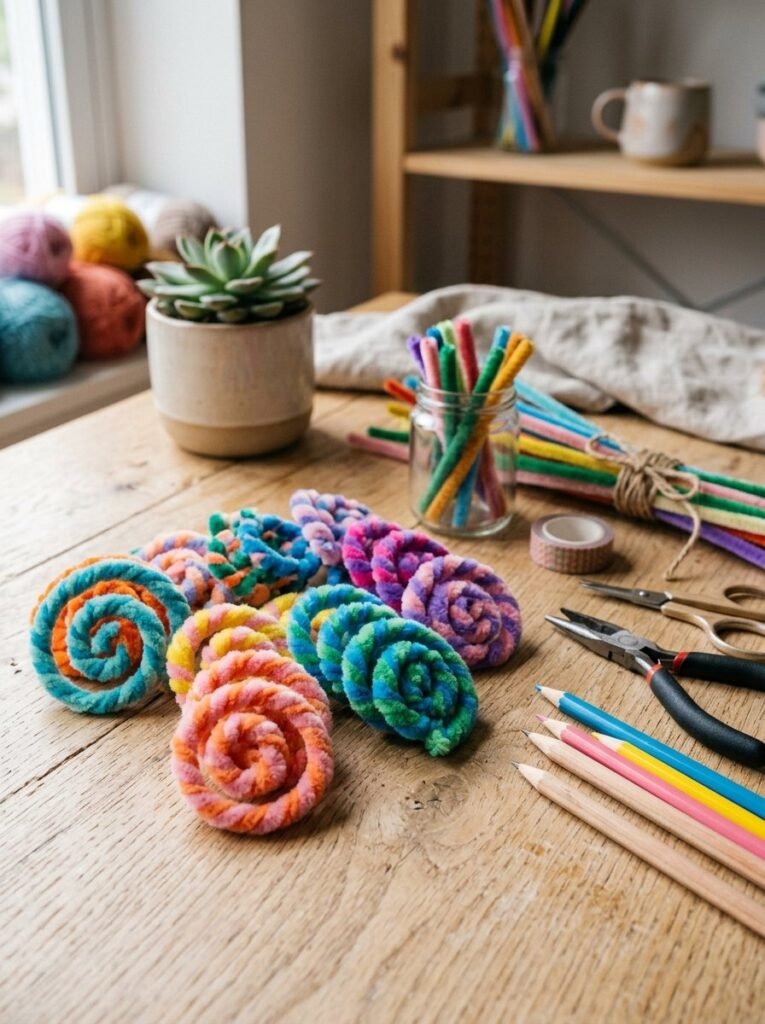
Not every project needs a complicated shape. A simple spiral can become a decoration, toy accessory, flower center, or colorful hanging piece. Twist the stem around a pencil or similar rounded object to create an even coil, then gently remove it. Experiment with two colors twisted together for a striped effect.
16. DIY Rainbow

A rainbow makes a bright project for bedrooms, classrooms, or play areas. Bend several colors into matching arcs and connect them carefully. Add small white cloud shapes at both ends. This project works especially well when kids are learning about colors and patterns.
17. Butterfly Bouquet
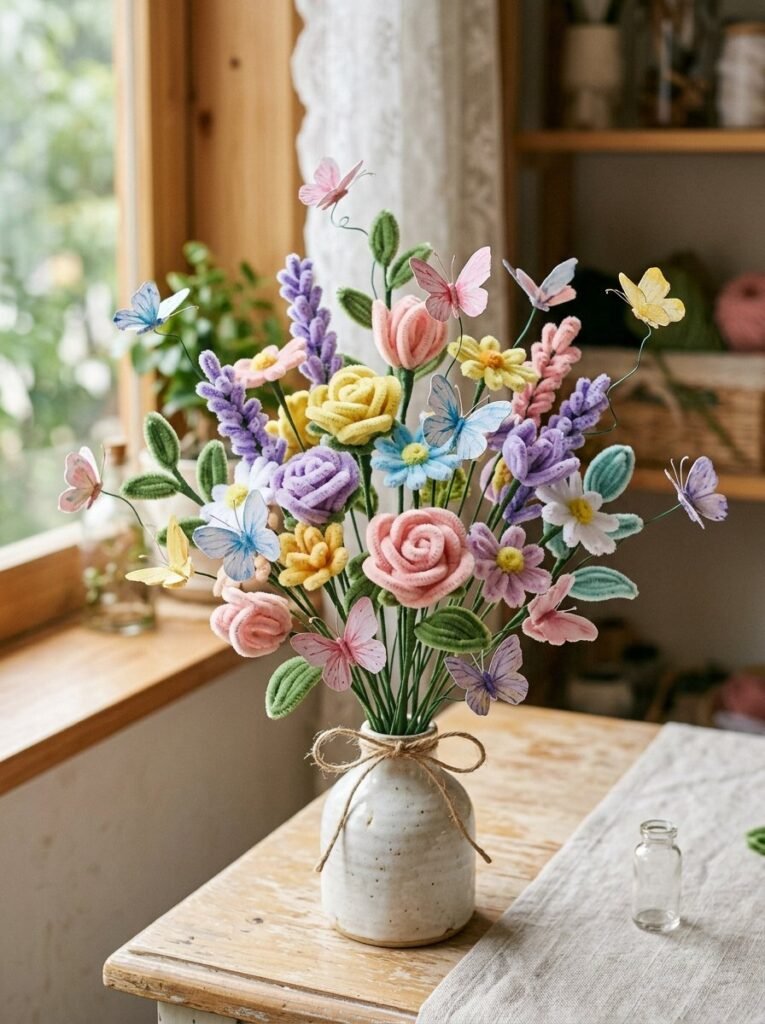
Combine two popular ideas by making a bouquet filled with flowers and butterflies. Use green stems for the flowers, colorful petals for the blooms, and contrasting wings for the butterflies. Arrange everything at different heights so the final display feels full and lively.
18. Easy Christmas Tree
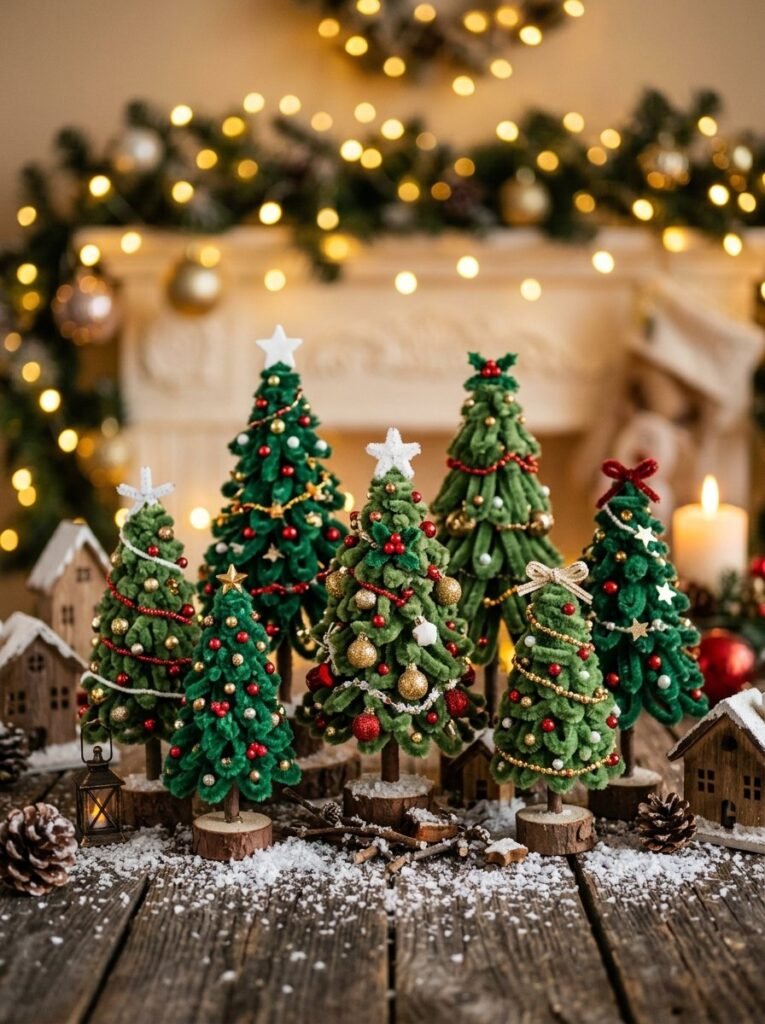
A miniature Christmas tree can start with one green stem. Bend it into a loose cone shape and wrap the stem around itself as you move upward. Add tiny red, gold, or white decorations for extra detail. Several small trees can create a charming holiday village.
19. Simple Black and Brown Animals
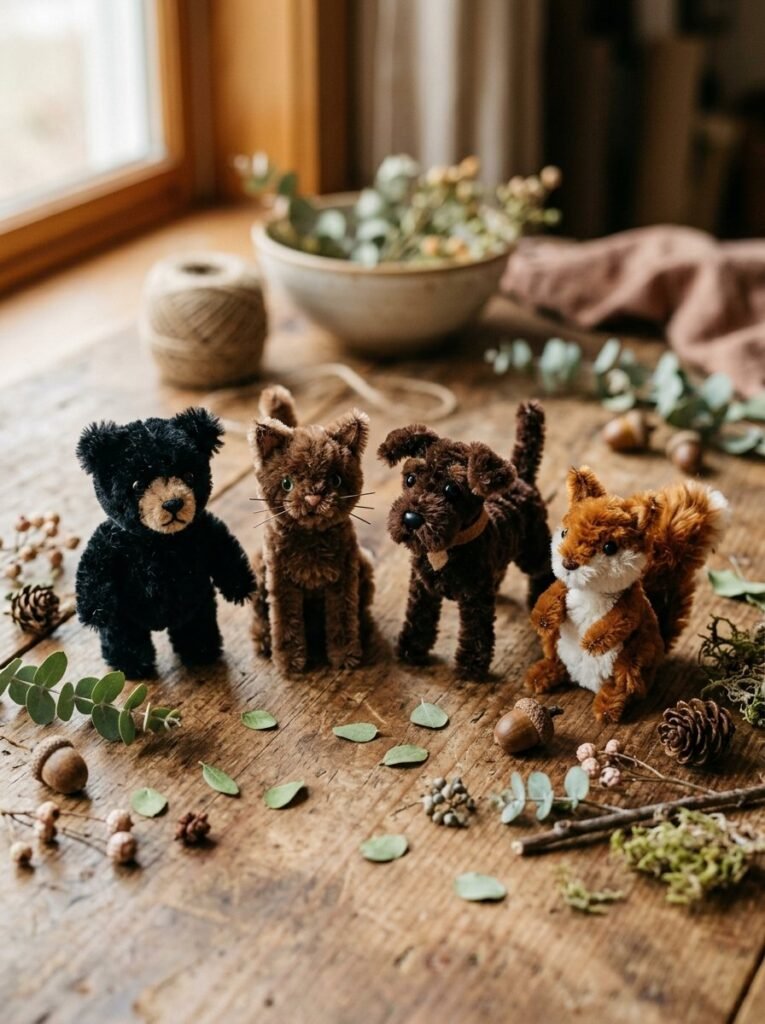
Black and brown materials work especially well for animals such as bears, dogs, cats, and little woodland creatures. Add small color accents for ears, noses, tails, or paws. These darker shades can also create a more natural look when children want to build a miniature forest scene.
20. Craft a Tiny Bouquet Gift
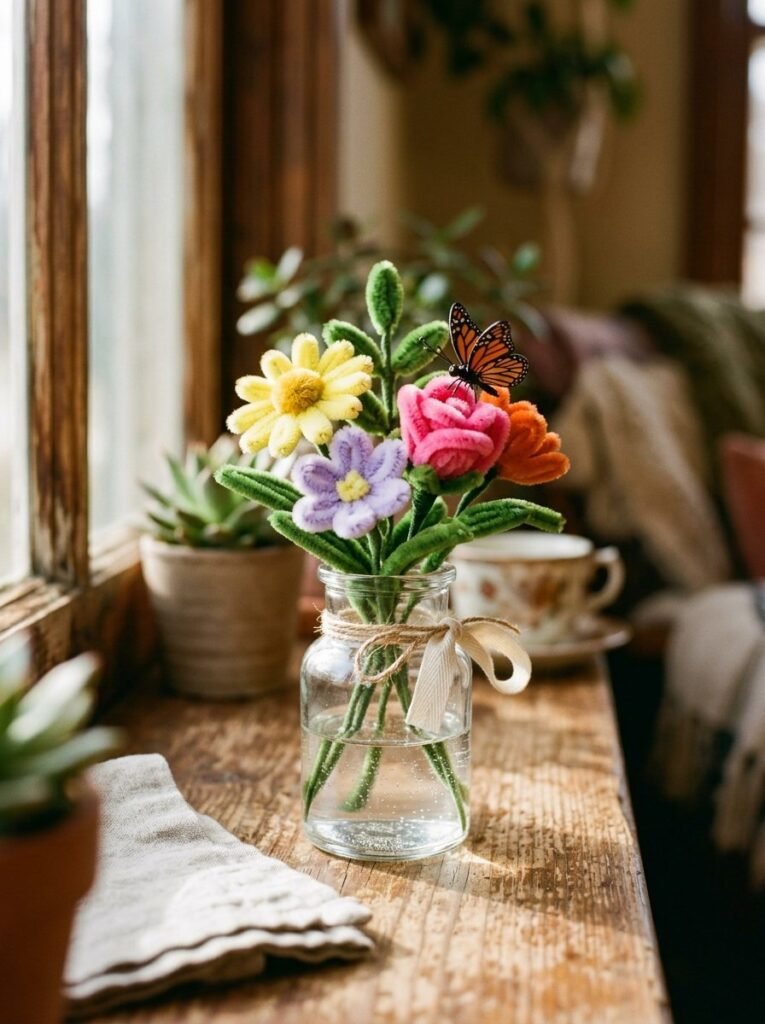
A tiny bouquet makes a lovely handmade present. Choose three or five flowers, twist the stems together, and wrap the bottom with a contrasting color. Add a small butterfly or leaf for detail. The finished bouquet can fit into a small jar or gift box and makes a sweet decoration for a desk or shelf.
21. Keep Crafting Safe
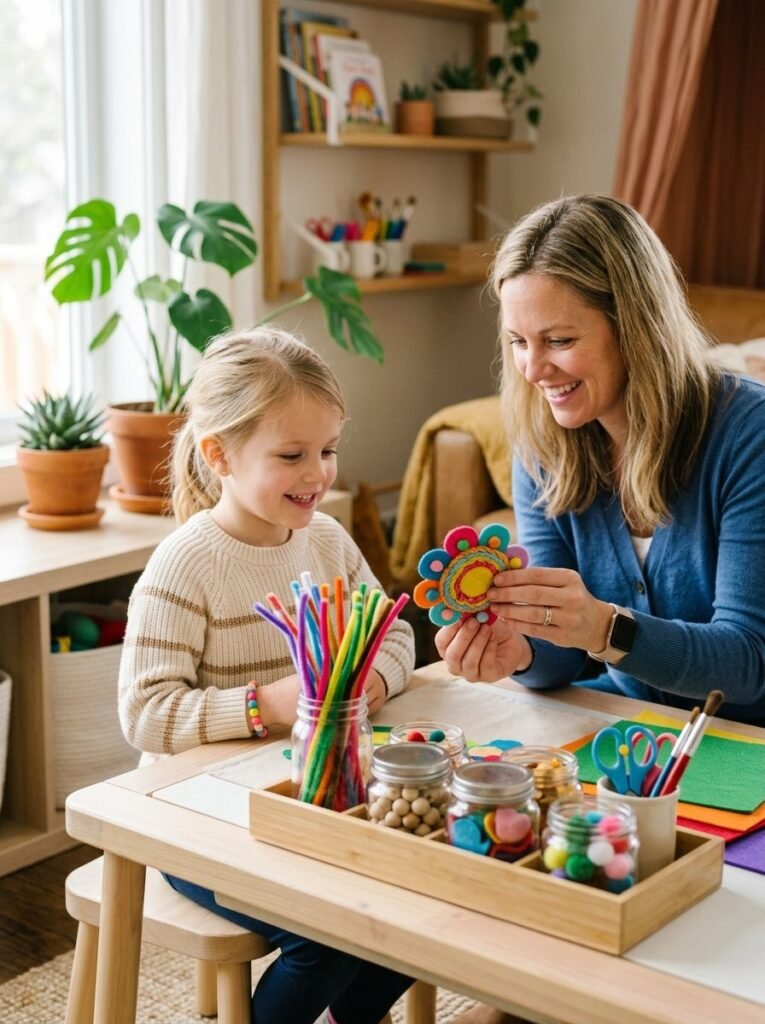
Simple projects still need sensible preparation. Choose children’s craft materials carefully, read product labels, and inspect finished pieces for exposed sharp wire ends or loose small components. CPSC guidance recommends age-appropriate materials, adult supervision when needed, and attention to small parts, sharp points, and accessible wires or rods.
22. Let Kids Create Their Own Ideas
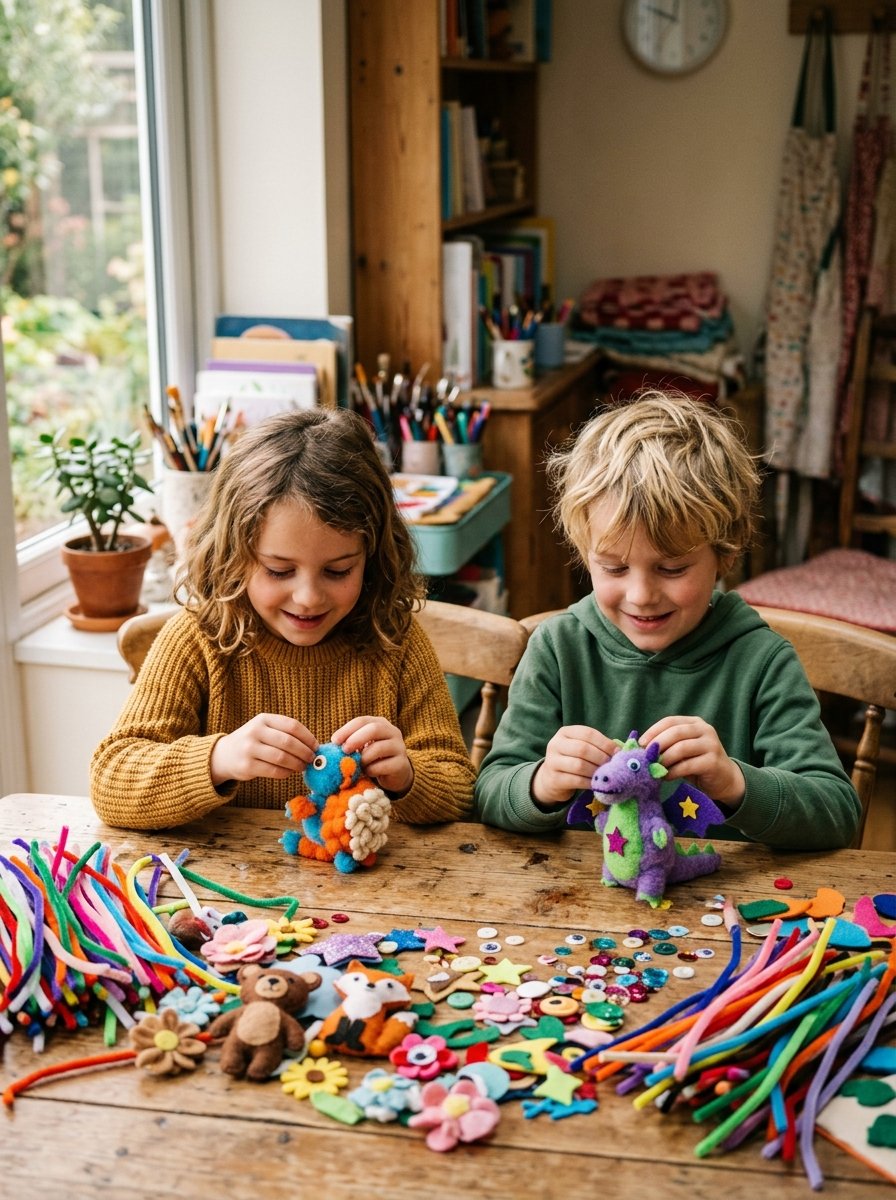
Once children learn a few basic techniques, stop following instructions for a while. Give them several colors and ask what they want to build. One child might make an animal while another creates a flower garden or a tiny character. This open-ended stage can turn simple craft time into a creative storytelling activity.
23. Make Seasonal Decorations
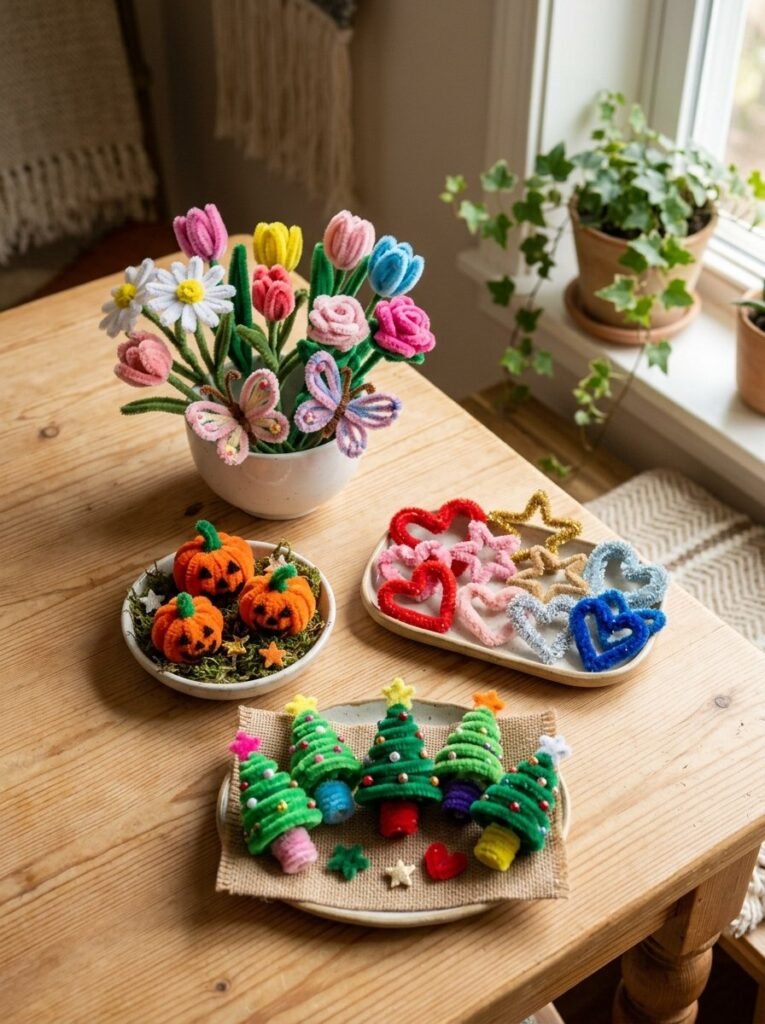
You do not need a new craft idea for every holiday. Use the same basic techniques with different colors and shapes. Green and red can create Christmas decorations, orange and black can create Halloween pieces, while pastel colors can work for spring. This makes crafting affordable and easy to repeat throughout the year.
24. Display the Finished Crafts

Finished projects deserve a place where children can see them. Put flowers in a small jar, hang butterflies on a display board, or arrange animals on a shelf. Taking photographs of the creations can also help children remember what they made and inspire their next project. A simple display can make a child’s work feel meaningful.
25. Start With One Small Project

The easiest way to begin is to choose one project and make it today. A flower takes only a few bends. A butterfly needs a few loops. An animal can start with one simple body shape. As confidence grows, children can combine those skills into larger designs. The real joy comes from seeing a loose piece of colorful material slowly become something they imagined.
Final Thoughts
Creative activities do not need expensive supplies or complicated instructions. With a few colors and a little imagination, children can make flowers, animals, decorations, gifts, and tiny displays. Start with an easy shape, let kids experiment, and gradually introduce more detailed designs. Most importantly, keep the activity age-appropriate and supervised when necessary. The goal is simple: give children the freedom to create, learn, and enjoy something they made themselves.

