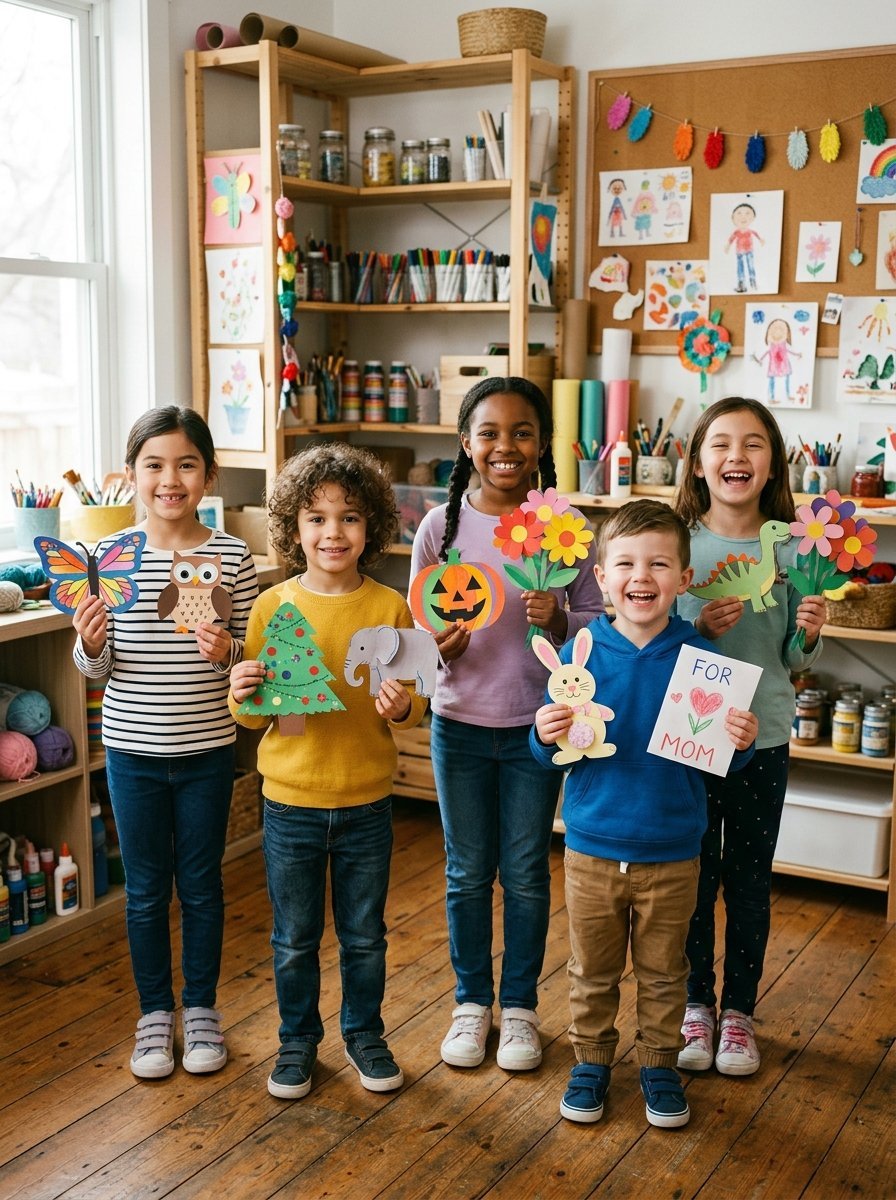

A blank sheet of paper can become almost anything in a child’s imagination. One minute it is just a colorful piece of paper. The next, it becomes a butterfly, a funny animal, a Christmas tree, or a tiny paper house.
That is what makes paper crafts for kids so enjoyable. They need simple supplies, little preparation, and plenty of room for creativity. Children can cut, fold, tear, glue, color, and decorate while creating something they can proudly show to family and friends.
This collection brings together easy everyday projects, seasonal ideas, recycled crafts, and fun construction activities. Most projects use supplies that you may already have at home.

1. Easy Paper Butterfly

A paper butterfly is a perfect first project for younger children. Start with a sheet of colored construction paper. Fold it in half and draw half of a butterfly along the folded edge. Cut around the outline and open the paper.Let children decorate the wings with crayons, markers, foam shapes, or small pieces of tissue paper. They can make each wing different or create matching patterns.
Materials: Construction paper, scissors, glue, crayons, foam shapes.
2. Colorful Paper Flower
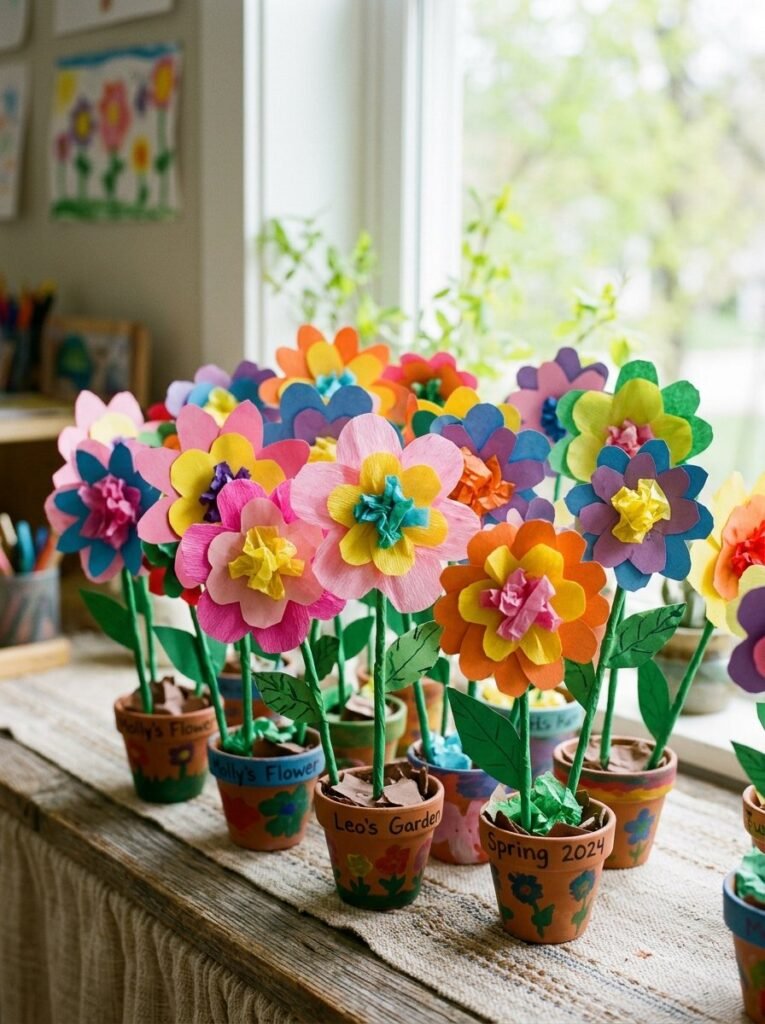
Bring spring indoors with a simple paper flower. Cut five or six petal shapes from colored paper. Arrange them around a small paper circle and glue them together. Add a green paper stem and two leaves. For extra texture, use tissue paper in the flower center. Children can make a whole garden using different colors and flower shapes. This simple activity works well for home, preschool, and classroom displays.
3. Toilet Paper Roll Owl
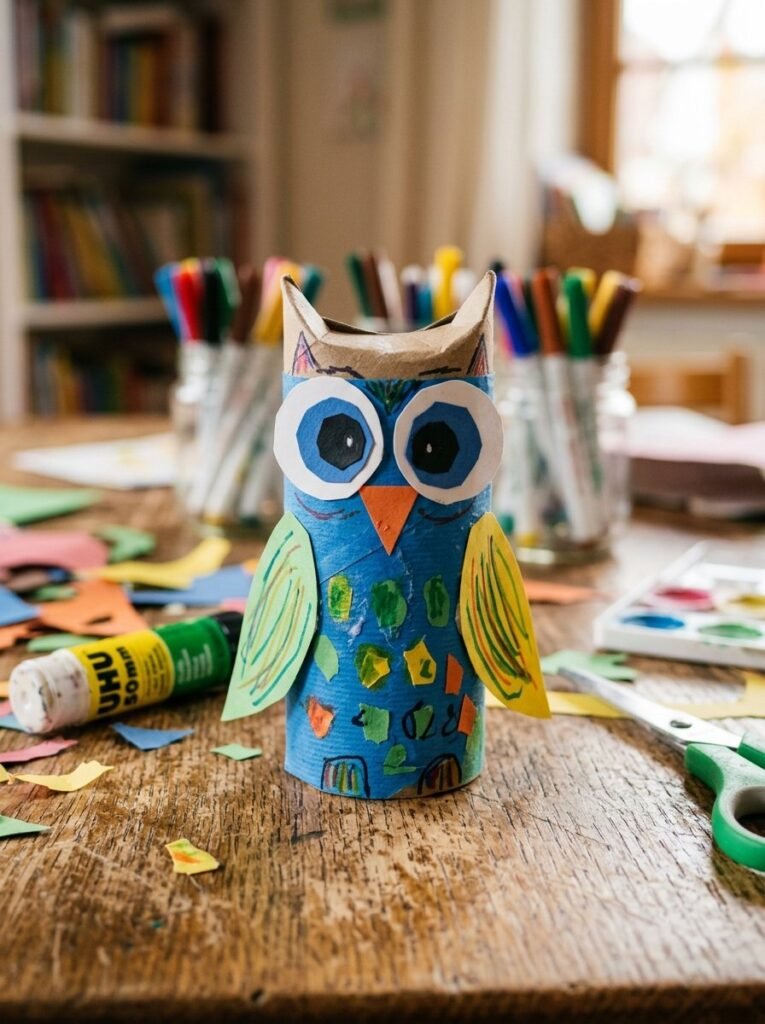
An empty toilet paper roll can become a cute owl with just a few materials. Cover the cardboard tube with colored paper. Add large circular eyes, a small triangle beak, and paper wings. Children can choose unusual colors and patterns. A purple owl, blue owl, or rainbow owl can look just as fun as a realistic one. This recycling project teaches children that ordinary household items can become useful craft materials.
4. Tissue Paper Rainbow
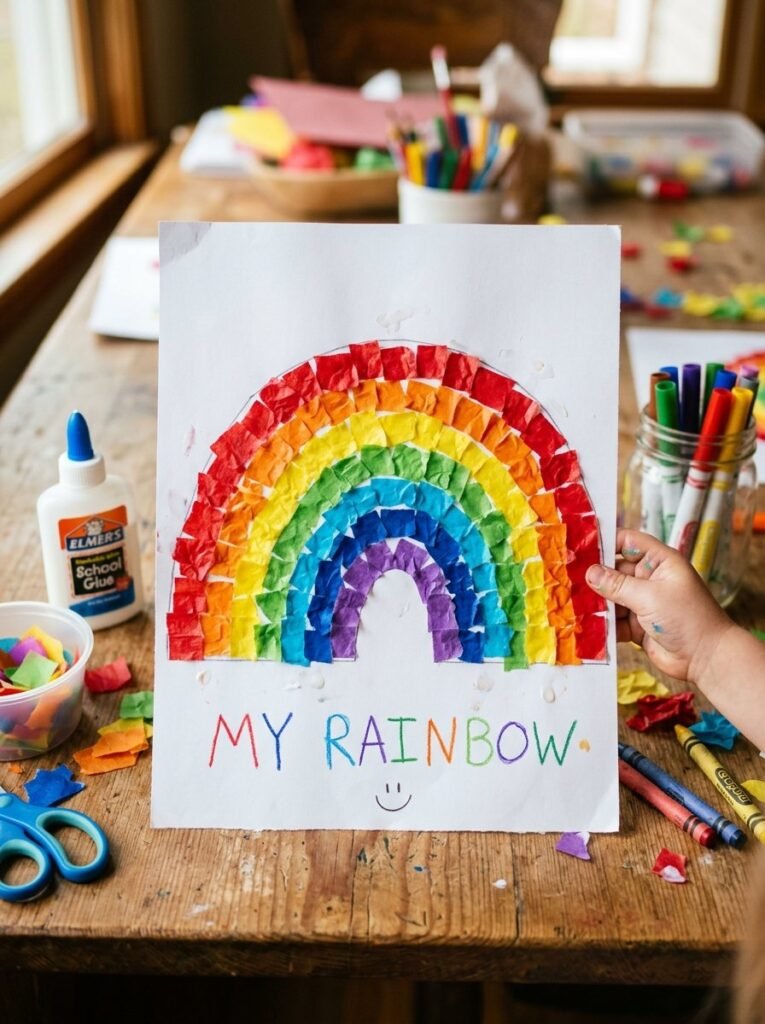
A tissue paper rainbow can brighten a bedroom, classroom, or craft corner. Draw a large rainbow outline on white paper. Cut or tear tissue paper into small pieces. Give children red, orange, yellow, green, blue, and purple pieces. They can glue the colors along the rainbow lines. Tearing paper is especially useful for small children because they can focus on placing and arranging pieces without complicated cutting.
5. Crepe Paper Flower
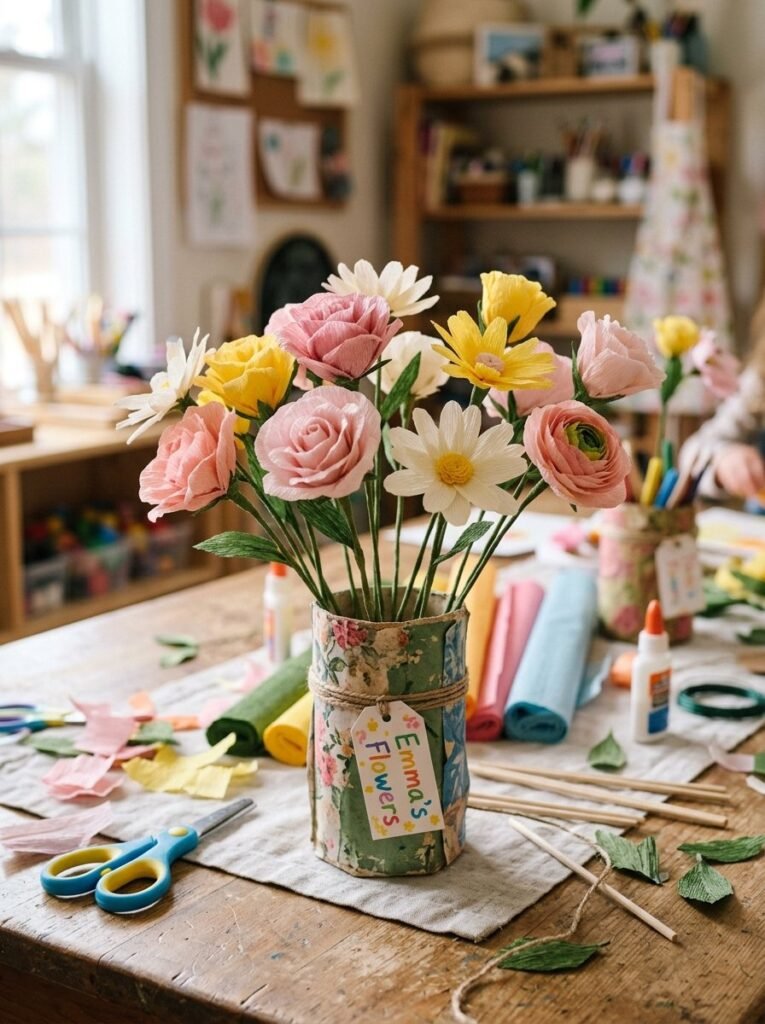
Crepe paper gives flowers a soft and textured appearance. Cut several rounded petals from different colors of crepe paper. Layer them together and twist or glue the center. Add a green paper stem and leaves. Make several flowers and place them in a handmade paper vase. This easy construction project works especially well for spring decorations and handmade gifts.
6. Paper Lion Face
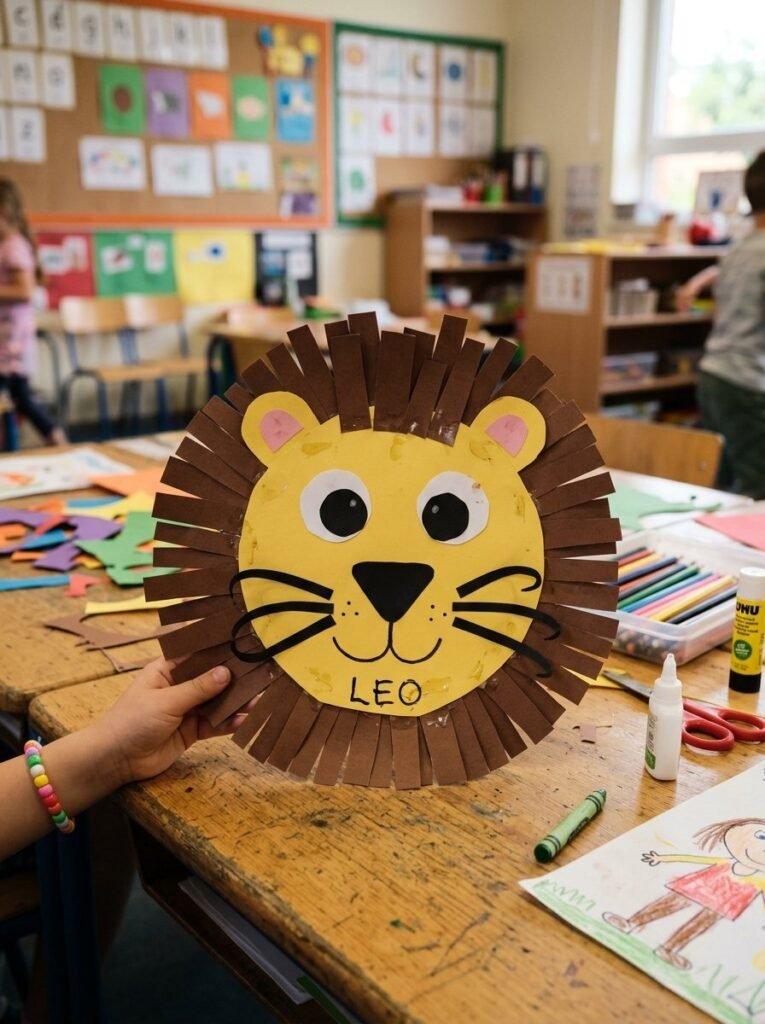
Turn a paper plate or large circle of construction paper into a friendly lion. Color the center yellow or orange. Then cut strips of brown or golden paper and attach them around the edge to create a mane. Add eyes, ears, a nose, and whiskers. Children can make a happy lion, sleepy lion, or funny lion. This fun construction activity introduces children to simple shapes while encouraging them to create their own animal characters.
7. Paper Fish
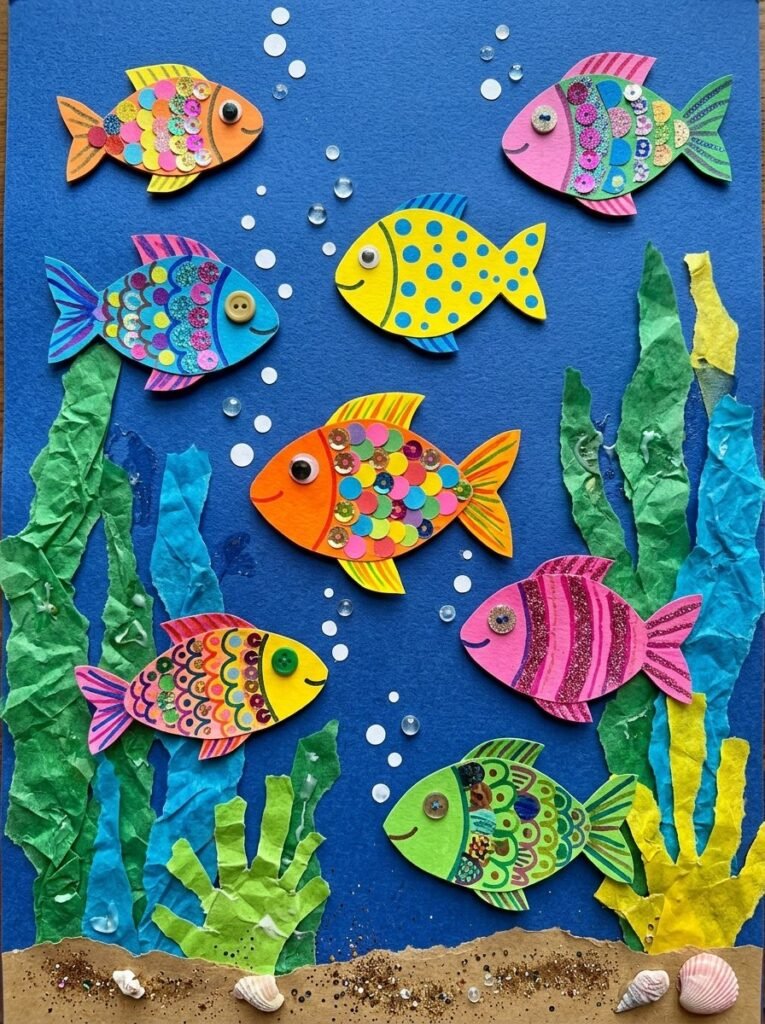
Create an underwater world with colorful paper fish. Cut a simple fish shape from construction paper. Add paper fins, a tail, eyes, and decorative scales. Children can use different colors for each fish. Add tissue paper seaweed and blue paper waves to create a complete underwater scene. You can even ask children to name each fish and invent a short story about where it lives.
8. Halloween Paper Pumpkin
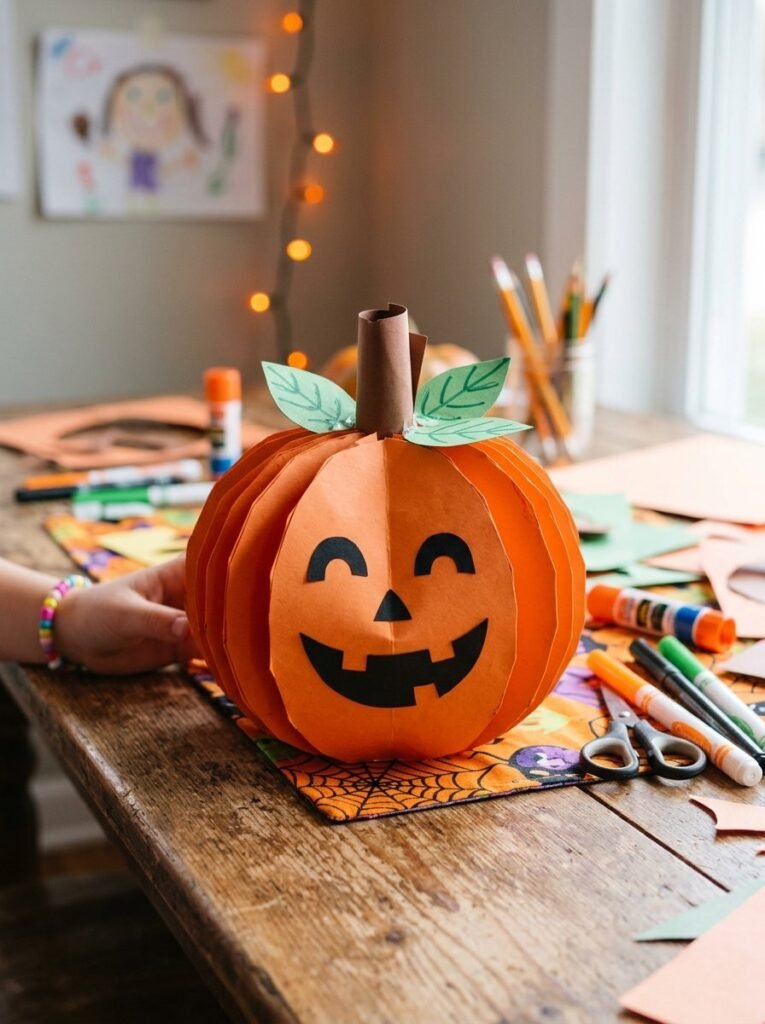
Halloween is a great time for creative paper projects. Cut several orange paper circles and fold each one in half. Glue the folded pieces together to create a rounded pumpkin shape. Add a small brown stem and green paper leaf. Children can draw a friendly face or create a traditional jack-o’-lantern. Keep the design playful and age-appropriate so younger children can enjoy the activity too.
9. Christmas Paper Tree
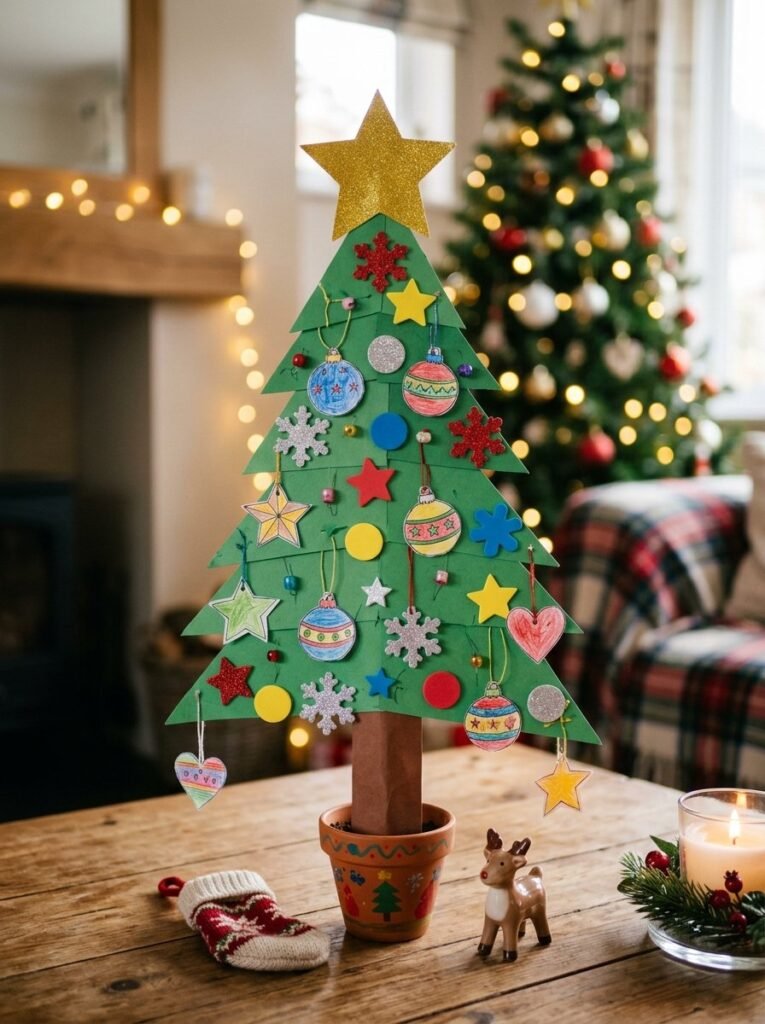
Create a Christmas tree with green construction paper. Cut three or four triangles in different sizes and layer them from large to small. Add paper stars, circles, ribbons, foam shapes, or small pieces of colorful paper as ornaments. Place a yellow star at the top. Children can personalize every tree, making this a wonderful Christmas craft for home or school.
10. Winter Paper Snowman
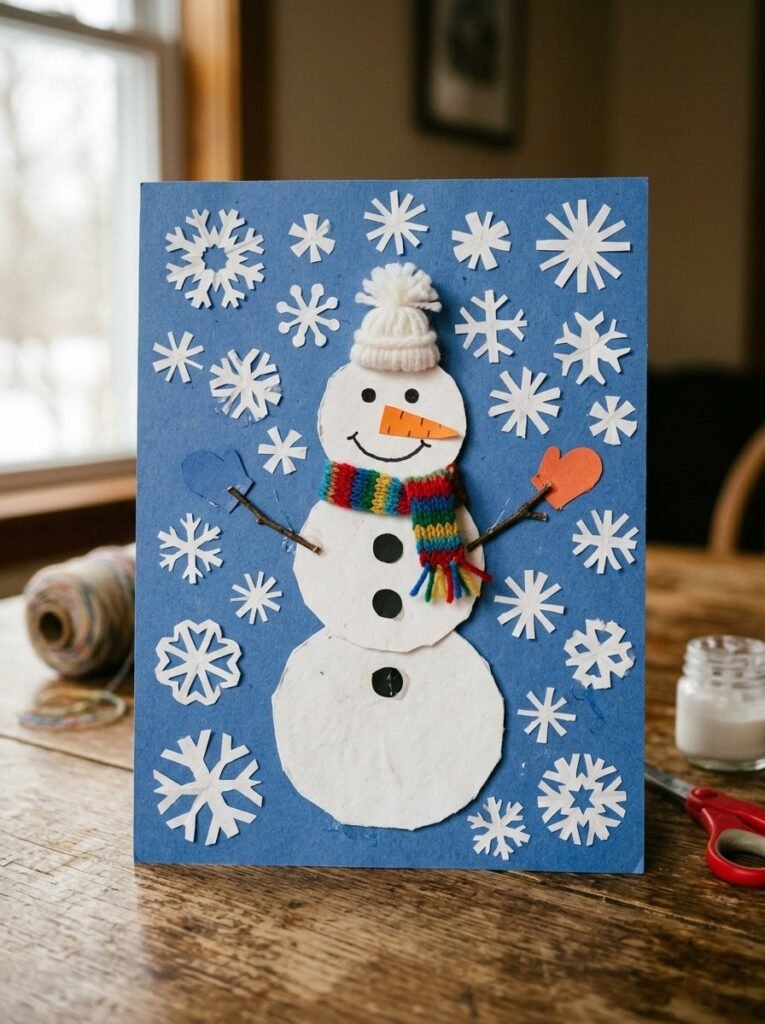
A winter snowman needs only a few basic shapes. Cut three white paper circles and place them on top of each other. Add black paper buttons, eyes, an orange carrot nose, and a colorful scarf. Children can create different hats and scarves for each snowman. For an extra winter scene, glue the snowman onto blue paper and add small white paper snowflakes around it.
11. Easter Bunny

Easter crafts can be bright, playful, and easy to customize. Cut a large bunny face from white or pastel construction paper. Add long ears, eyes, a small nose, and paper whiskers. Children can decorate the ears with tissue paper or small patterns. Place the bunny beside colorful paper eggs to create a complete Easter display.
12. Valentine’s Day Heart Card
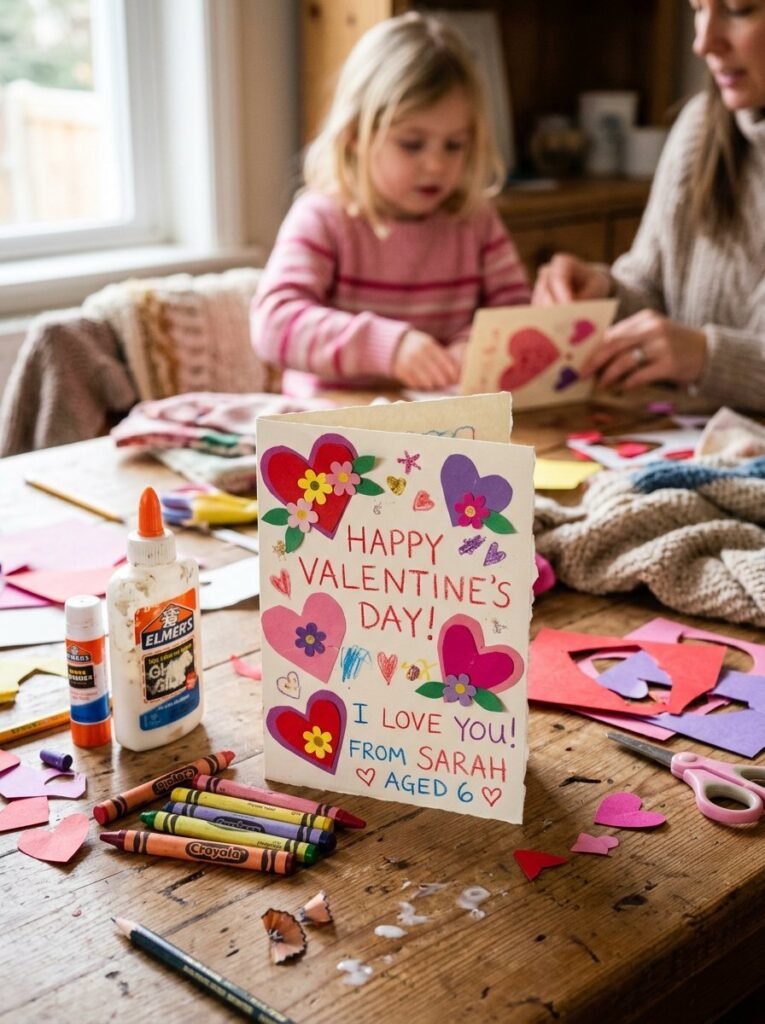
Valentine’s Day gives children a chance to make something personal for someone they love. Fold a sheet of paper to create a card and decorate the front with paper hearts. Layer small hearts over larger ones to create depth. Add flowers, stars, or simple drawings. The finished card can include a short handwritten message inside. Handmade cards often feel special because the child creates every part.
13. Summer Paper Sun
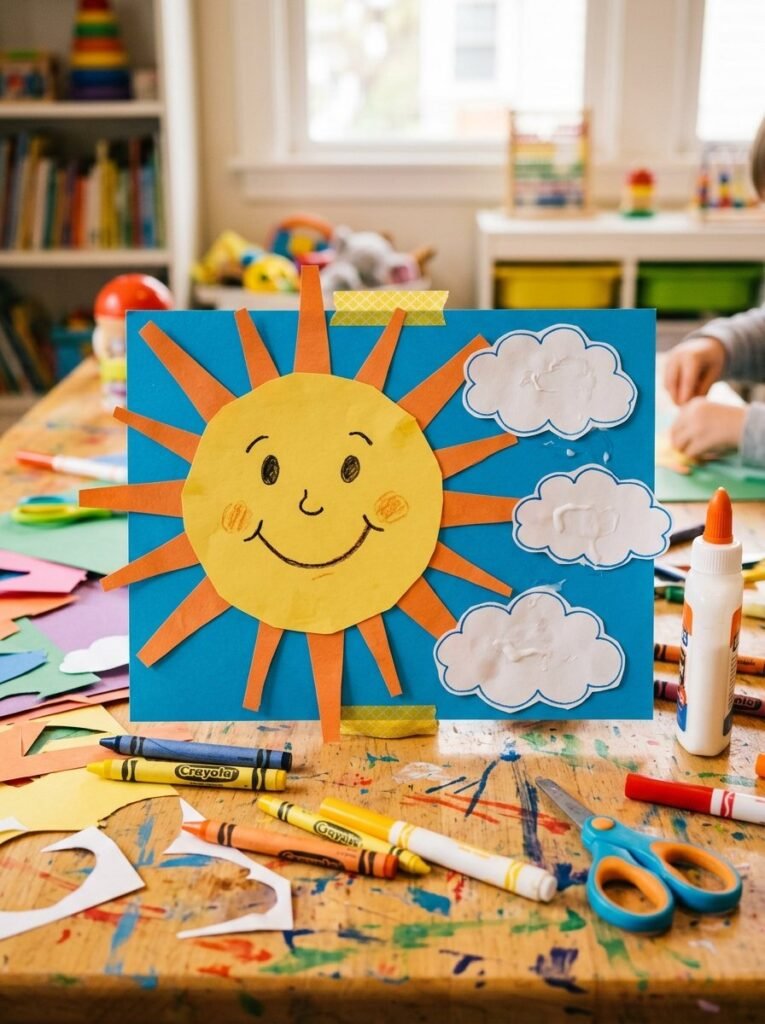
Bring summer sunshine to the craft table with a bright paper sun. Cut a large yellow circle and surround it with triangular rays. Add a smiling face if the child wants one. Use orange and yellow paper for the rays and add small clouds made from white paper. This cool summer project works well for bedroom decorations, classroom walls, or a seasonal activity board.
14. Spring Paper Caterpillar

Create a cute caterpillar from several colored paper circles. Cut circles in different colors and overlap them to form the body. Add two eyes, tiny antennae, and a friendly smile. Place the caterpillar on a paper leaf or flower garden. Children can practice color recognition and simple patterns while creating their little animal.
15. Paper Bird
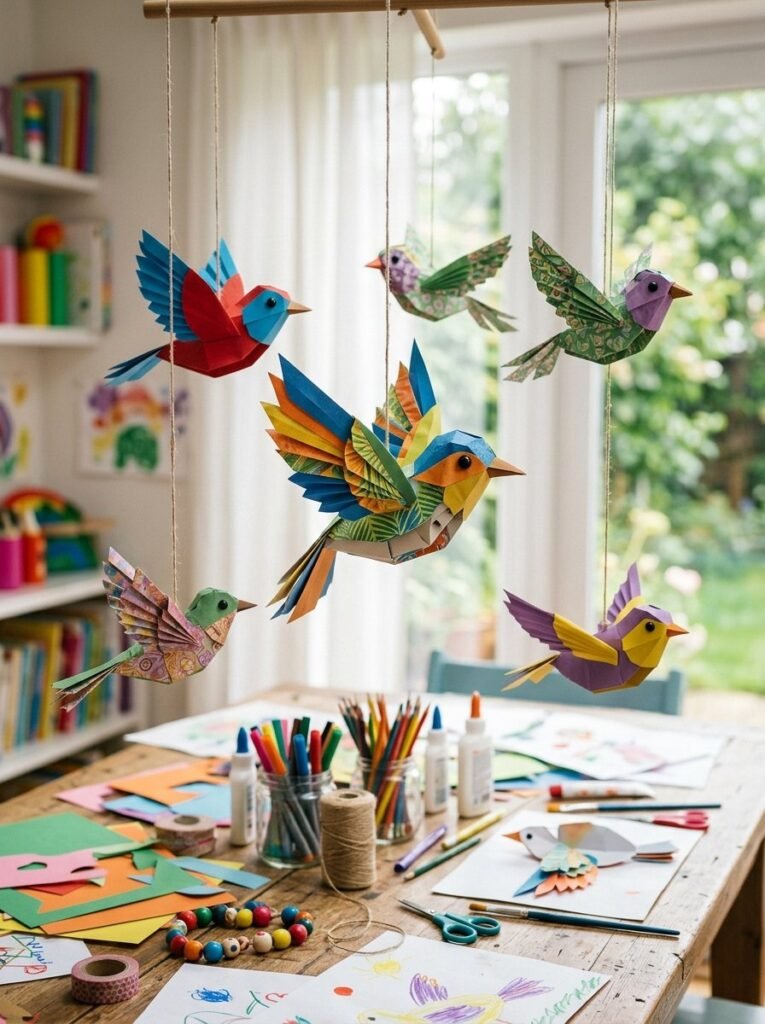
A paper bird can be made with a few simple shapes. Start with an oval body, then add wings, a beak, eyes, and a tail. Fold the wings slightly so they stand away from the body. Hang several finished birds from a string to create a cheerful decoration. Children can choose realistic colors or create imaginary birds that do not exist anywhere else.
16. Paper Puppet

Turn paper into a character that can move and tell stories. Draw a person, animal, monster, or imaginary character on construction paper. Cut out the pieces and attach them to a paper bag or craft stick. Once the puppet is finished, children can create a short story. One puppet can become a character in a family adventure, classroom play, or bedtime story.
17. Printable Paper Animal
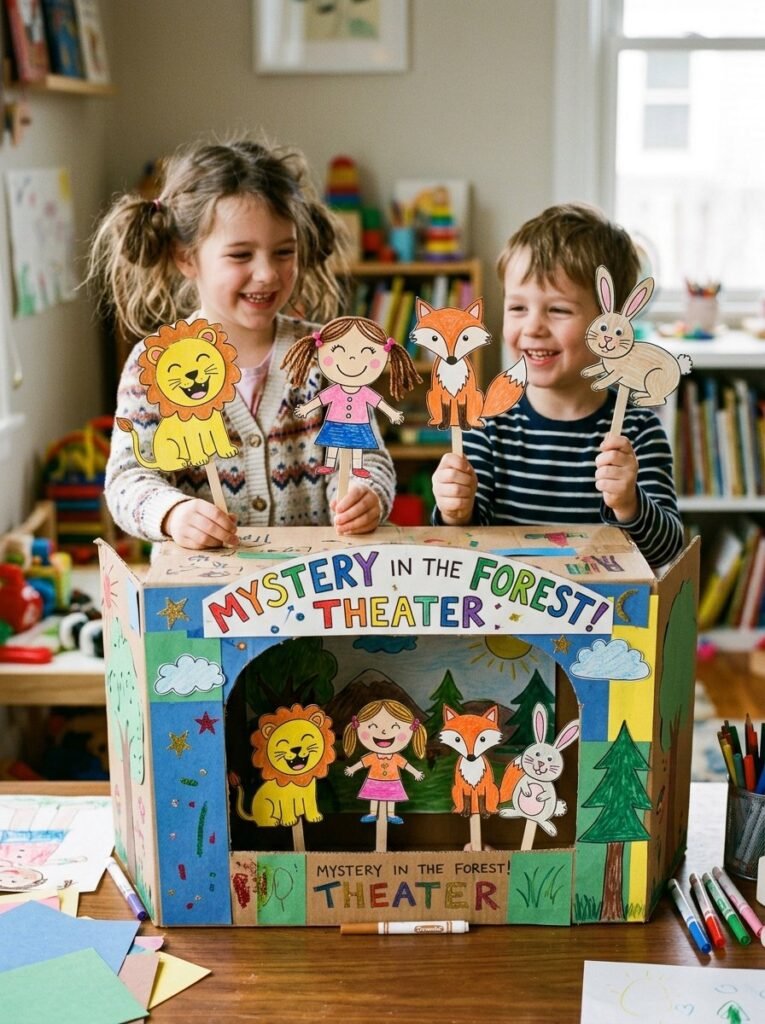
Printable templates can help children who want to start crafting immediately. Choose a simple animal outline, print it, and let children color and decorate it. You can turn the same template into different animals by changing the colors, ears, eyes, tails, and patterns. Try a cat, dog, bear, rabbit, tiger, or fantasy creature. Printable projects are especially useful when parents or teachers want a structured activity with less preparation.
18. Contact Paper Nature Collage
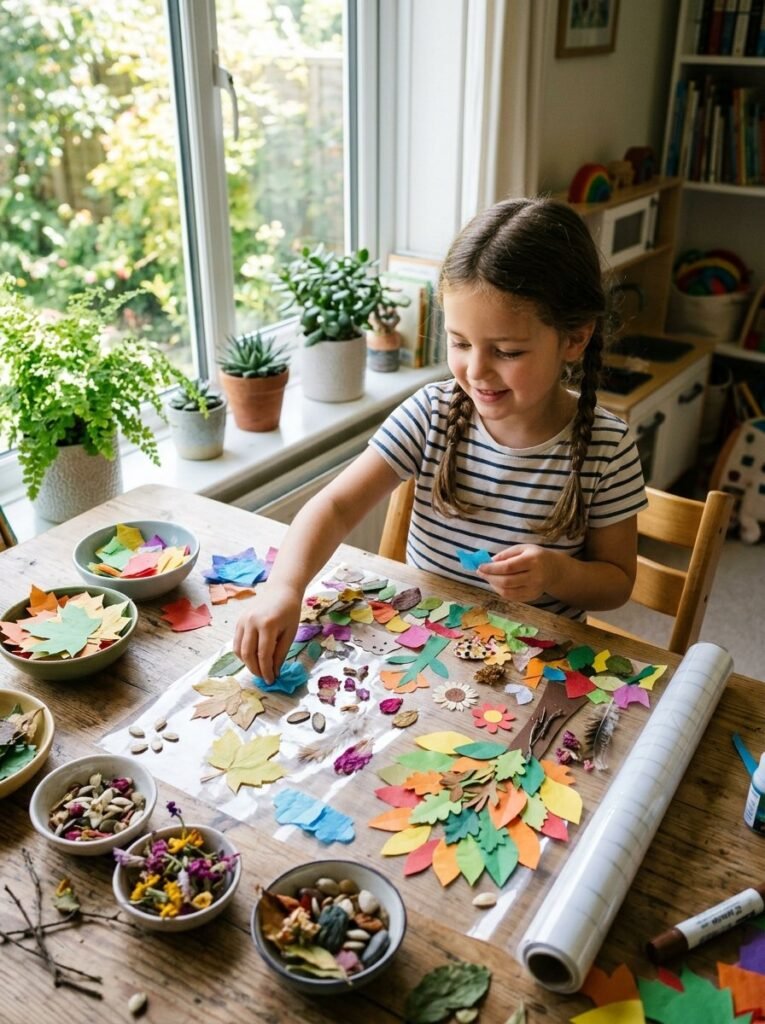
For a different texture, try a contact paper collage. Place clear contact paper sticky-side-up on a table and let children arrange lightweight paper shapes, leaves, tissue paper, or other safe flat materials. Cover the design with another layer of contact paper when finished. The result can become a colorful window decoration or hanging artwork. Always supervise young children around adhesive materials and choose products appropriate for their age.
How to Make Craft Time More Fun
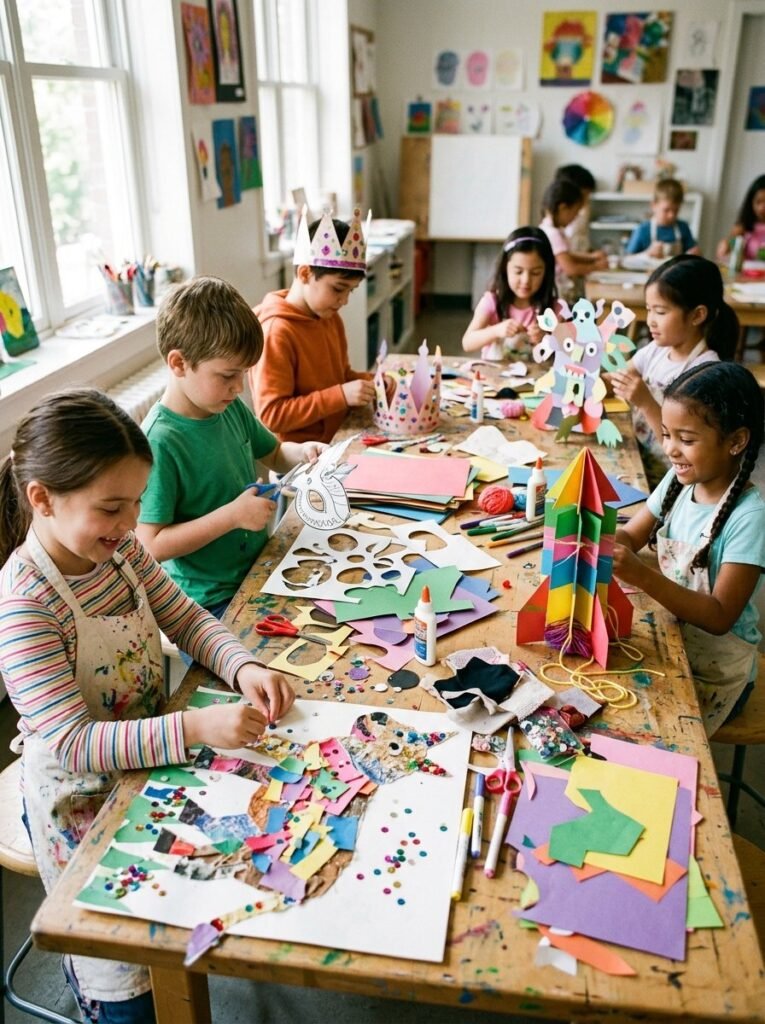
You do not need to tell children exactly what their finished project should look like. Give them a starting point and let them make decisions. For example, instead of saying, “Make a red flower,” try asking, “What kind of flower would grow in your imaginary garden?” One child may create a giant purple flower. Another may make a tiny blue one. This open-ended approach makes paper crafts for kids more personal. Children can experiment with color, shape, texture, and size while developing their own ideas.
Tips for Parents and Teachers
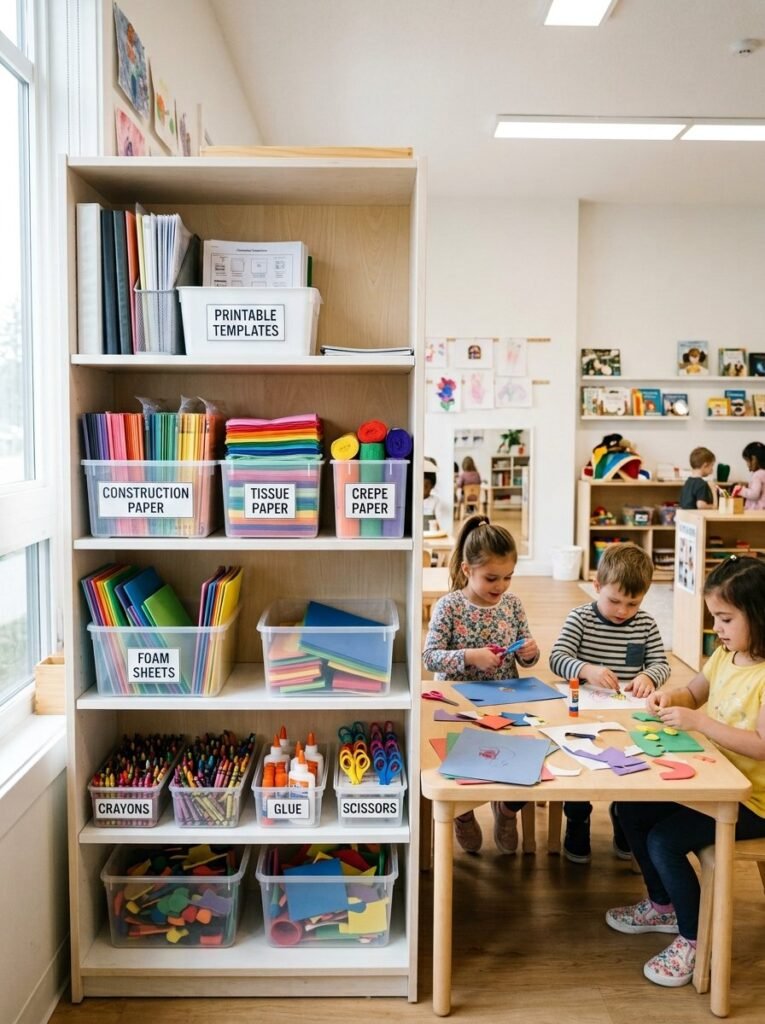
Keep the instructions short. Demonstrate one step at a time and allow children to try the next step themselves. For younger children, prepare difficult shapes in advance. Older children can cut more detailed patterns when they have the appropriate skills and supervision. Keep a small craft box filled with construction paper, tissue paper, crepe paper, foam pieces, recycled cardboard, crayons, glue, and printable templates. When everything stays together, it becomes much easier to start a new project. Most importantly, focus on creativity rather than perfection. A craft made by a child should look like it came from a child.
Final Thoughts
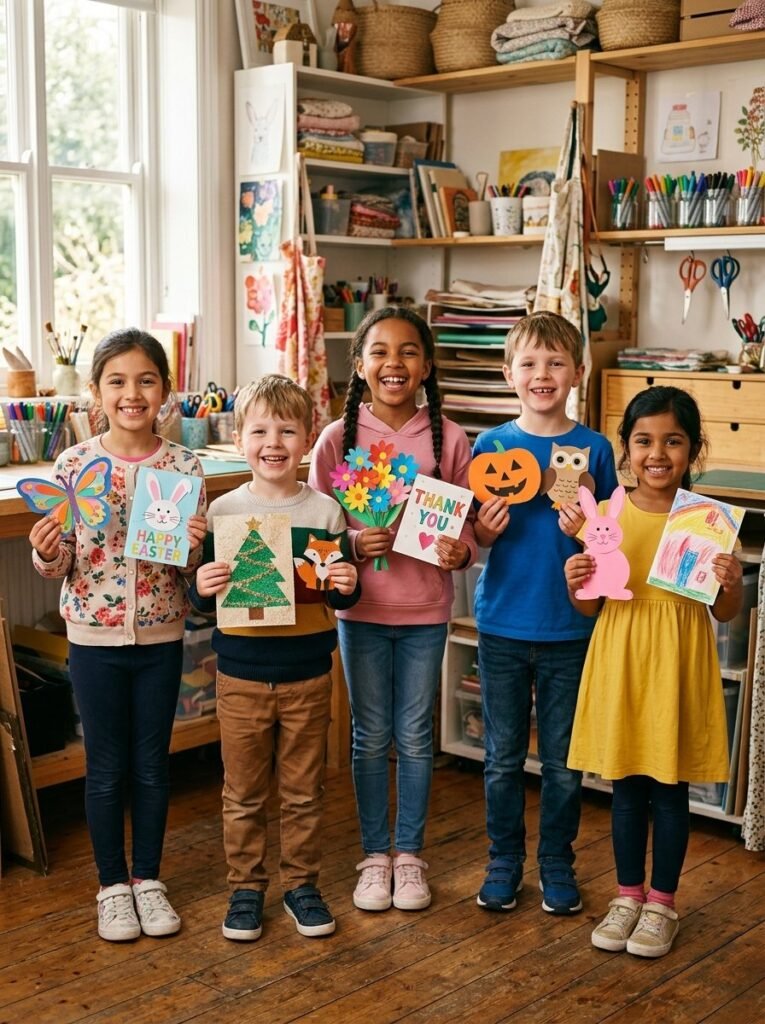
The beauty of paper crafts for kids lies in their simplicity. A few sheets of paper can create a butterfly, animal, flower, holiday decoration, puppet, or entire story world. Start with one project and see where the child’s imagination takes it. Try seasonal crafts during spring, summer, winter, Halloween, Christmas, Easter, or Valentines Day. Mix construction paper with tissue, crepe, foam, recycled materials, or printable templates. There is no single right way to create. The best craft is often the one that gives a child enough freedom to say, “I made this myself.”

