
The wall behind the bed is the first thing anyone sees in a bedroom, and in most rooms it is also the plainest. One accent wall changes the whole room without touching the floor, the furniture or the other three walls.
This list covers the styles people ask about most: warm wood slat panels, classic board and batten, a picture ledge gallery, deep painted color, a green wall with gold frames, clean two tone paint, a wallpaper panel, a soft limewash look, padded fabric panels and stone look panels for a master suite.
The first three ideas are builds with full materials and steps. The rest are recipes you can copy in a day or a weekend with paint, paper or panels.
Safety first, always. Use a stud finder and a level for any drilling or sawing, fix heavy panels into studs, and keep the room well ventilated while paint dries. Work slowly around electrical outlets and never drill where wires may run.
Quick Picks
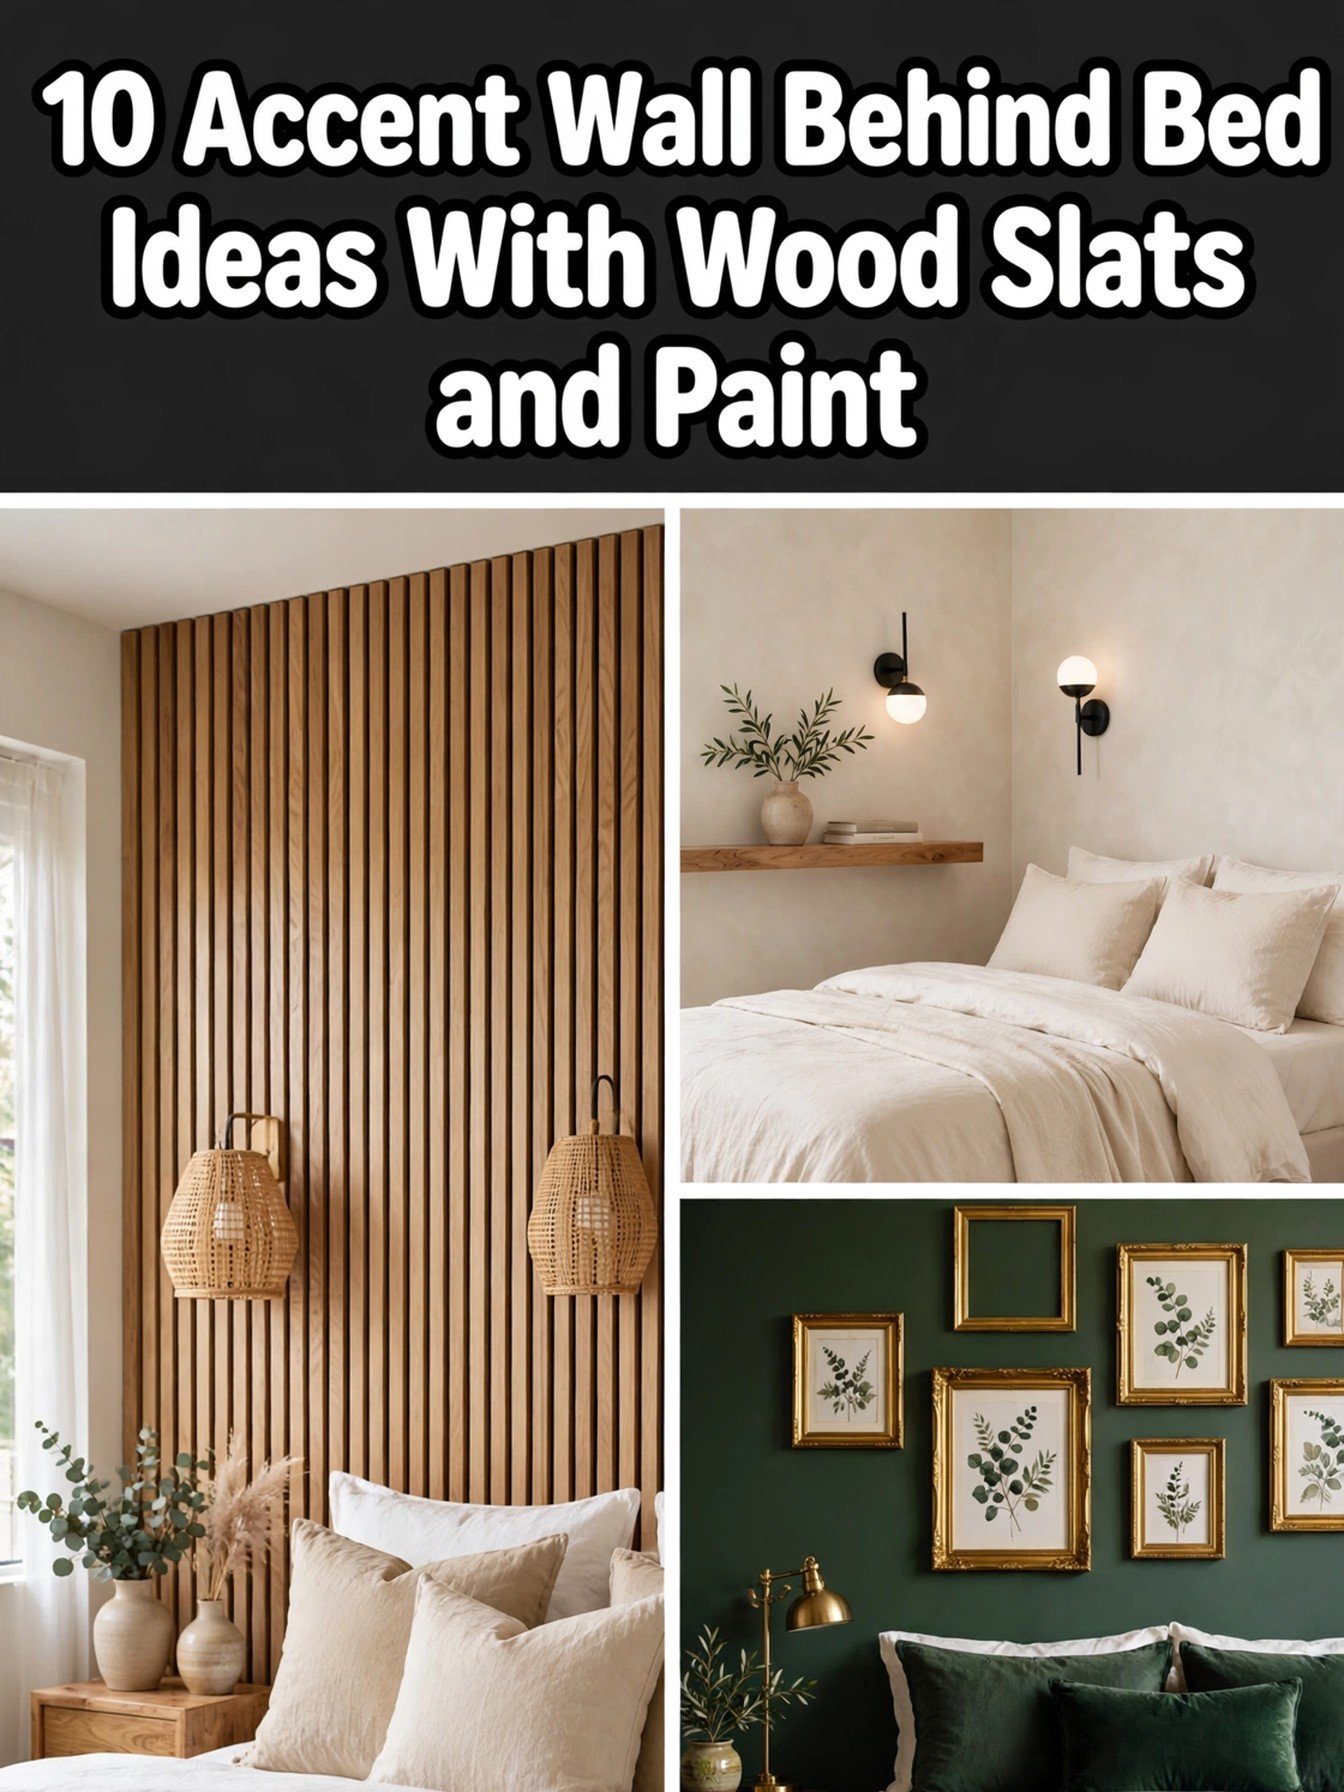
- Start here: Wood Slat Wall Panels (idea 1)
- One weekend: Board and Batten Wall in a Weekend (idea 2)
- No nails in art: Picture Ledge Gallery Wall (idea 3)
1. Wood Slat Wall Panels
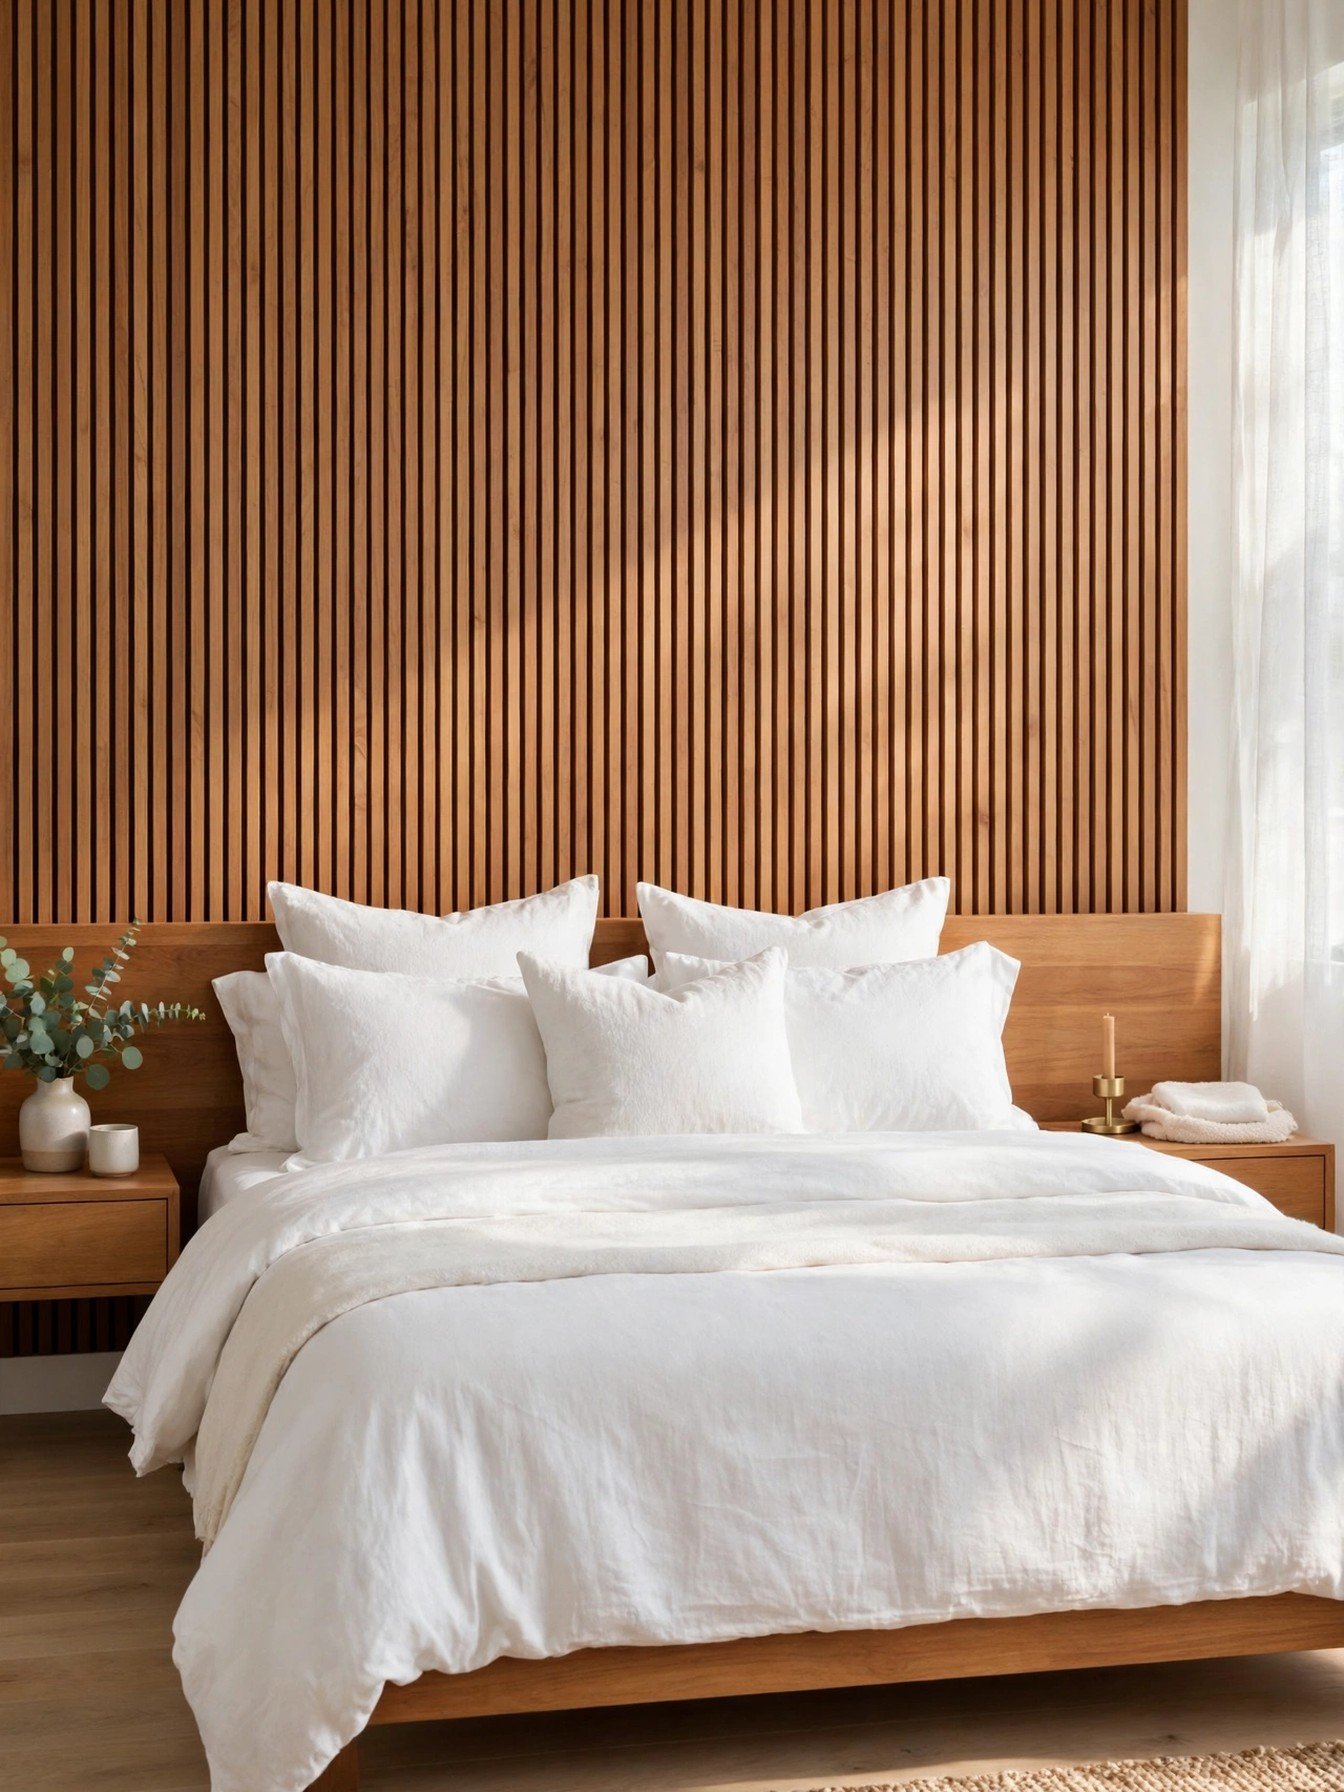
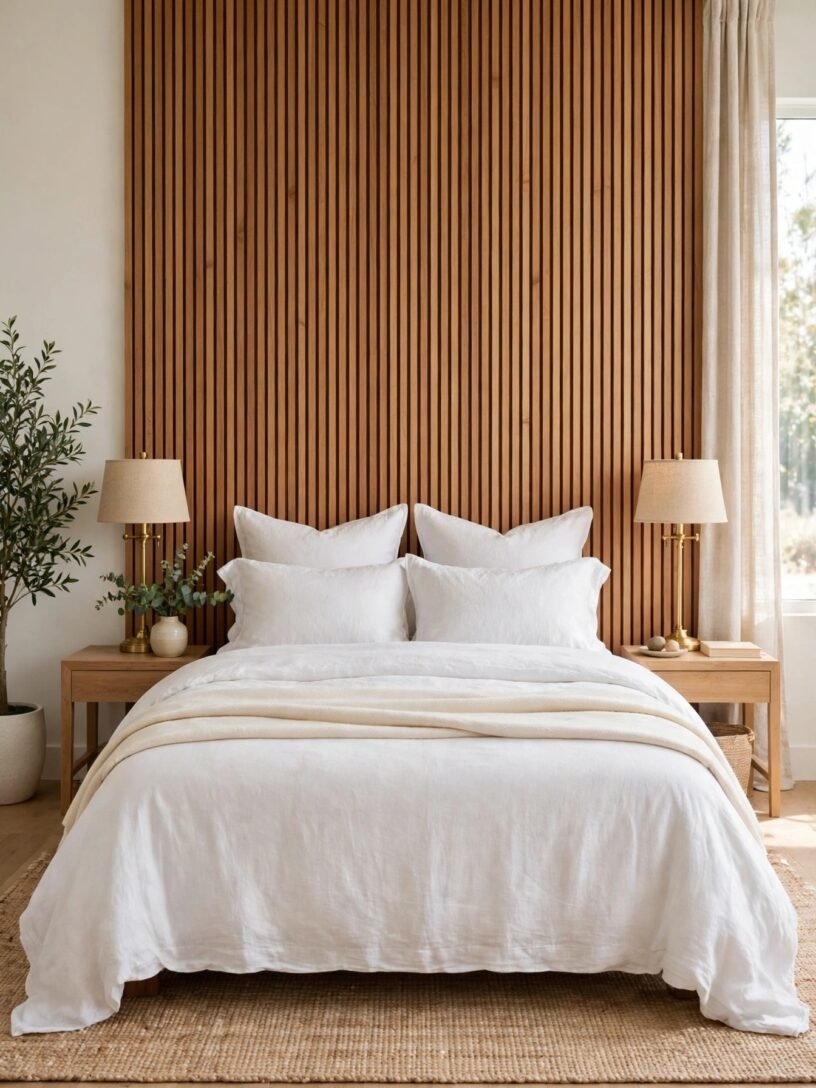
Vertical wood slats bring warmth, rhythm and a quiet hotel feeling to the wall behind a bed. The lines draw the eye upward, the wood softens all the white bedding in the world, and the felt backing even takes the edge off echo. These LARWORKS wood slat acoustic wall panels, two pack in teak cover about 35 square feet together, enough for the wall section behind most beds.
Run the panels from the top of the headboard to the ceiling for a tailored look, or floor to ceiling for full drama. Warm teak and walnut tones suit almost every bedding color you already own.
⏱ One day💲 High🛠 Medium
Materials Needed
- Two wood slat acoustic panels in your chosen finish
- A stud finder, a level and a drill
- Screws matched to your wall type
- A fine tooth saw for trimming
How to Make It
- Measure the wall section behind the bed and mark its center line in pencil.
- Find the studs across the section and mark them lightly from floor to ceiling.
- Hold the first panel against the center line, check it with the level, and screw through the felt into the studs.
- Slot the next panel tight against the first and repeat until the section is covered.
- Trim the last panel to width with the saw, then step back and check the lines run straight.
Tip: Order a small sample first if you can. Wood tones shift a lot between morning and evening light, and the right tone is the whole effect.
2. Board and Batten Wall in a Weekend
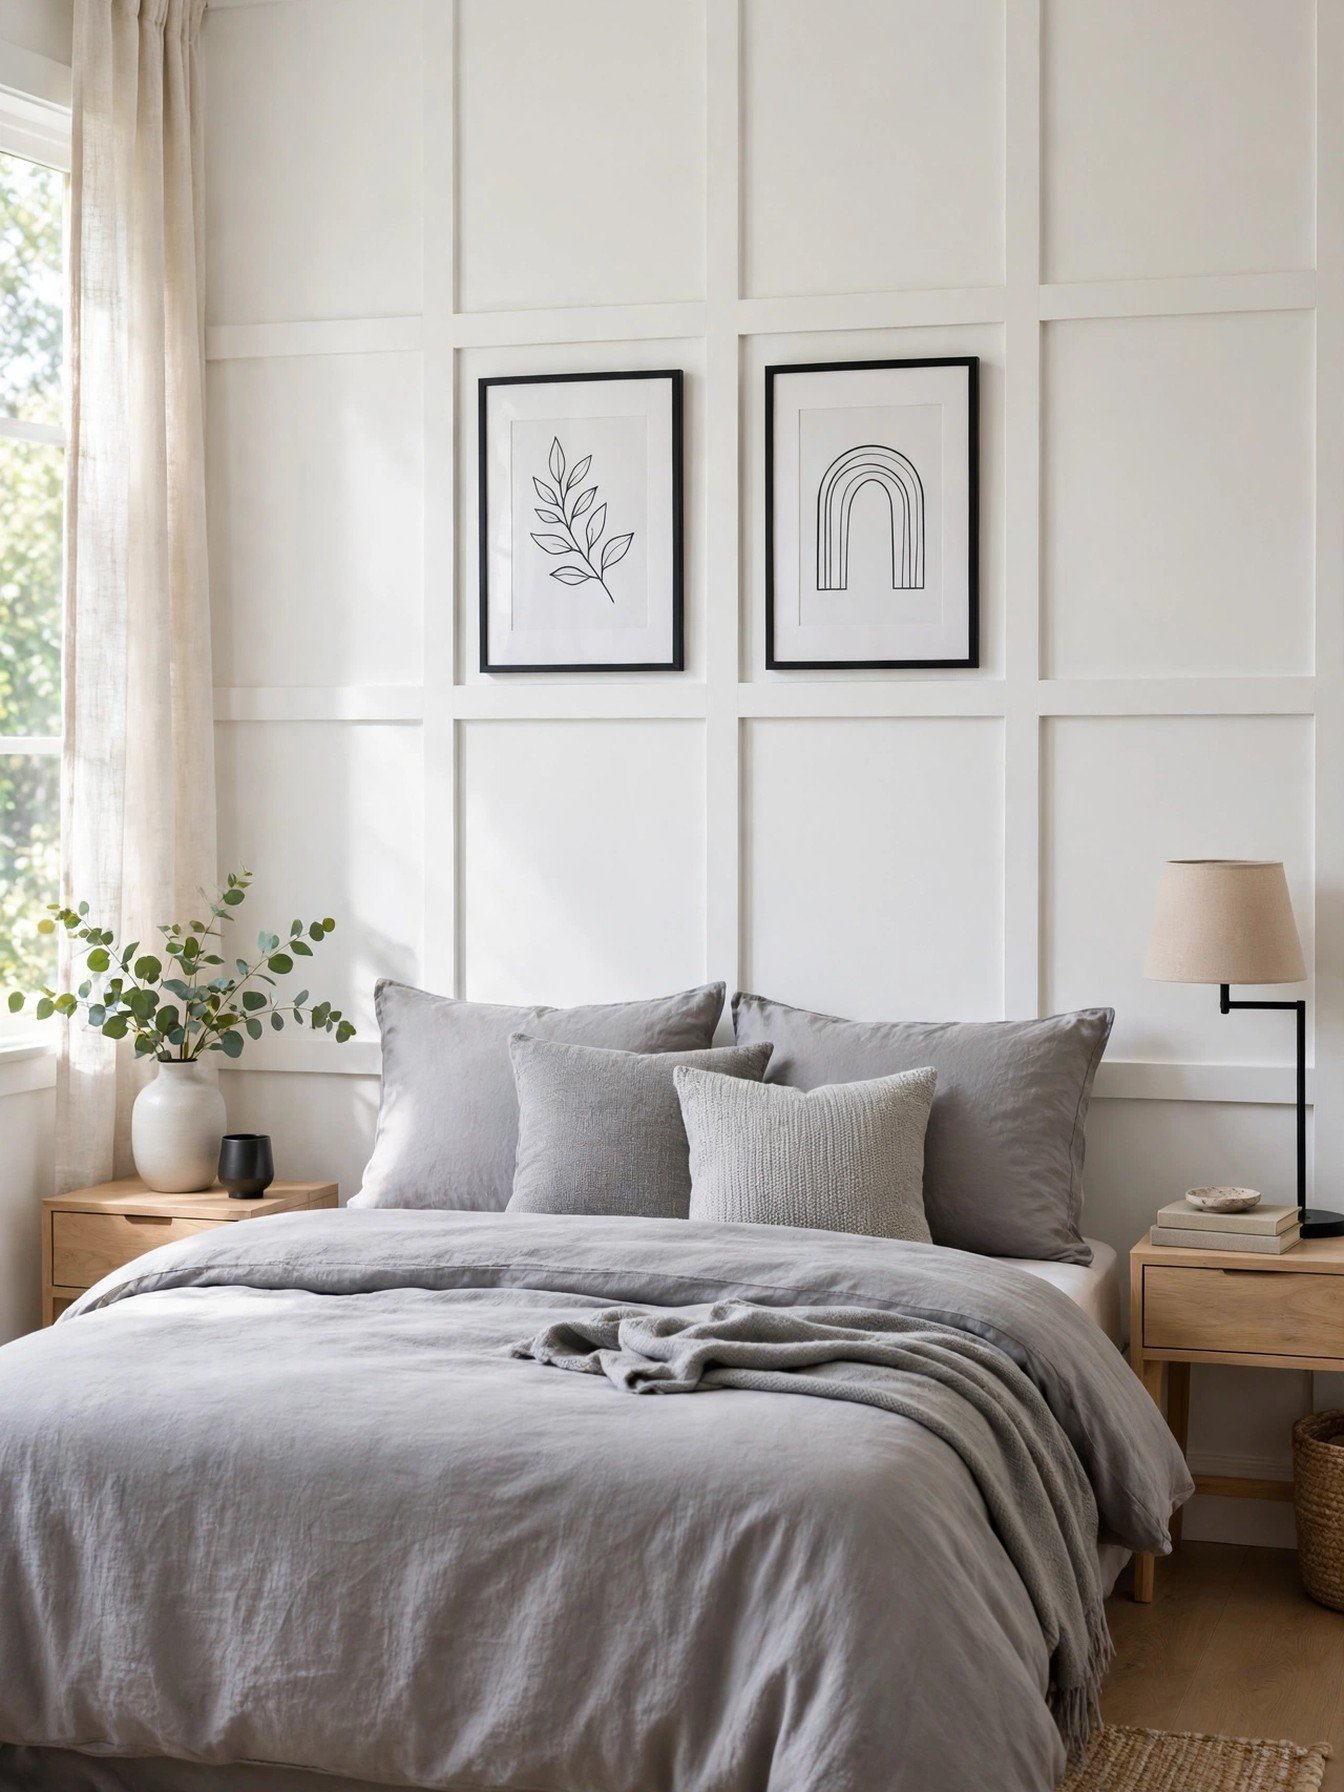
Board and batten is the friendliest big change in decorating: thin strips on a flat wall, one calm color over everything, and the room suddenly looks built in and expensive. A premade kit skips the measuring headache. This Art3d premade board and batten wainscoting kit arrives precut in paintable MDF with edge strips, sized to cover a generous wall section.
Paint the strips and the wall between them the same color for the true built in look. Soft white feels classic, sage feels calm, and deep green turns the same grid into pure drama.
⏱ One weekend💲 Medium🛠 Medium
Materials Needed
- One board and batten kit sized for your wall
- Construction adhesive and a caulk gun
- A level, a tape measure and a pencil
- Paint and a small roller in your wall color
How to Make It
- Plan the grid on paper first, spacing the vertical strips evenly across the bed wall.
- Fix the top and bottom rails level, checking twice before the adhesive grabs.
- Add the vertical strips at your planned spacing, then the inner squares if your kit includes them.
- Caulk every seam, let it dry fully, and sand any rough spots smooth.
- Paint the whole wall, strips and all, in two thin coats for a seamless finish.
Tip: Take a photo of your taped layout on the wall before fixing anything. Grids are easy to adjust in tape and painful to adjust in adhesive.
3. Picture Ledge Gallery Wall
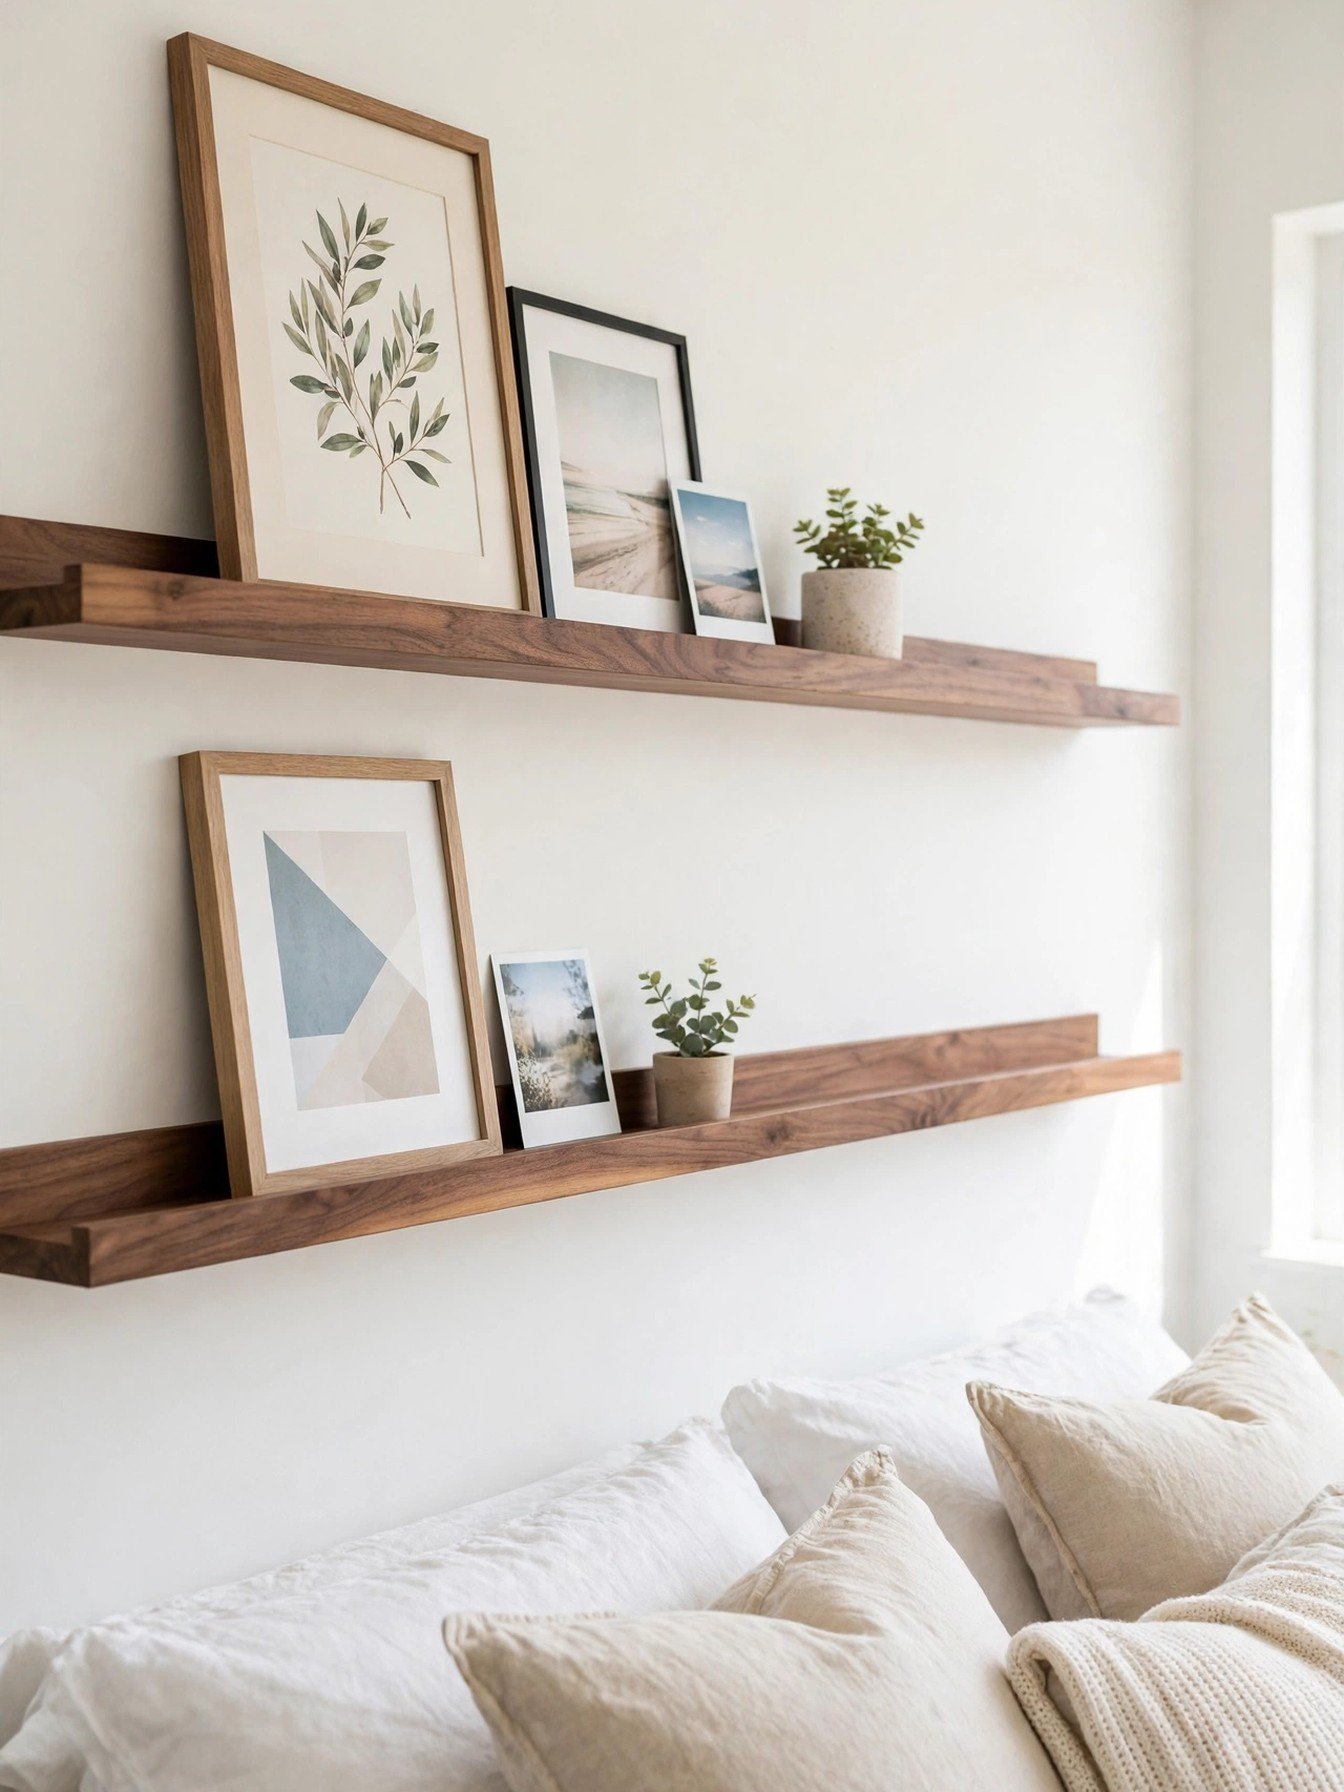
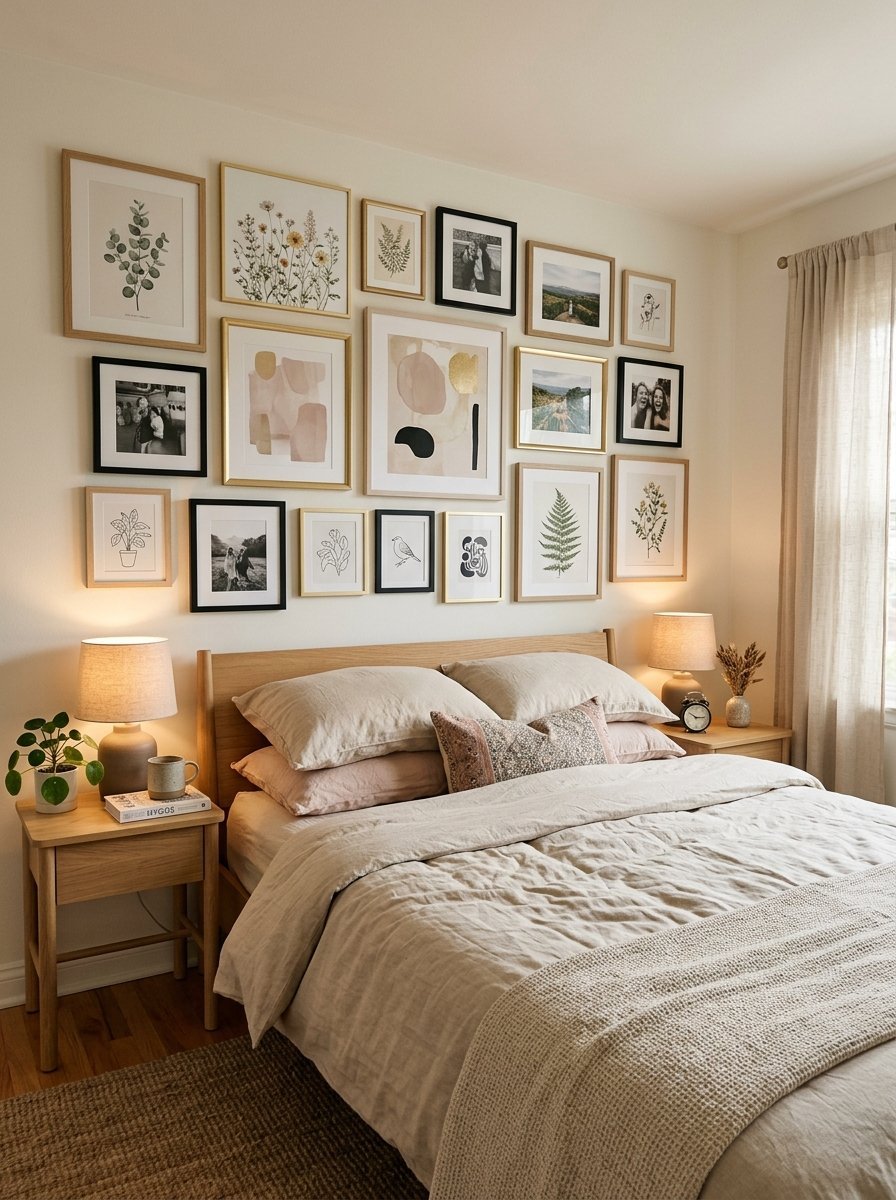
A picture ledge gives you a gallery wall you can rearrange forever without one new nail hole. Frames lean, overlap and swap with the seasons, which suits anyone who changes their mind often. These Kate and Laurel Furrow wood picture ledges, set of two are solid wood with a gentle scalloped face, and each one holds up to 15 pounds of frames.
Mount the ledges above headboard height so frames never crowd pillows, and style them like a shelf: tall frames at the back, small ones in front, one plant for life.
⏱ 2 hours💲 Low🛠 Easy
Materials Needed
- Two picture ledge shelves with fixings
- A stud finder, a level and a drill
- A mix of framed prints and photos
- One small plant or vase for the end of a ledge
How to Make It
- Mark a level line for the lower ledge, high enough that frames clear the headboard and pillows.
- Find the studs, drill, and fix the first ledge firmly to the wall.
- Fix the second ledge about 14 inches above the first, checking both with the level.
- Lean your largest frames on the ledges first, spacing them evenly.
- Layer smaller frames in front, add the plant at one end, and adjust until the wall feels balanced.
Tip: Keep the palette tight: frames in two finishes and art in three colors looks collected, while everything at once looks cluttered.
4. Dark Painted Wall for Drama
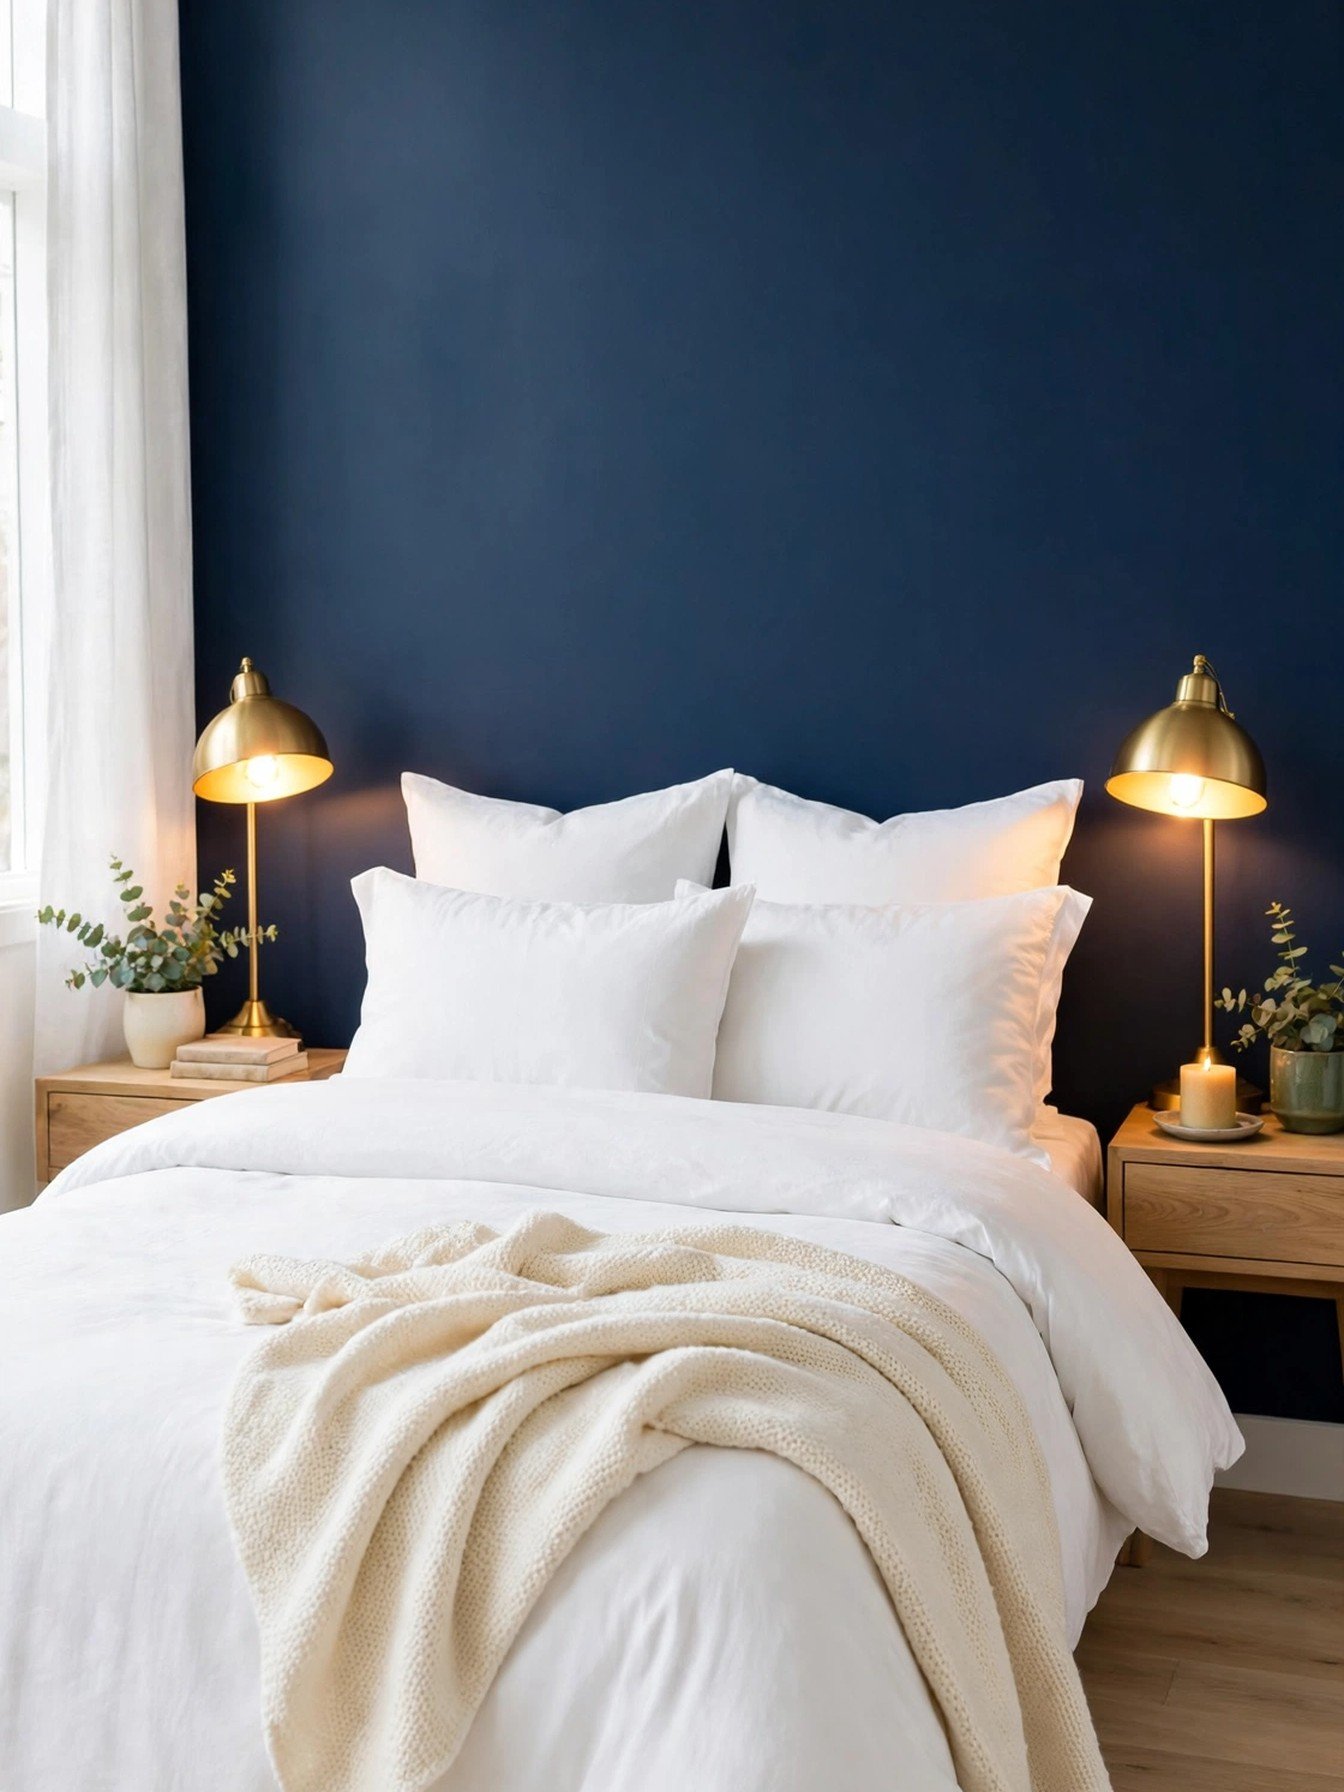
One deep painted wall is the fastest drama in decorating. Navy, charcoal or forest green behind the bed makes white bedding glow and turns bedside lamps into little pools of gold. This Heirloom Traditions all in one paint in Polo, a deep navy quart has primer and top coat built in, so a single wall is a simple two coat job.
Dark walls love warm light and light textiles. Keep the other walls pale, dress the bed in white or cream, and the deep wall reads rich instead of heavy.
You’ll need: deep wall paint in navy, charcoal or forest green, plus rollers and tape
Best for: bedrooms with good daylight that feel washed out or plain
5. Green Wall With Gold Frames
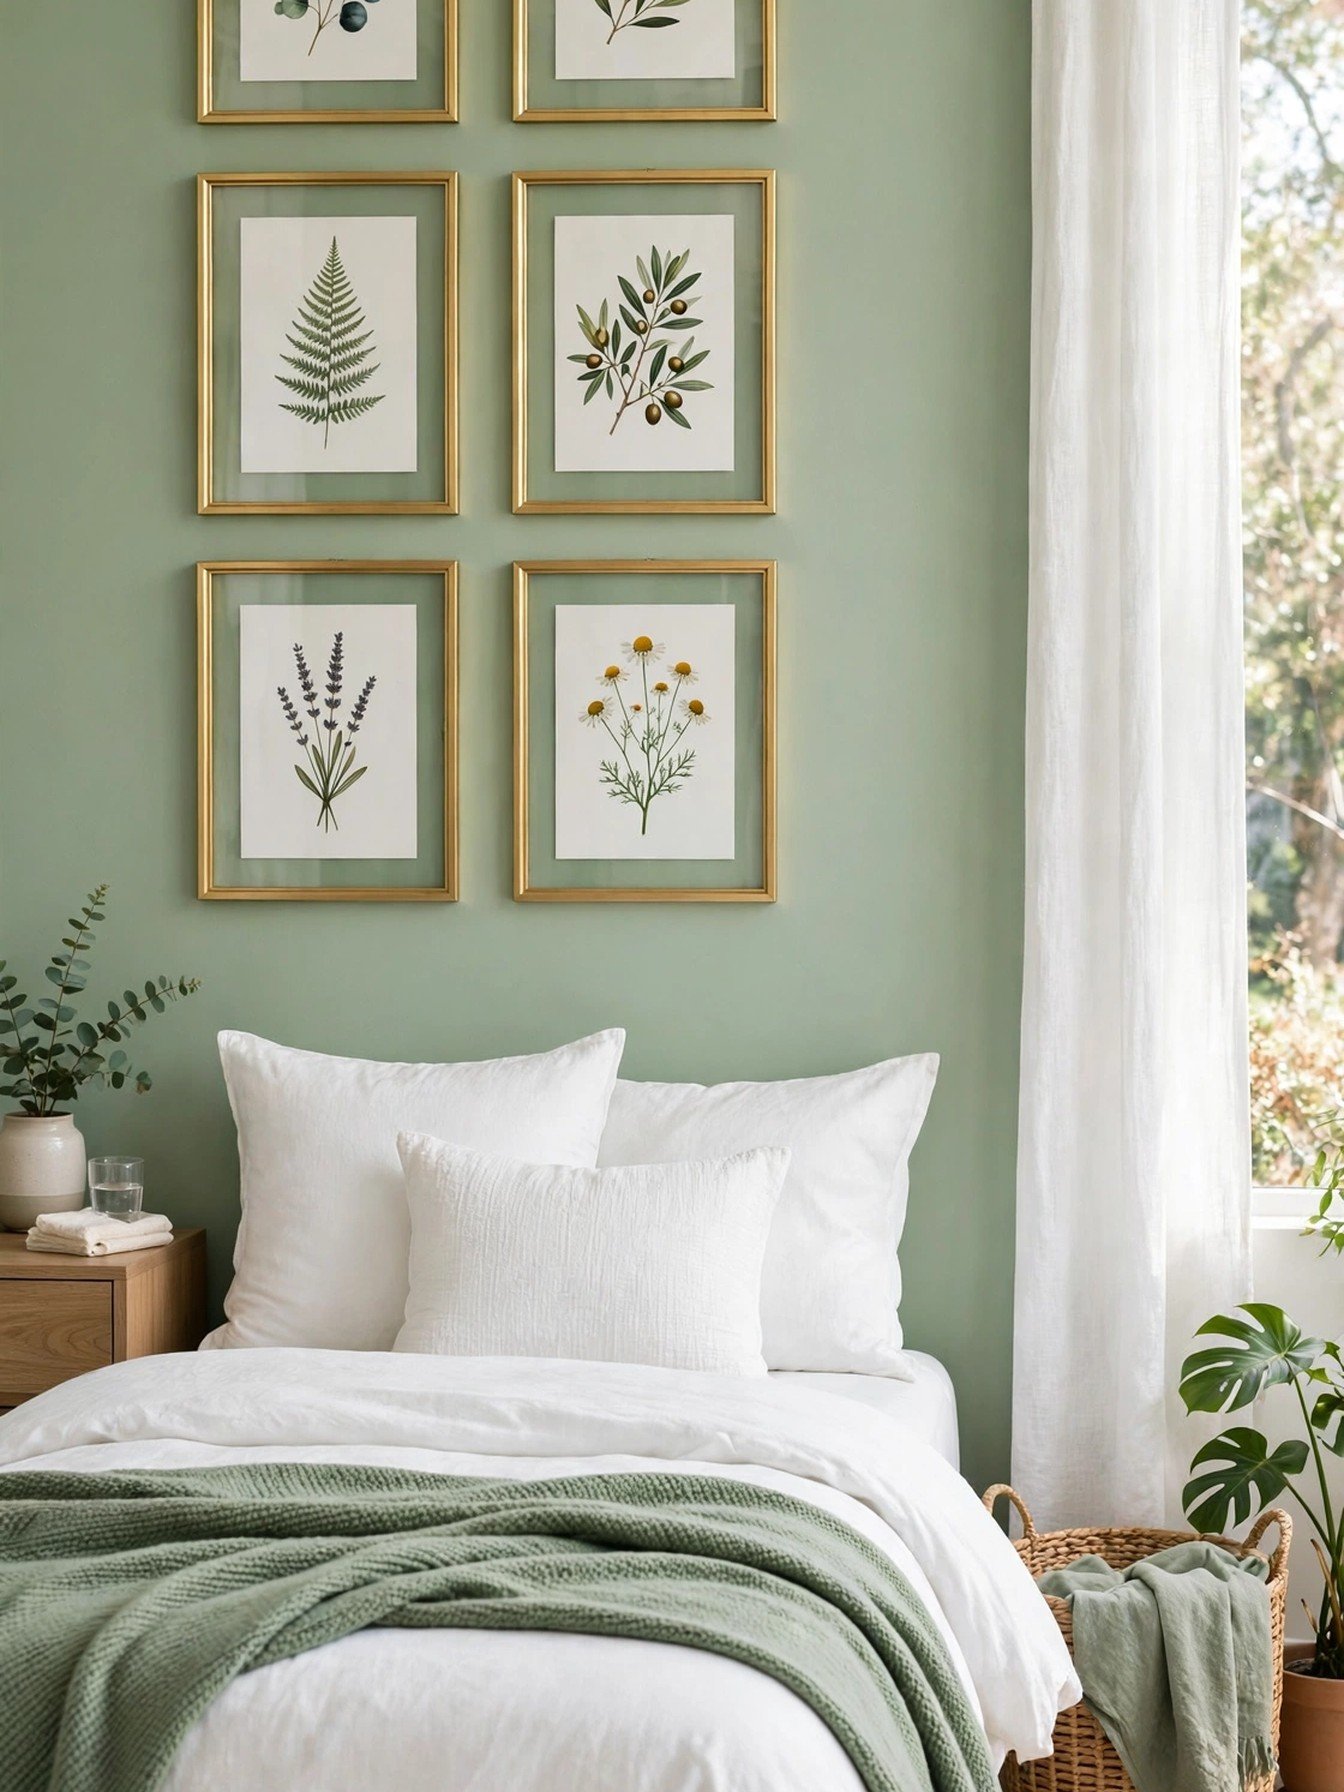
Green and gold is the pairing that never dates. A soft sage or deep emerald wall behind the bed, warmed by gold frames, feels calm in daylight and elegant at night. This Lineshading gold and green gallery frame set, eight pieces mixes sizes in a hand finished gold green tone that sits beautifully on any green wall.
Hang the frames in a loose grid above the headboard, keeping gaps even. Botanical prints, line drawings and family photos all work, as long as the frames carry the gold thread through.
You’ll need: green wall paint and a mixed size gold frame set
Best for: anyone who wants color and polish without a full rebuild
6. Two Tone Paint With a Clean Line
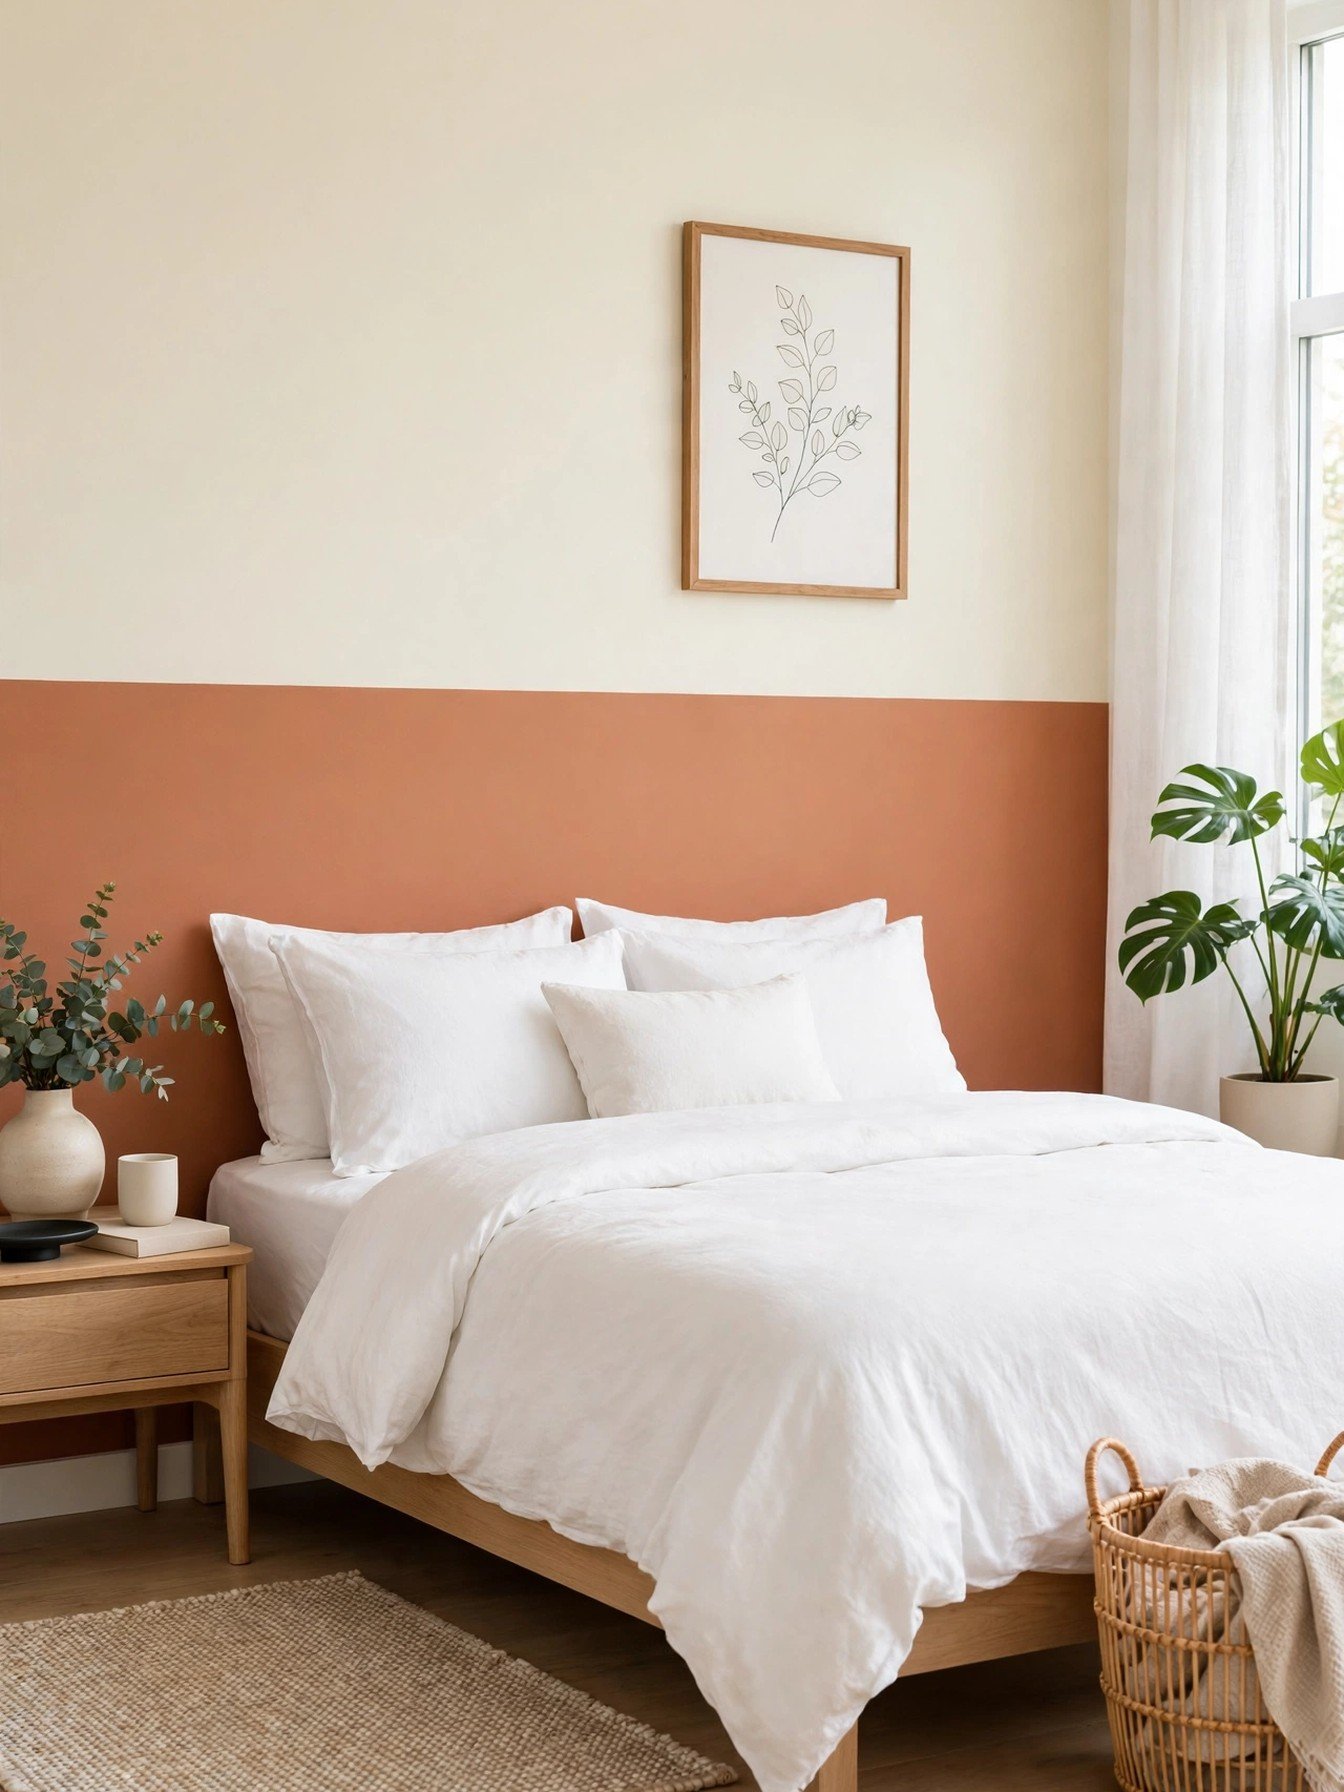
Two tone paint gives you color with training wheels: a deep or warm shade up to headboard height, soft cream above, and one crisp line doing all the design work. The line is the whole trick, and the right tape makes it. FrogTape multi surface painters tape uses PaintBlock technology that seals the edge, so the line peels away sharp instead of fuzzy.
Run the line at the height of the headboard or a third of the way up the wall. Paint the lower band first, tape, then roll the upper color, and peel the tape while the paint is still slightly wet.
You’ll need: two paint colors and quality painters tape with edge sealing
Best for: renters and first time painters who want a designer look fast
7. Wallpaper Panel Behind the Headboard
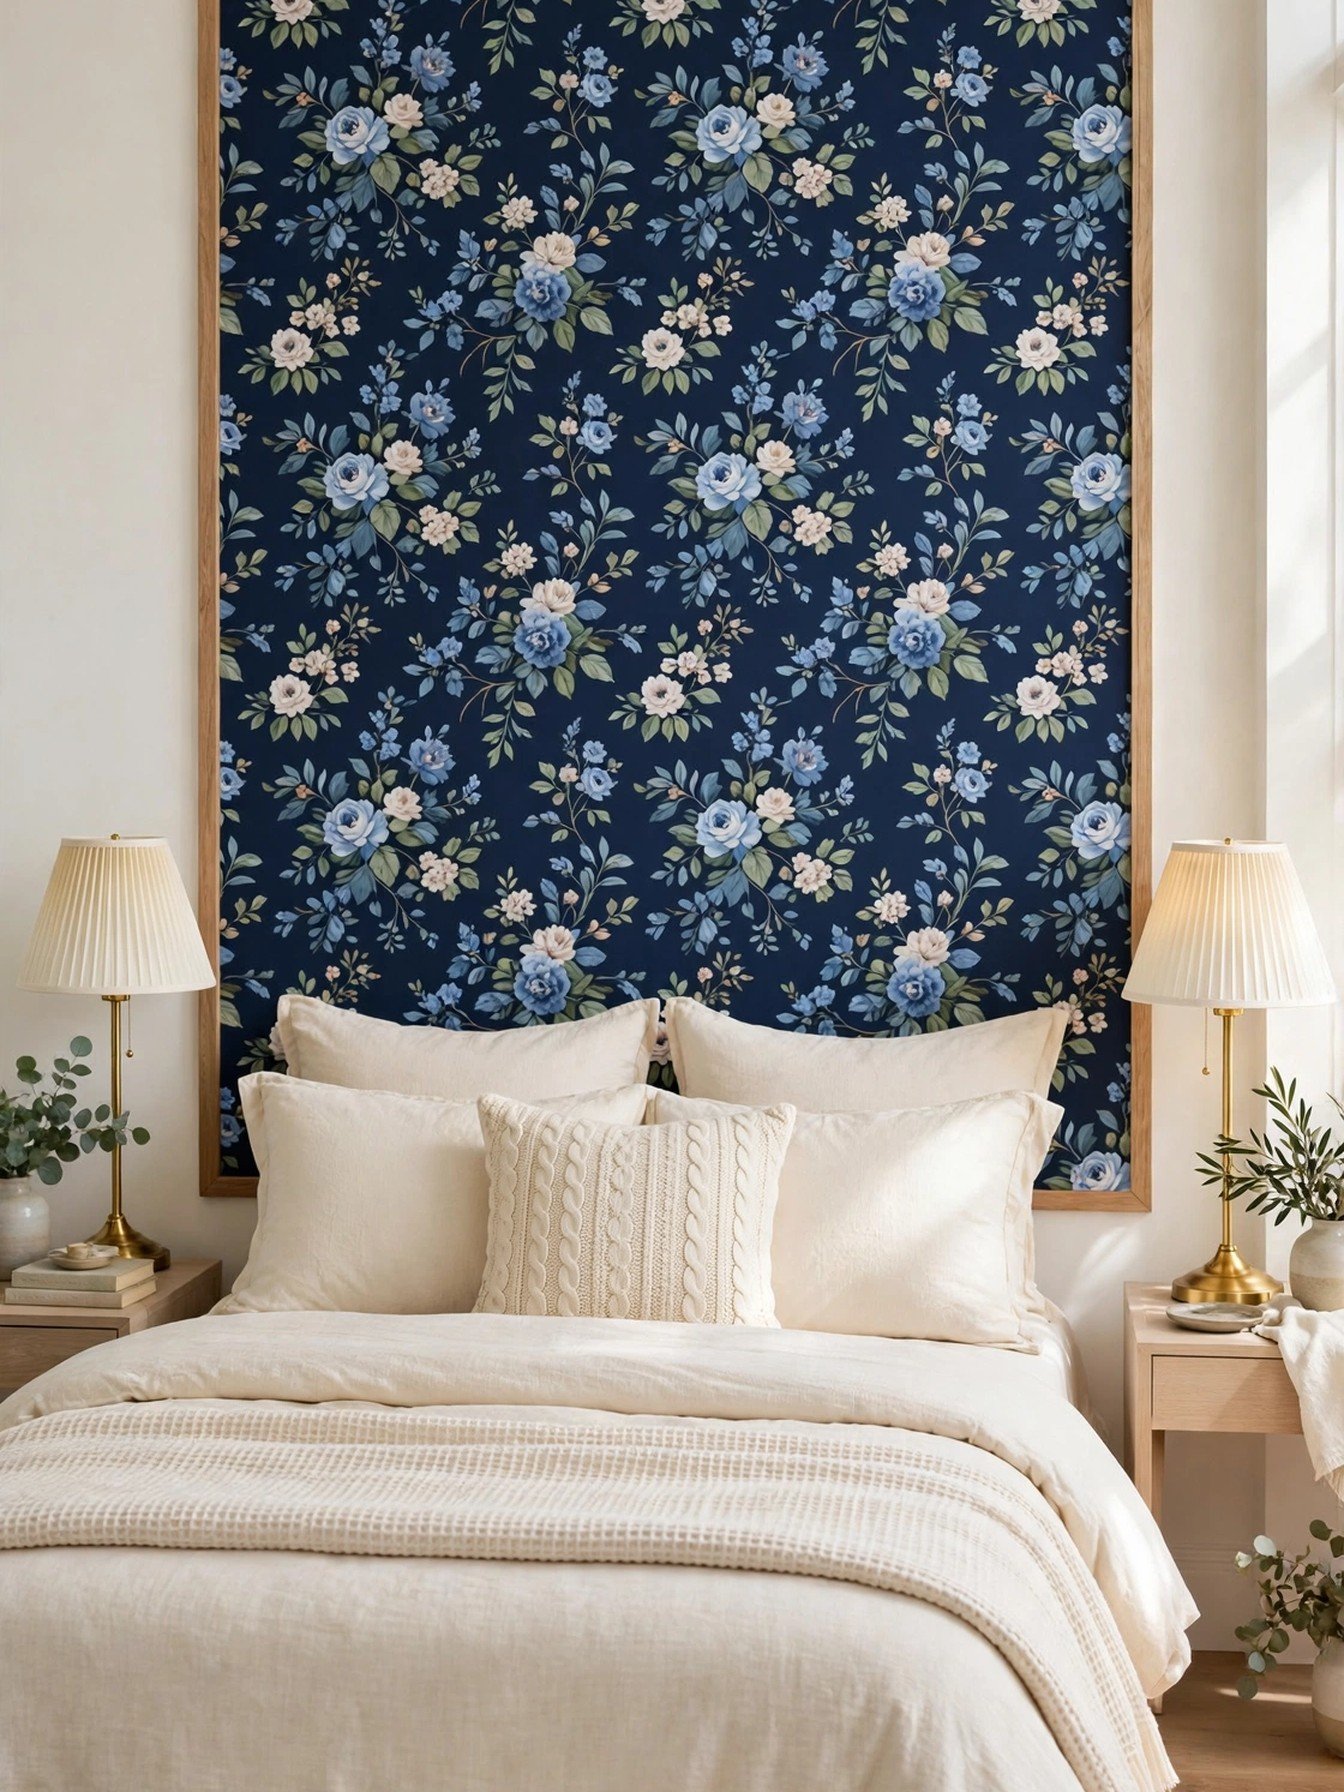
A single panel of wallpaper behind the headboard gives pattern without papering a whole room, and framing it with thin trim makes it look like art. Peel and stick rolls keep the job clean and reversible. This Livelynine dark blue floral peel and stick wallpaper has gold accents in the print that glow softly against lamplight.
Center the panel on the bed, not the wall, and let it run a little wider than the headboard on both sides. Trim the edge with painted wood strips for the finished, framed effect.
You’ll need: one roll of peel and stick wallpaper and thin trim strips
Best for: renters and pattern lovers who fear a full papered room
8. Limewash Look With Two Paint Colors
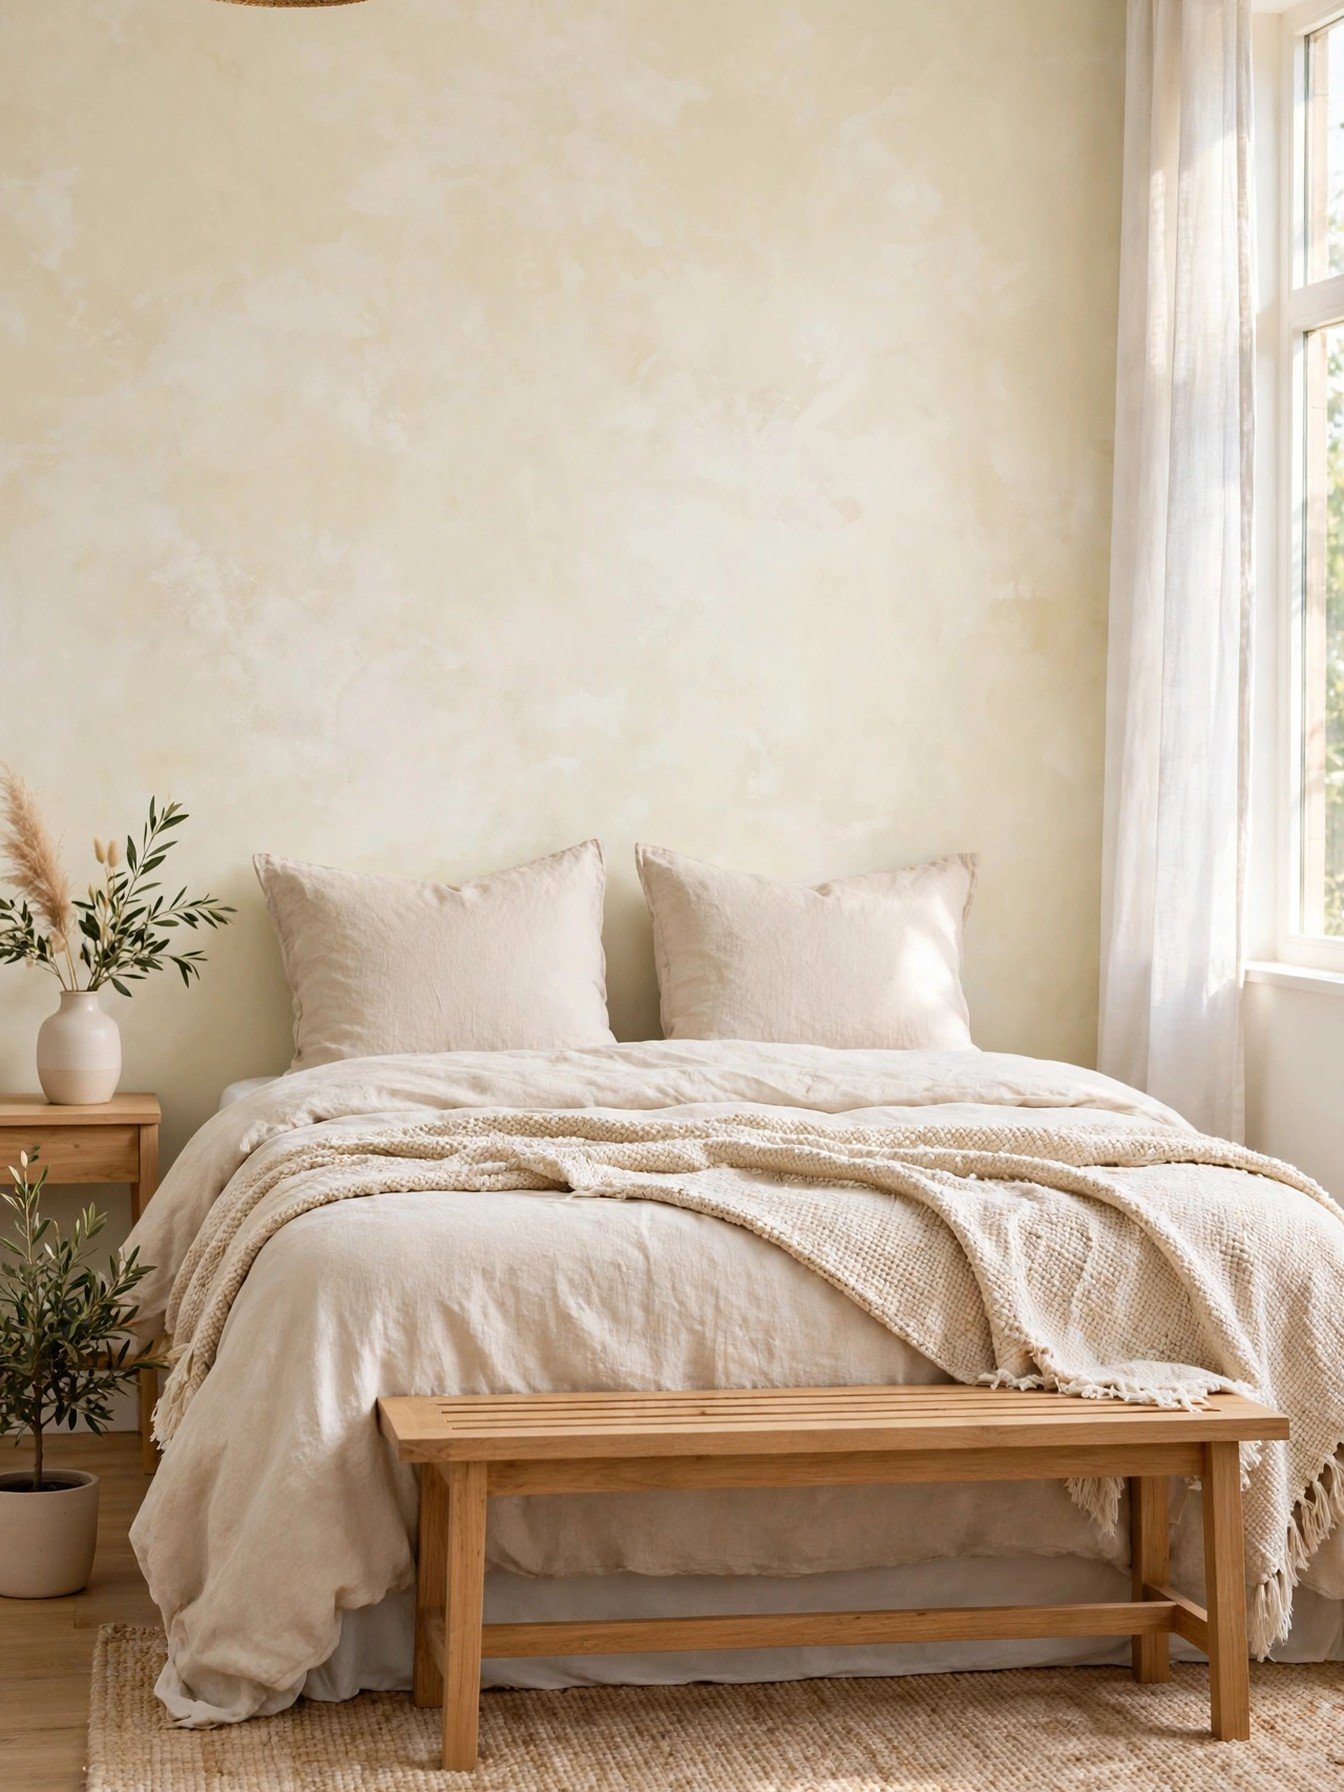
Limewash gives a wall soft cloudy movement that flat paint cannot copy, and it makes plain bedding look like a boutique hotel. True limewash is simpler than it looks: big criss cross brush strokes, worked wet. This Romabio Classico limewash paint in Bianco White, one quart is authentic slaked lime that can even be distressed back softly for an aged glow.
For the two color version, brush a deeper tone first, then float the paler tone over it in loose strokes while edges stay damp. The clouds appear on their own as it dries.
You’ll need: limewash paint in two close tones and one large block brush
Best for: calm, organic rooms with linen, wood and woven textures
9. Padded Fabric Panels for a Soft Wall
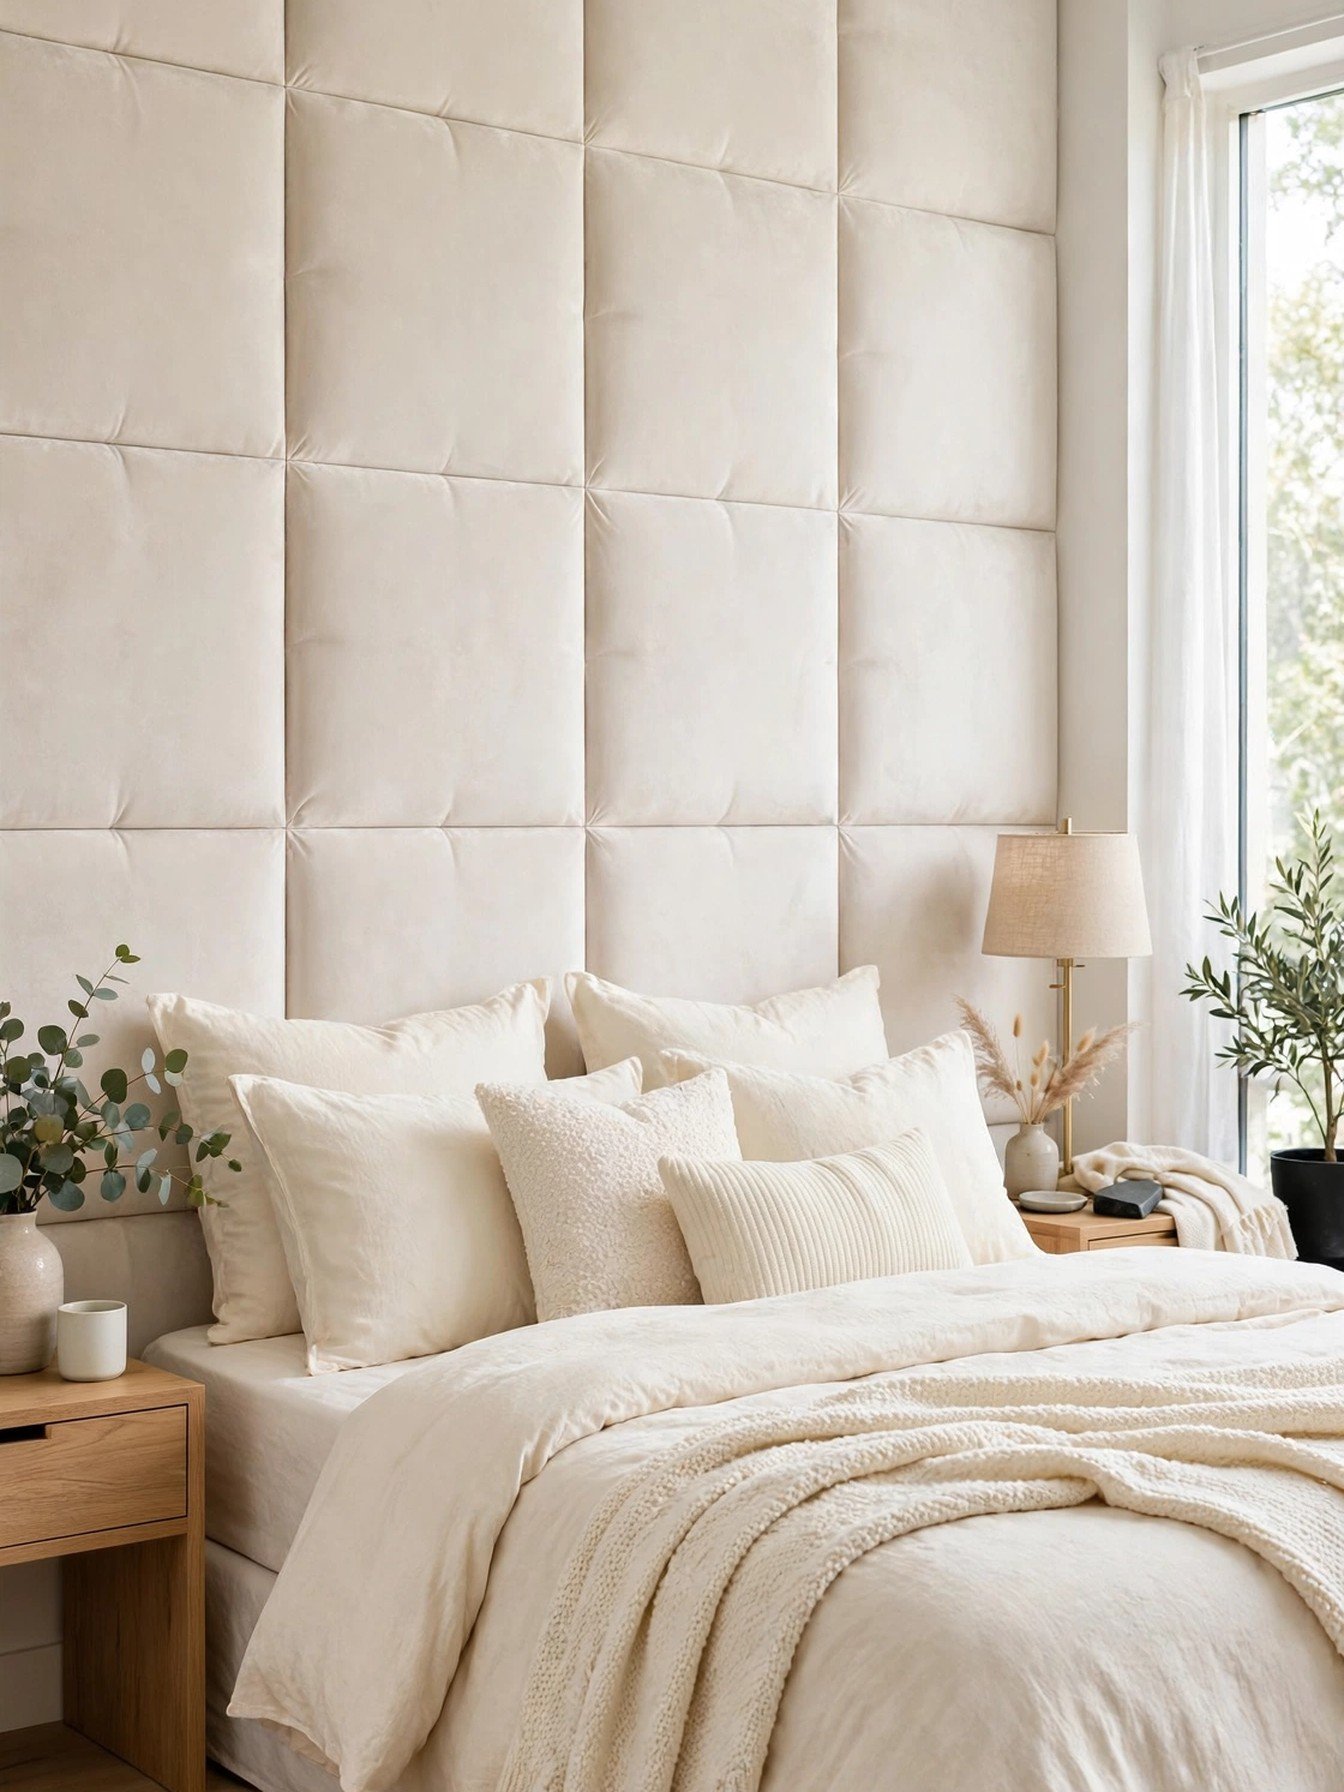
Padded panels turn the whole wall behind the bed into one tall, soft headboard. They lean beautifully for reading, hush echo in hard rooms, and feel like a boutique hotel every single night. These Art3d peel and stick upholstered headboard panels in velvet pearl, pack of twelve stick on with nano tape and come off with little to no damage.
Run the panels to headboard height for a classic look, or stack them higher for drama. Keep gaps hair thin and check each row with a level, because soft edges forgive nothing.
You’ll need: one or two packs of padded wall panels and a level
Best for: readers in bed, light sleepers and hard echoing rooms
10. Master Bedroom Stone Look Panels
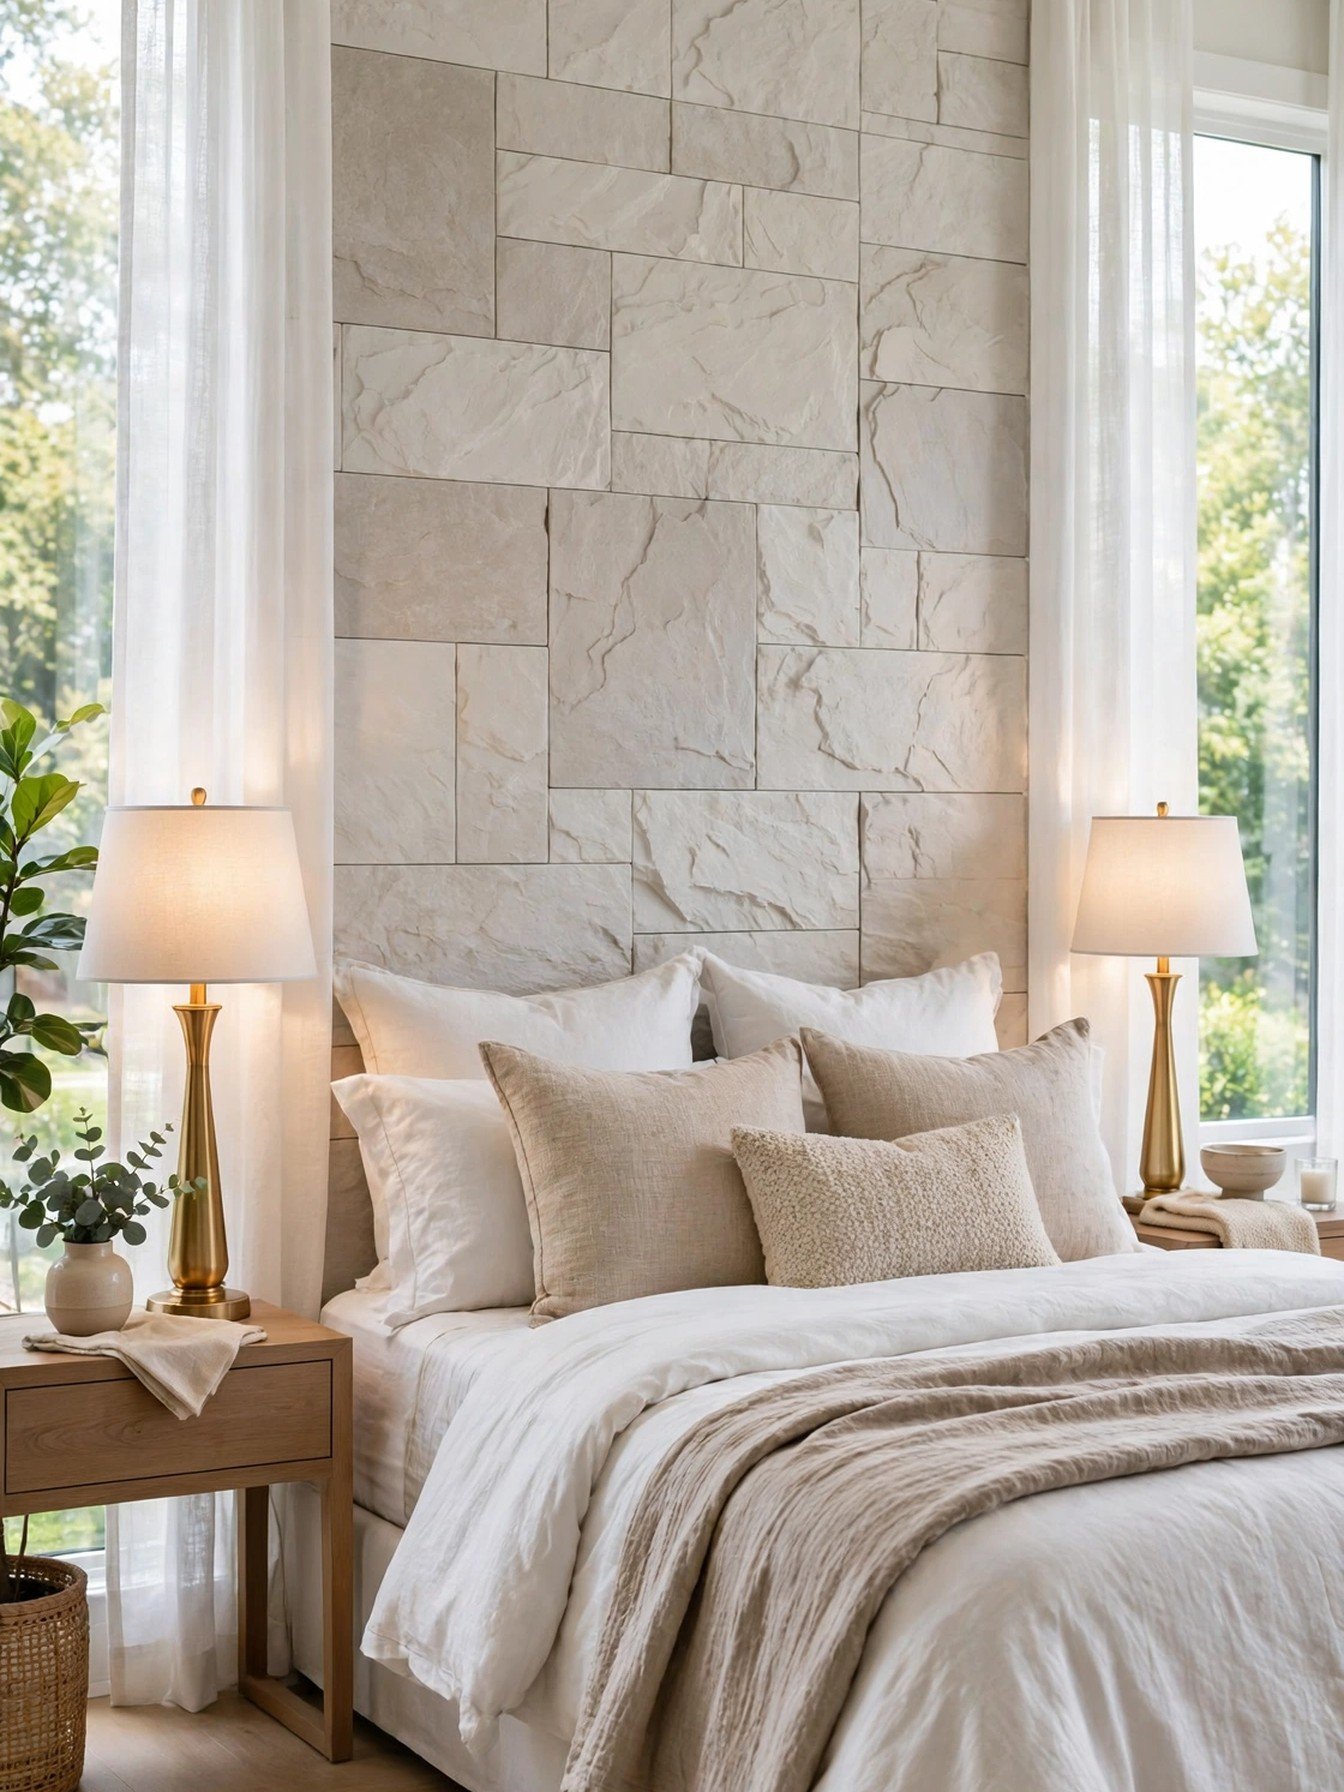
Stone behind a bed reads grand and grounded at once, and modern faux panels give the look without weight, mortar or a mason. They suit big master walls where paint alone feels too flat. These Commomy faux stone 3D wall panels, twelve pieces are ultralight, textured and peel and stick, covering over 22 square feet per pack.
Keep stone look walls calm elsewhere: plain bedding, simple lamps, no competing pattern. The texture is the statement, and everything else should whisper.
You’ll need: faux stone wall panels, a utility knife and a level
Best for: large master bedrooms that need one strong focal wall
Frequently Asked Questions
What is the easiest accent wall behind a bed?
Paint is the easiest by far: one deep color, two coats, done in a day. After paint, peel and stick wallpaper panels and padded panels are the next simplest, because both go up without tools beyond a level and a knife.
How wide should the accent section be behind a bed?
A panel or slat section usually looks best a little wider than the bed, about six to ten inches beyond the mattress on each side. A painted or papered accent can simply cover the whole wall, which is even easier to plan.
Do wood slat panels really help with sound?
Yes, a little. Slat panels with felt backing absorb echo and soften noise in the room, which makes a bedroom feel calmer. They will not soundproof a wall between two homes, but the hush inside the room is easy to notice.
Can renters make an accent wall behind the bed?
Renters have good options now: peel and stick wallpaper, padded panels on removable nano tape, and picture ledges fixed with small screws that patch in minutes. Always check your lease, and test any adhesive in a hidden corner first.
What paint finish works best behind a bed?
Matte or eggshell hides wall flaws and keeps the focus on the bed, which is why most designers pick them for accent walls. Avoid glossy finishes behind a bed; they reflect lamp glare and show every bump in the wall.
How do I choose between paint, paper and panels?
Choose paint for speed and budget, paper for pattern, and panels for texture and warmth. If you change your mind often, start with paint or a peel and stick panel, live with it for a season, then commit to the bigger build.
Final Thoughts on Accent Wall Behind Bed Ideas
The wall behind your bed is the cheapest big change in the whole house: one weekend, one idea, and the room feels designed. Start with the option that matches your budget and your courage, and let the bed finally have the backdrop it deserves.

