



Pine cones are the hardest working Christmas decoration I own. They cost almost nothing, they never go out of style, and one bag of them can dress a whole coffee table in a single afternoon.
The coffee table is the center of the living room, so it deserves better than a lone candle and last years remote collection. These christmas coffee table decor ideas with pine cones range from a five minute bowl filler to a small forest of mini cone trees.
Three of these ideas are proper little builds with steps, and the rest are styling ideas you can copy with things from a craft store run. Every one of them keeps safety in mind, because pine cones and open candle flames need a respectful distance.
One honest note before you start. If you collect your cones outside, bake them on a low heat for thirty minutes first. It dries them, opens them fully and sends any tiny visitors packing before they reach your table.

Quick Picks
- Easiest build: Snowy Pine Cones in a Wooden Bowl (idea 1)
- Budget pick: Pine Cone Garland Along a Runner (idea 5)
- Prettiest: Pine Cone Wreath Laid Flat as a Centerpiece (idea 3)
1. Snowy Pine Cones in a Wooden Bowl

This is the bowl that starts every December at my house. Snowy cones piled into a long wooden bowl look like you gathered them on a winter walk, even when they came from a bag. A snowy pine cone set with berries and branches gives you the frosted look with zero painting, and a hand carved wooden dough bowl is the shape that makes the pile look generous instead of scattered.
The trick is contrast. Brown cones alone can read a little plain on a dark table, but white tips against warm wood and two or three red ornaments wake the whole bowl up. Tuck the pine sprigs in last so the green sits on top.
⏱ 20 minutes💲 Low🛠 Easy
Materials Needed
- One long wooden dough bowl
- A bag of snowy or natural pine cones
- Three to five red ornaments
- A few small pine or cedar sprigs
- White acrylic paint and a dry brush (optional, for extra snow)
How to Make It
- Wipe the bowl clean and set it in the middle of the coffee table, leaving room around it for cups and books.
- Fill the bowl about two thirds full with the plainest cones first, so the best snowy ones stay for the top layer.
- Layer the snowy cones on top, turning the whitest tips upward where the light will catch them.
- Nestle the red ornaments into gaps at uneven intervals, then slide the green sprigs in around the edges.
- For extra snow, dip a dry brush in white paint, wipe most of it off, and dust the top cones lightly. Let it dry for ten minutes before moving the bowl.
Tip: A crumpled ball of paper in the bottom of the bowl lifts the cones higher, so a smaller bag fills a bigger bowl and the pile looks full from every angle.
2. Mini Pine Cone Trees on Wood Slices
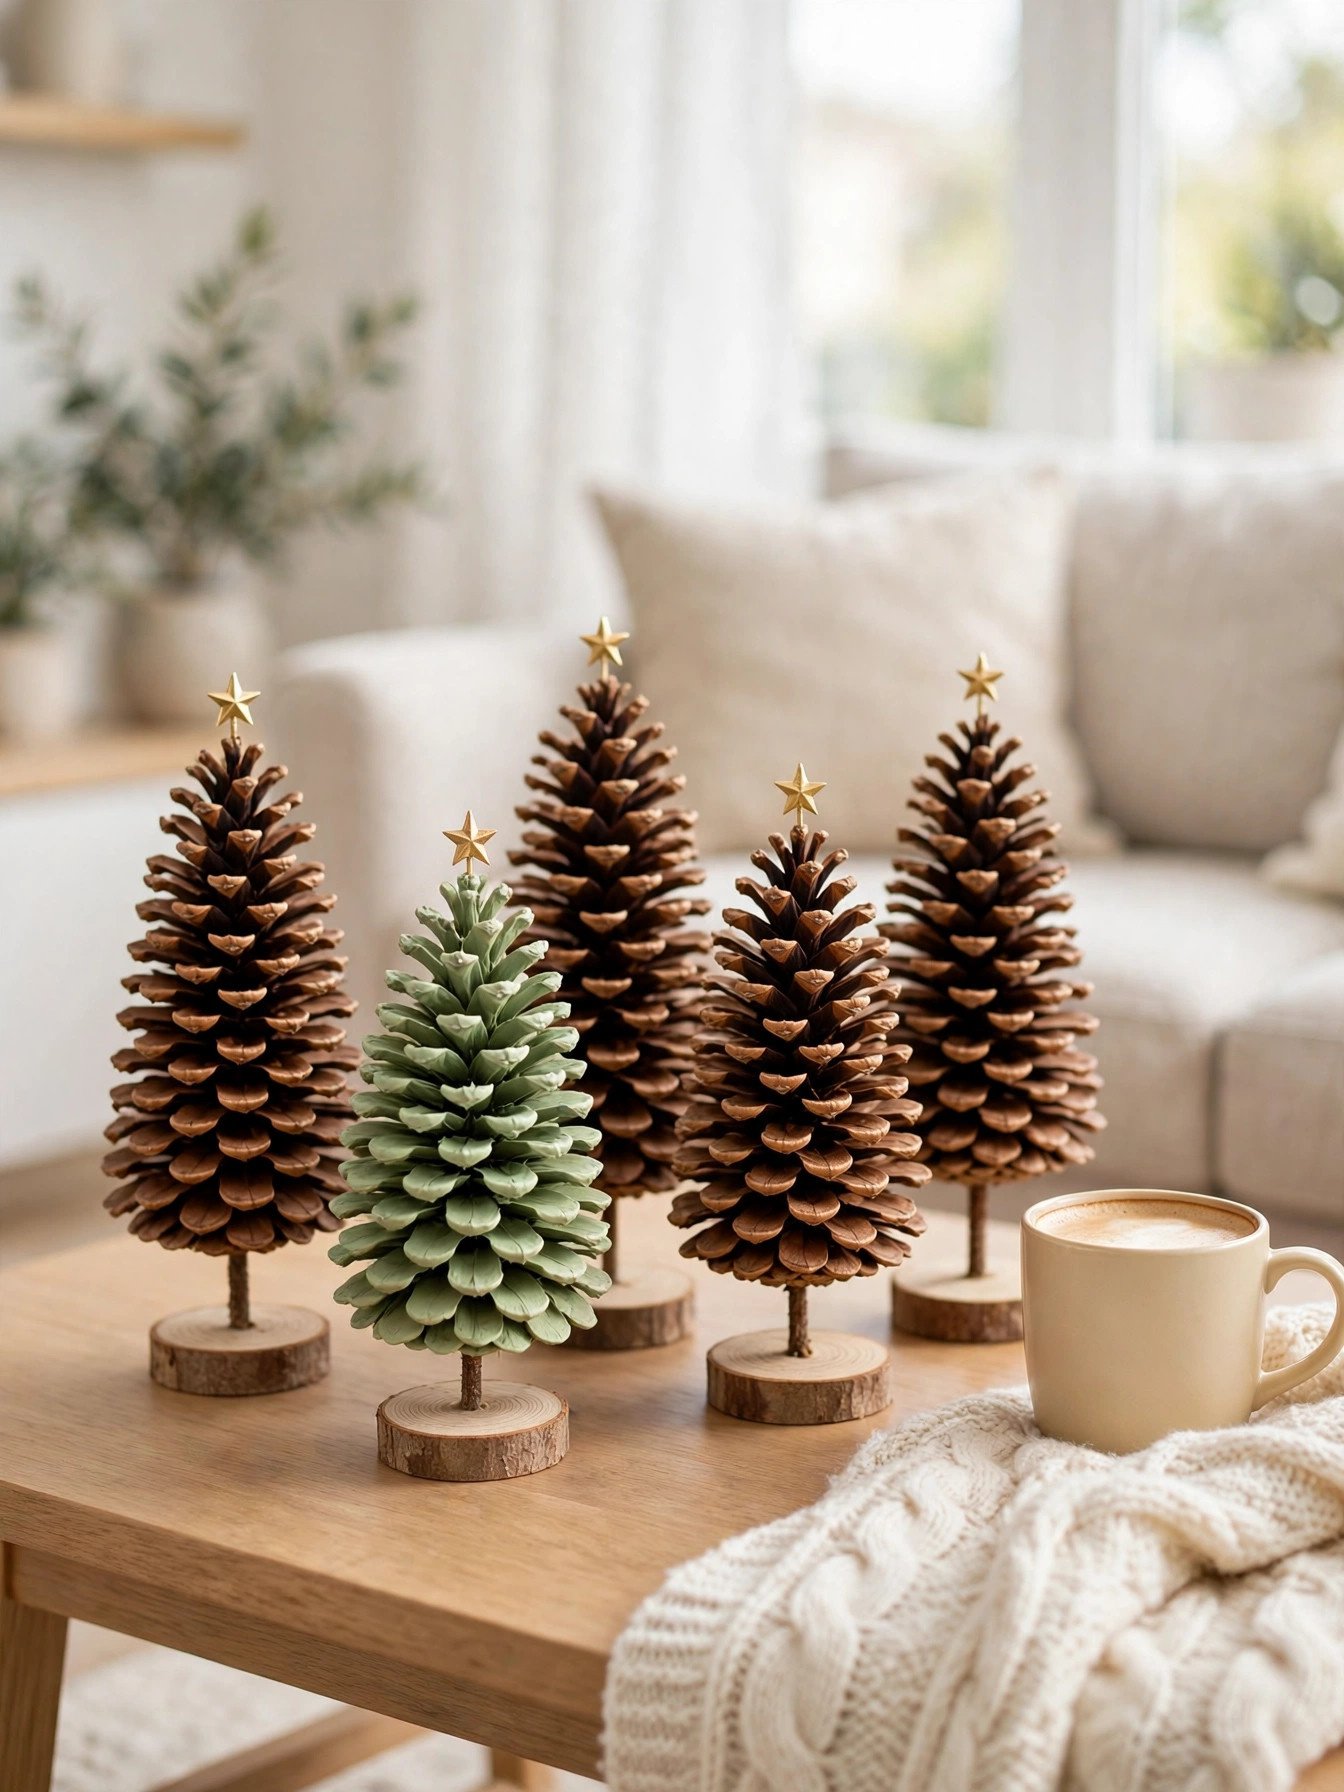
A pine cone already has the shape of a tiny fir tree, so this build is mostly gluing and grinning. Stand a row of them along the coffee table and you have a tabletop forest that guests always pick up and admire. Small cones work best, and a bag of mini pine cone ornaments gives you even sizes that stand straight instead of leaning.
Leave most of them natural and paint just one or two in a soft green. The mix of brown and green reads like a real little forest, and a tiny star on the tallest tree finishes the scene.
⏱ 40 minutes💲 Low🛠 Easy
Materials Needed
- Five to seven mini pine cones
- Small round wood slices, one per cone
- A hot glue gun and glue sticks
- Green and white acrylic paint (optional)
- Tiny star stickers or small wooden stars
How to Make It
- Pick cones that sit fairly flat. Trim any long stem with scissors so the base is even.
- Add a generous dot of hot glue to the center of a wood slice and press the cone down firmly for twenty seconds.
- Repeat for every cone, then check each tree from the side and straighten any that lean before the glue fully cools.
- Paint one or two trees green and dry brush the rest with white on the tips for a snowy edge. Let them dry for fifteen minutes.
- Glue a tiny star on top of the tallest tree, then line the forest up along the table in a gentle curve.
Tip: Work on a sheet of baking paper. Hot glue peels straight off it, so your table stays clean and the finished trees lift away without a fight.
3. Pine Cone Wreath Laid Flat as a Centerpiece
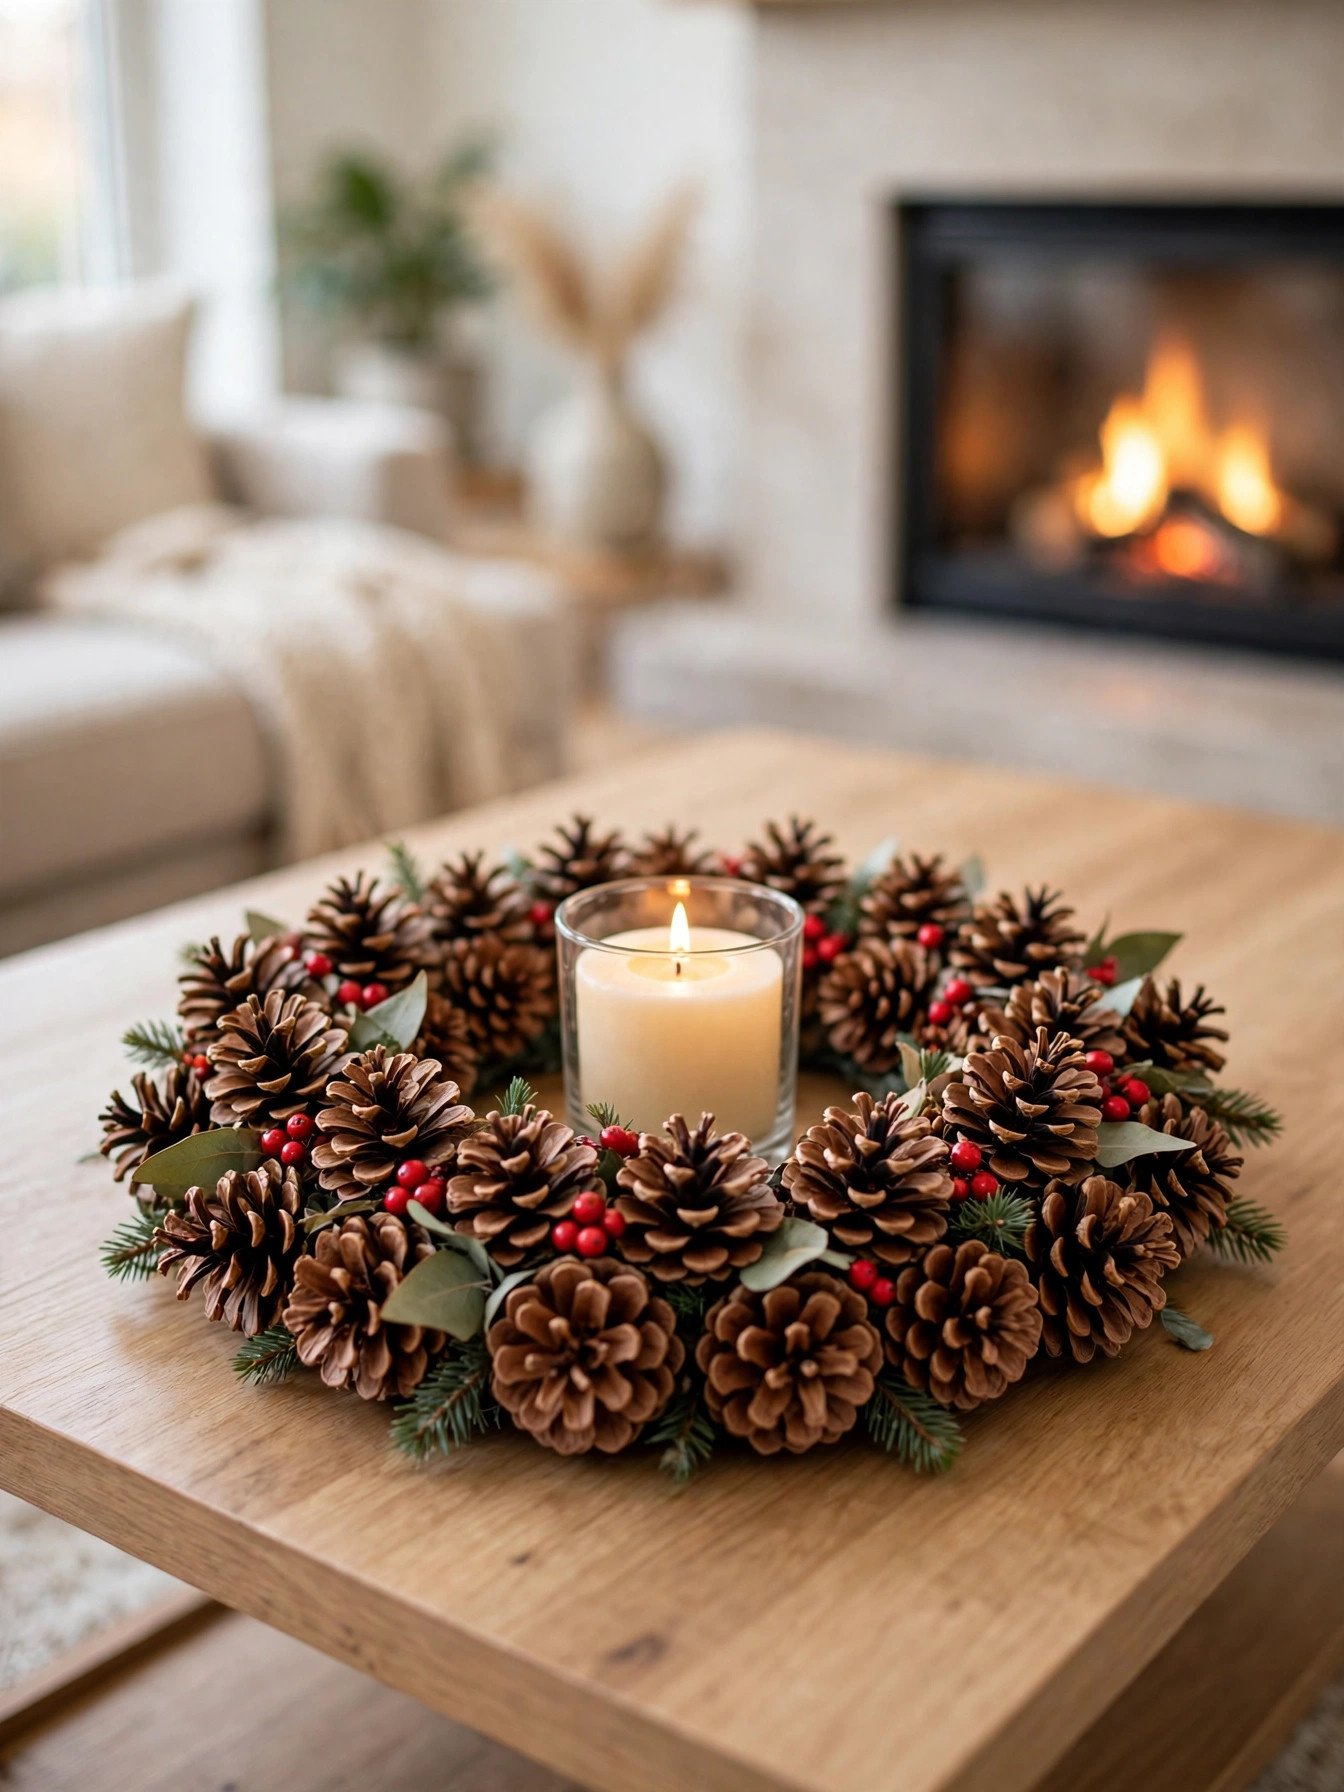
A wreath does not have to hang on a door. Laid flat on the table with a candle in the middle, it becomes the kind of centerpiece people photograph. Start with a plain grapevine wreath base in the fourteen inch size, which sits nicely on most coffee tables without crowding the edges.
Keep the candle inside a glass hurricane holder, always. Pine cones are dry and resinous, and the glass wall between flame and cone is what makes this idea both pretty and sensible.
⏱ 45 minutes💲 Medium🛠 Easy
Materials Needed
- One grapevine wreath base, about 14 inches
- Twenty to thirty medium pine cones
- Thin floral wire or a hot glue gun
- A pillar candle inside a glass hurricane holder
- Red berry picks or small red ornaments
How to Make It
- Lay the wreath base flat and arrange the cones around it in a rough circle before fixing anything, mixing sizes so it looks gathered rather than machined.
- Wire or glue each cone to the base, tilting them slightly outward like petals. Work in small sections and keep the inner edge tidy.
- Fill bare spots with the smallest cones, then tuck berry picks between them wherever the brown needs a lift.
- Set the finished wreath in the center of the table and place the hurricane holder with the candle in the middle.
- Step back and turn the wreath a quarter turn at a time until the fullest side faces the sofa.
Tip: After Christmas, hang this same wreath on the front door with a ribbon. One build, two seasons of use, and storage stays simple.
4. Pine Cone and Candle Tray
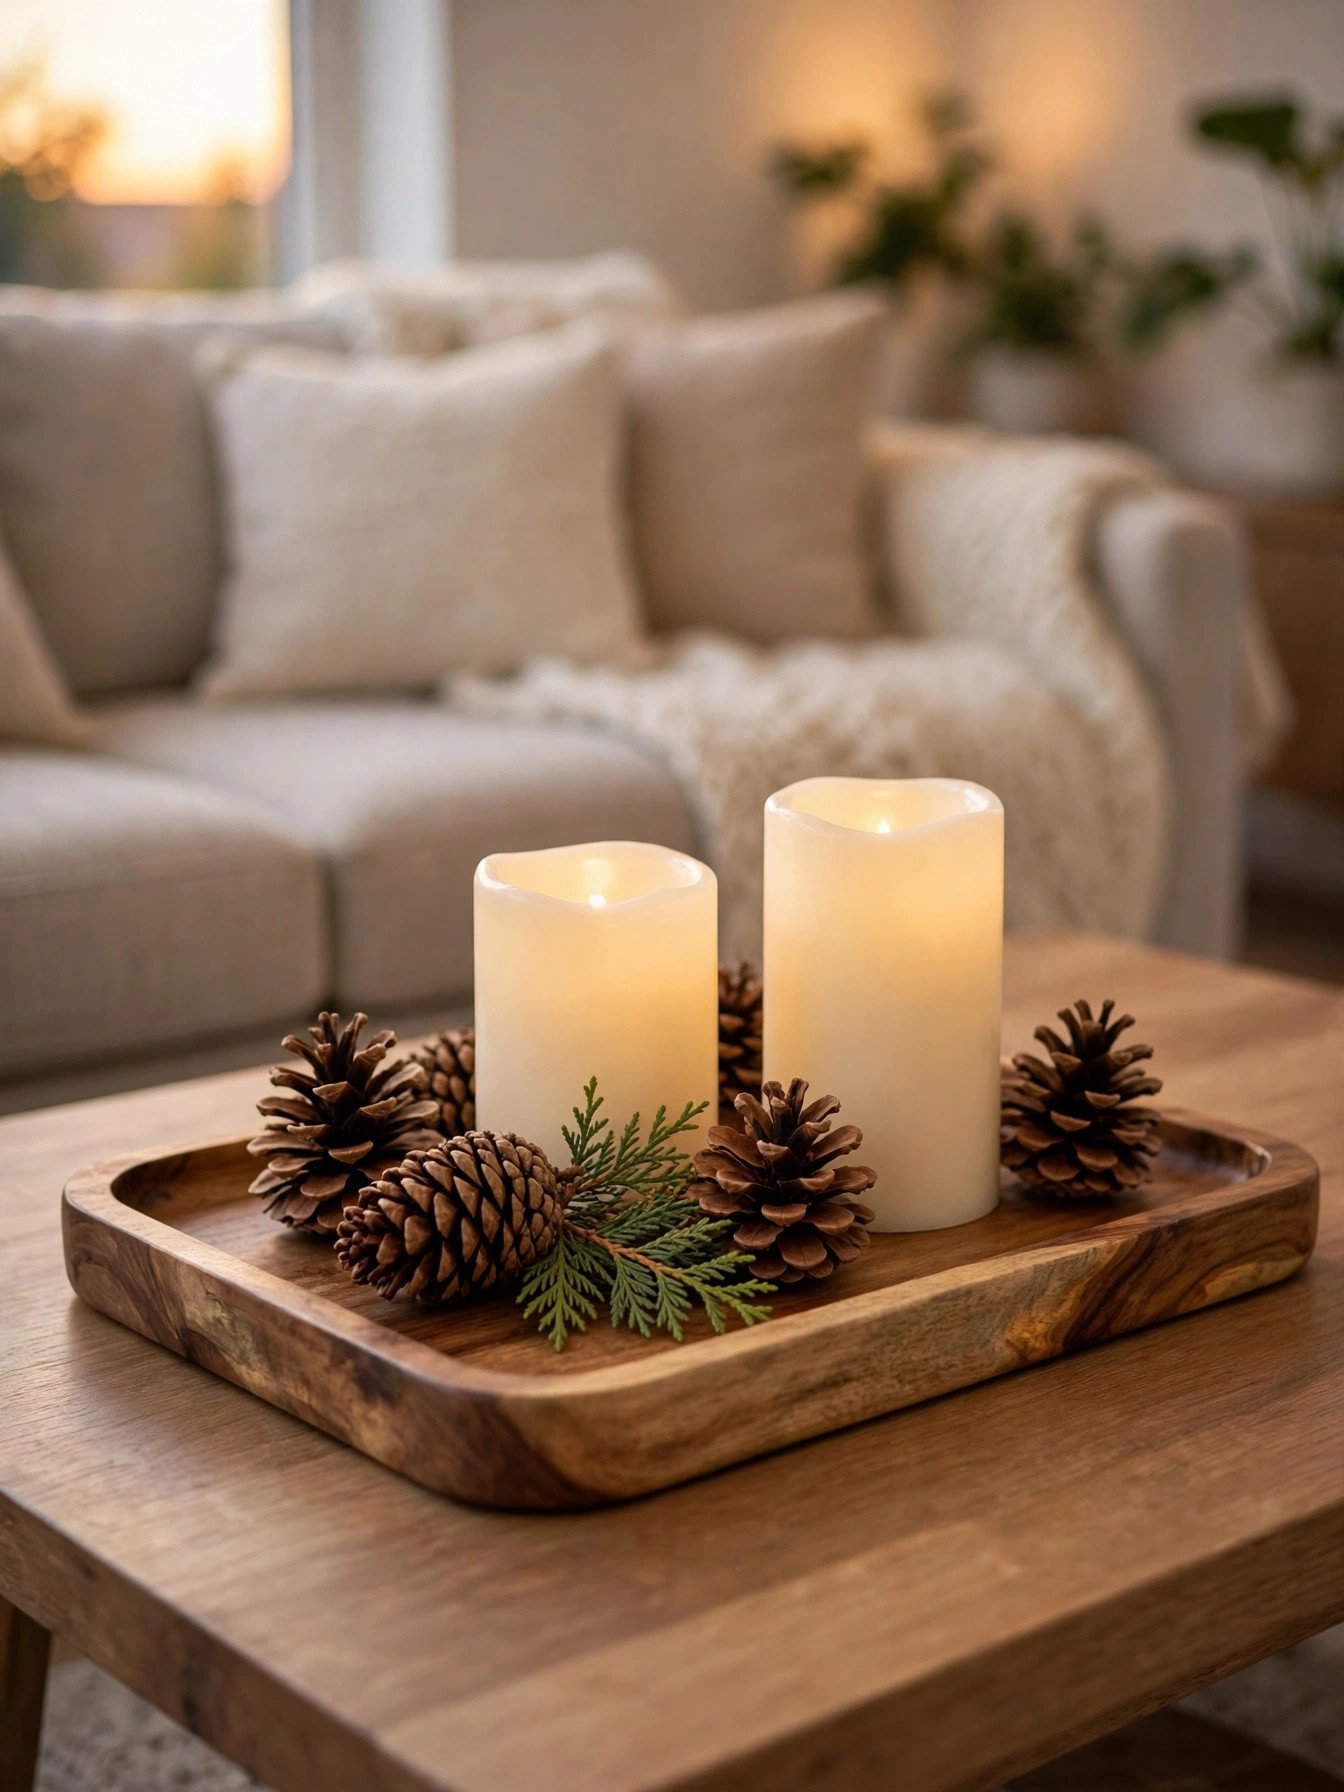
A tray is the laziest genius move in coffee table styling. Everything sits inside one border, the table looks styled in minutes, and when you need the surface back you lift the whole scene away in one go. A solid acacia wood serving tray with handles is wide enough for candles and cones with room to spare.
Beside dry pine cones I always choose flameless candles. A set of flameless LED pillar candles with a remote gives you the same warm flicker on a timer, and nobody has to remember to blow anything out before bed.
You’ll need: one wooden tray with handles, two flameless pillar candles and a loose handful of pine cones
Best for: busy homes and anyone who wants a styled table in five minutes
5. Pine Cone Garland Along a Runner
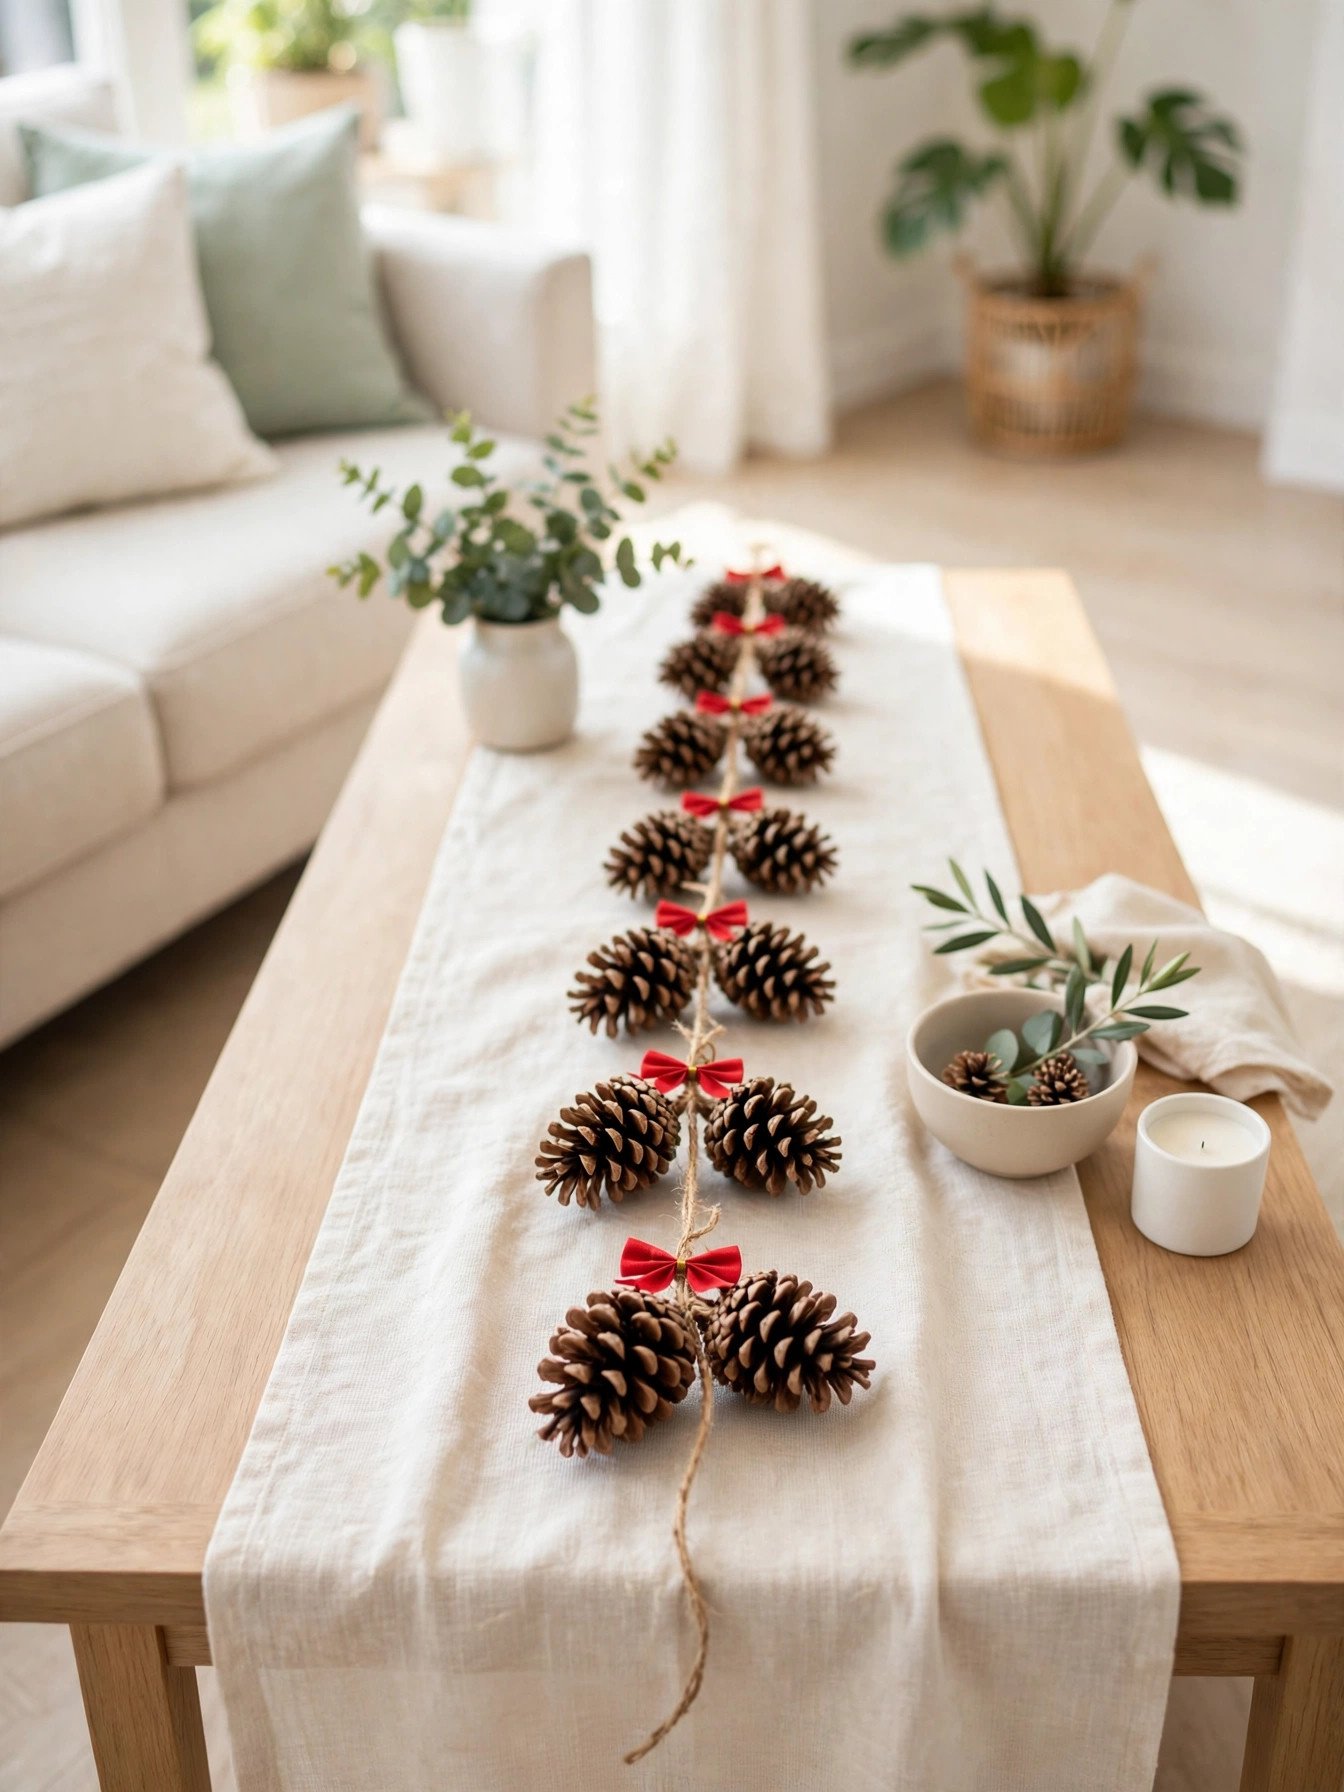
A garland turns a plain runner into a centerpiece without adding any height, which matters when people actually talk across this table. Stringing cones on twine takes one quiet hour and costs almost nothing, especially with a long roll of natural jute twine that will serve a dozen other Christmas projects too.
Wrap the twine twice around the base of each cone and add a tiny dab of glue so nothing slides. Leave a hand span of bare twine between cones, and the garland drapes in soft swags instead of lying stiff.
You’ll need: jute twine, twelve to fifteen pine cones, a hot glue gun and small ribbon offcuts for bows
Best for: low budgets and long coffee tables
6. Fairy Lights and Pine Cones in a Glass Jar
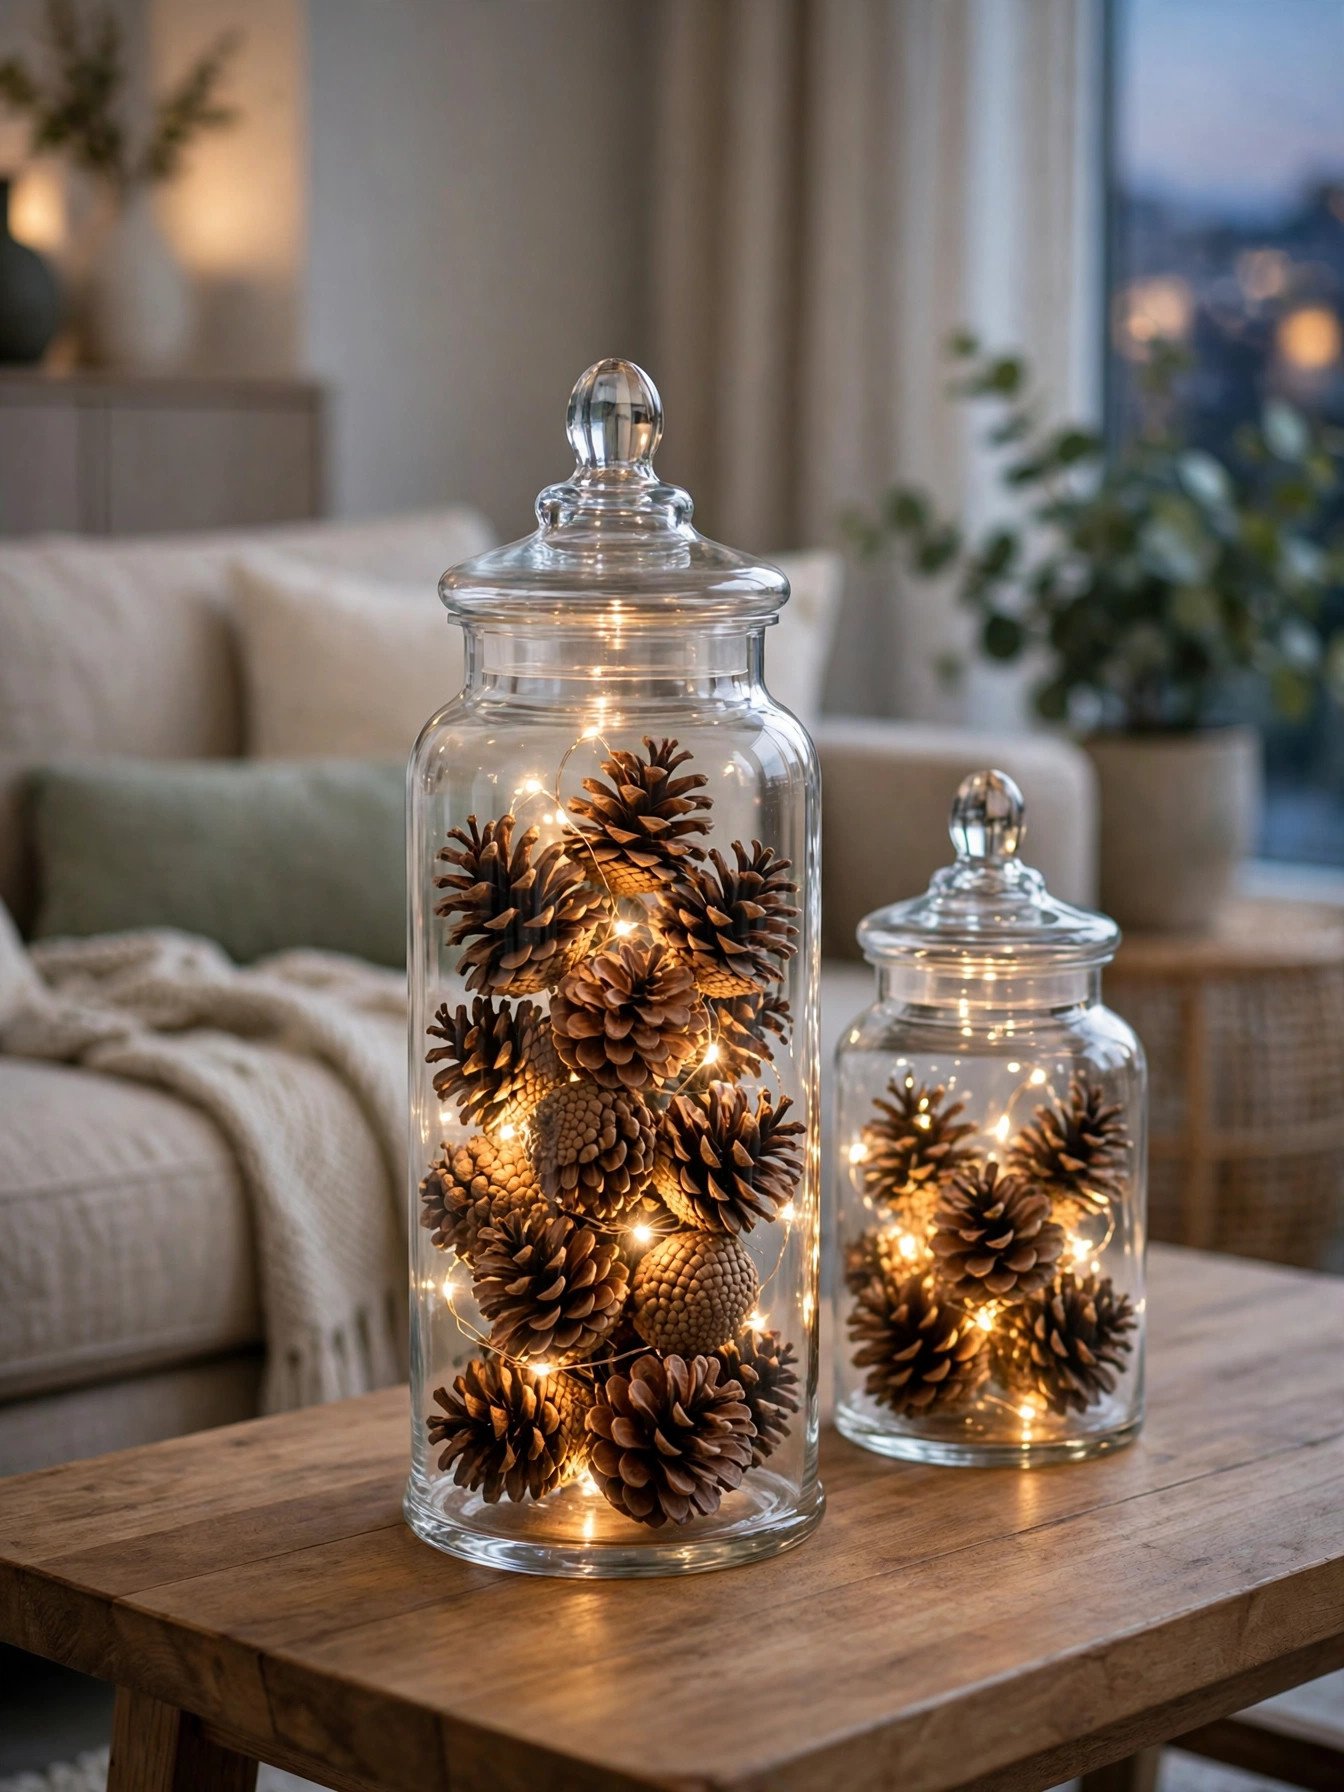
When the tree lights feel too far away, a glowing jar brings that same sparkle right onto the table. Layer cones and a string of lights as you fill, so the light weaves through instead of sinking to the bottom. A pack of battery operated fairy lights is thin wired and easy to hide among the cones.
A tall glass apothecary jar with a lid shows off the layers beautifully and keeps dust off between uses. Hide the little battery pack under the top layer of cones and only the glow shows.
You’ll need: one large glass jar, a string of battery fairy lights and enough pine cones to fill it loosely
Best for: evening glow and homes with curious toddlers or pets
7. Rustic Pine Cones With a Burlap Runner
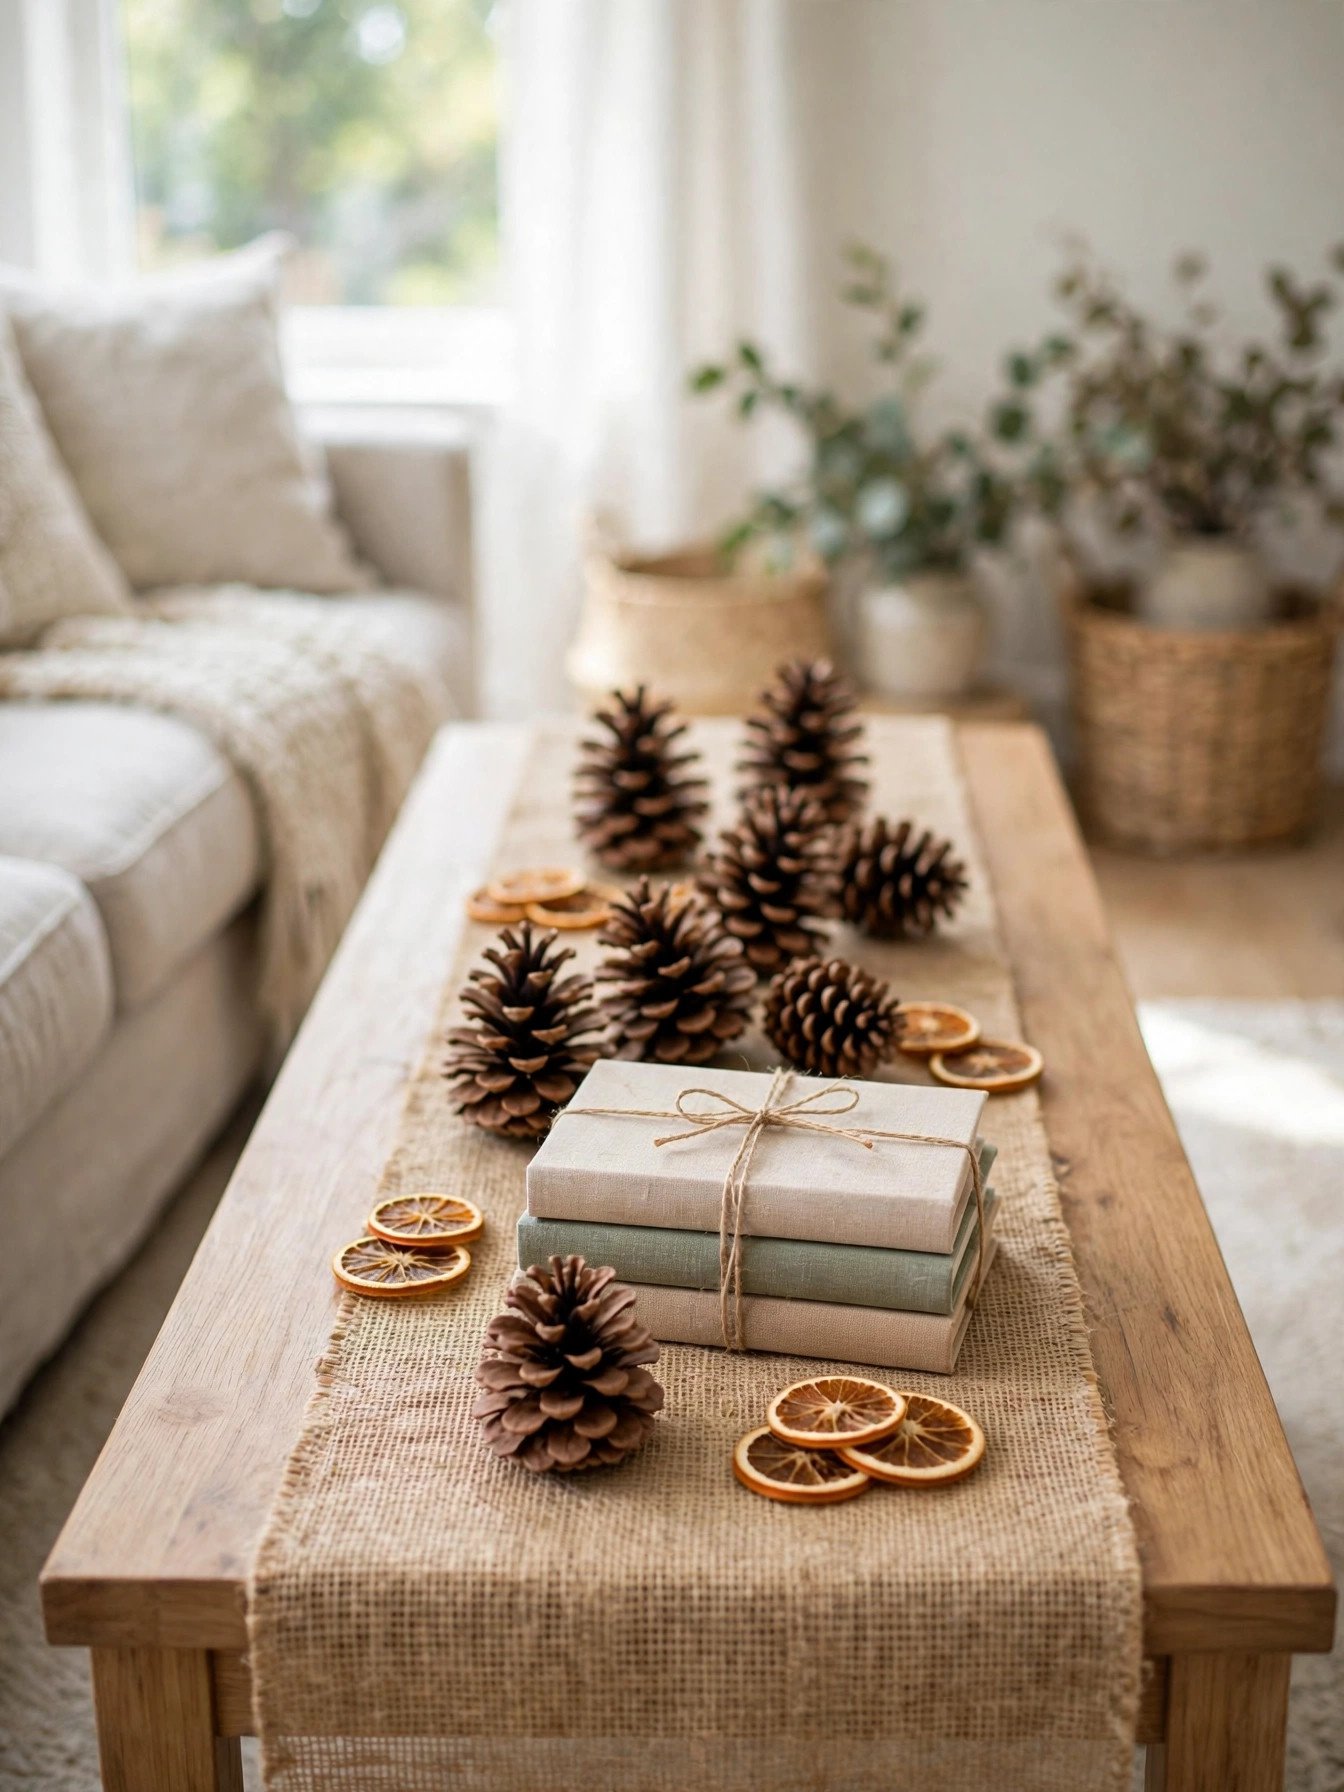
Burlap and pine cones were made for each other. The rough weave, the warm browns and the no fuss attitude give you that farmhouse Christmas feeling without buying a single themed item. A roll of burlap fabric for a table runner can be cut to your table length and the edges left raw for an honest rustic edge.
Scatter the cones in small clusters instead of a straight line, and add dried orange slices for color. Clusters look gathered and natural, while a tidy row looks like a shop display.
You’ll need: a burlap runner, large natural pine cones and a few dried orange slices or whole oranges
Best for: farmhouse and rustic living rooms
8. Pine Cones Mixed With Red Ornaments

If natural cones alone feel too quiet for your room, mix them with the shine of ornaments. The matte brown scales against glossy red and gold balls is a classic pairing, and a mixed red green and gold shatterproof ornament set means nothing breaks when little hands go exploring.
Keep the ratio at about two cones to one ornament. Cones carry the natural texture, ornaments bring the sparkle, and too many baubles tip the bowl from woodland to toy shop.
You’ll need: a wide shallow bowl, pine cones, a set of red and gold shatterproof ornaments and cedar sprigs
Best for: traditional red and green living rooms
9. Gold Dusted Pine Cones in a Basket
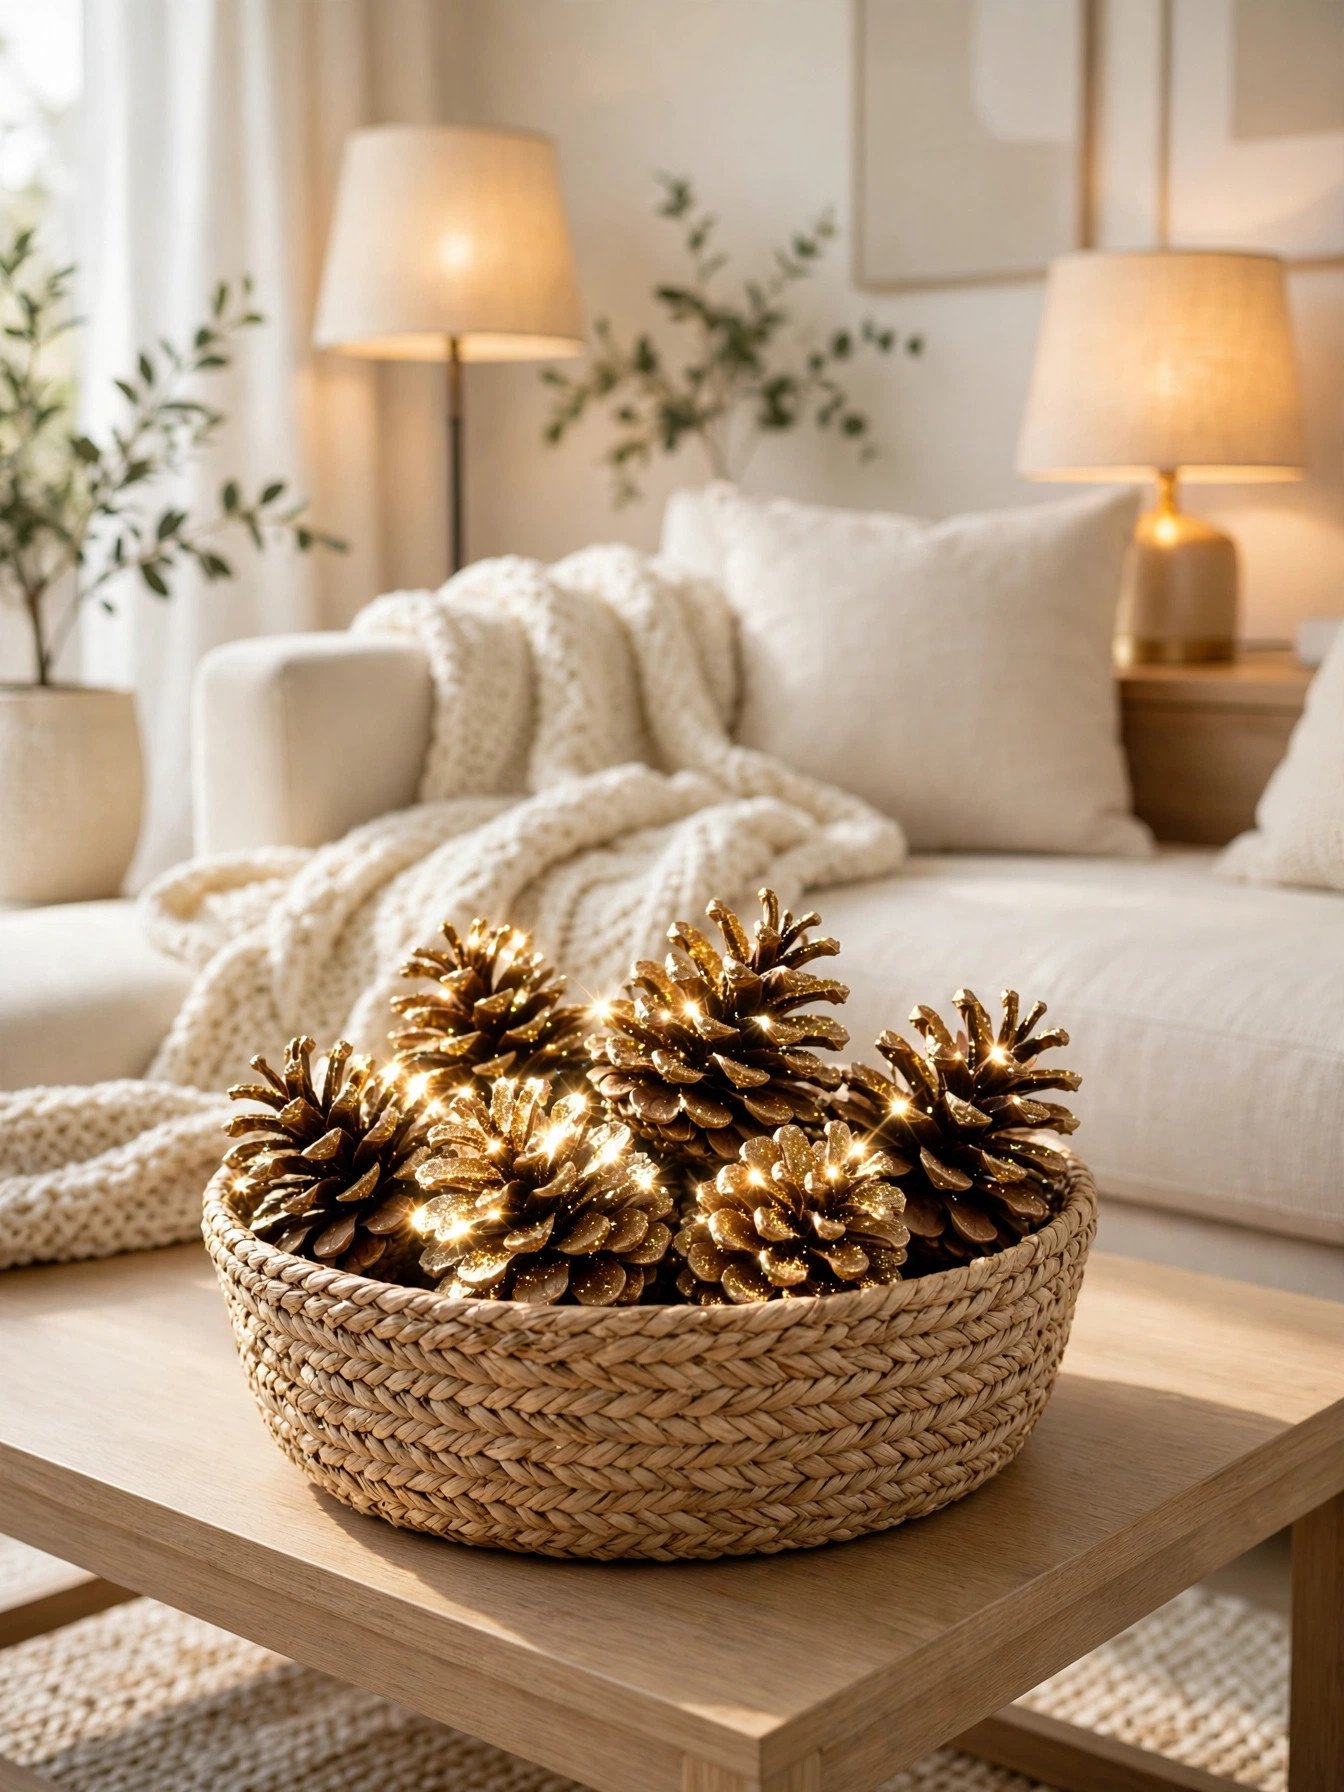
Gold turns the humble pine cone into jewelry for the table. One light coat of metallic gold spray paint is enough. Hold the can well back and mist rather than soak, so the brown still peeks through and the cones look dusted, not dipped.
Spray outdoors or in a well aired garage and let the cones dry fully before they come inside. Piled into a woven basket, they catch lamplight beautifully and pair well with cream and white rooms that want glamour without glitter everywhere.
You’ll need: pine cones, metallic gold spray paint, a woven basket and newspaper for spraying
Best for: elegant and glam Christmas themes
10. Pine Cones With Cinnamon Sticks and Orange Slices
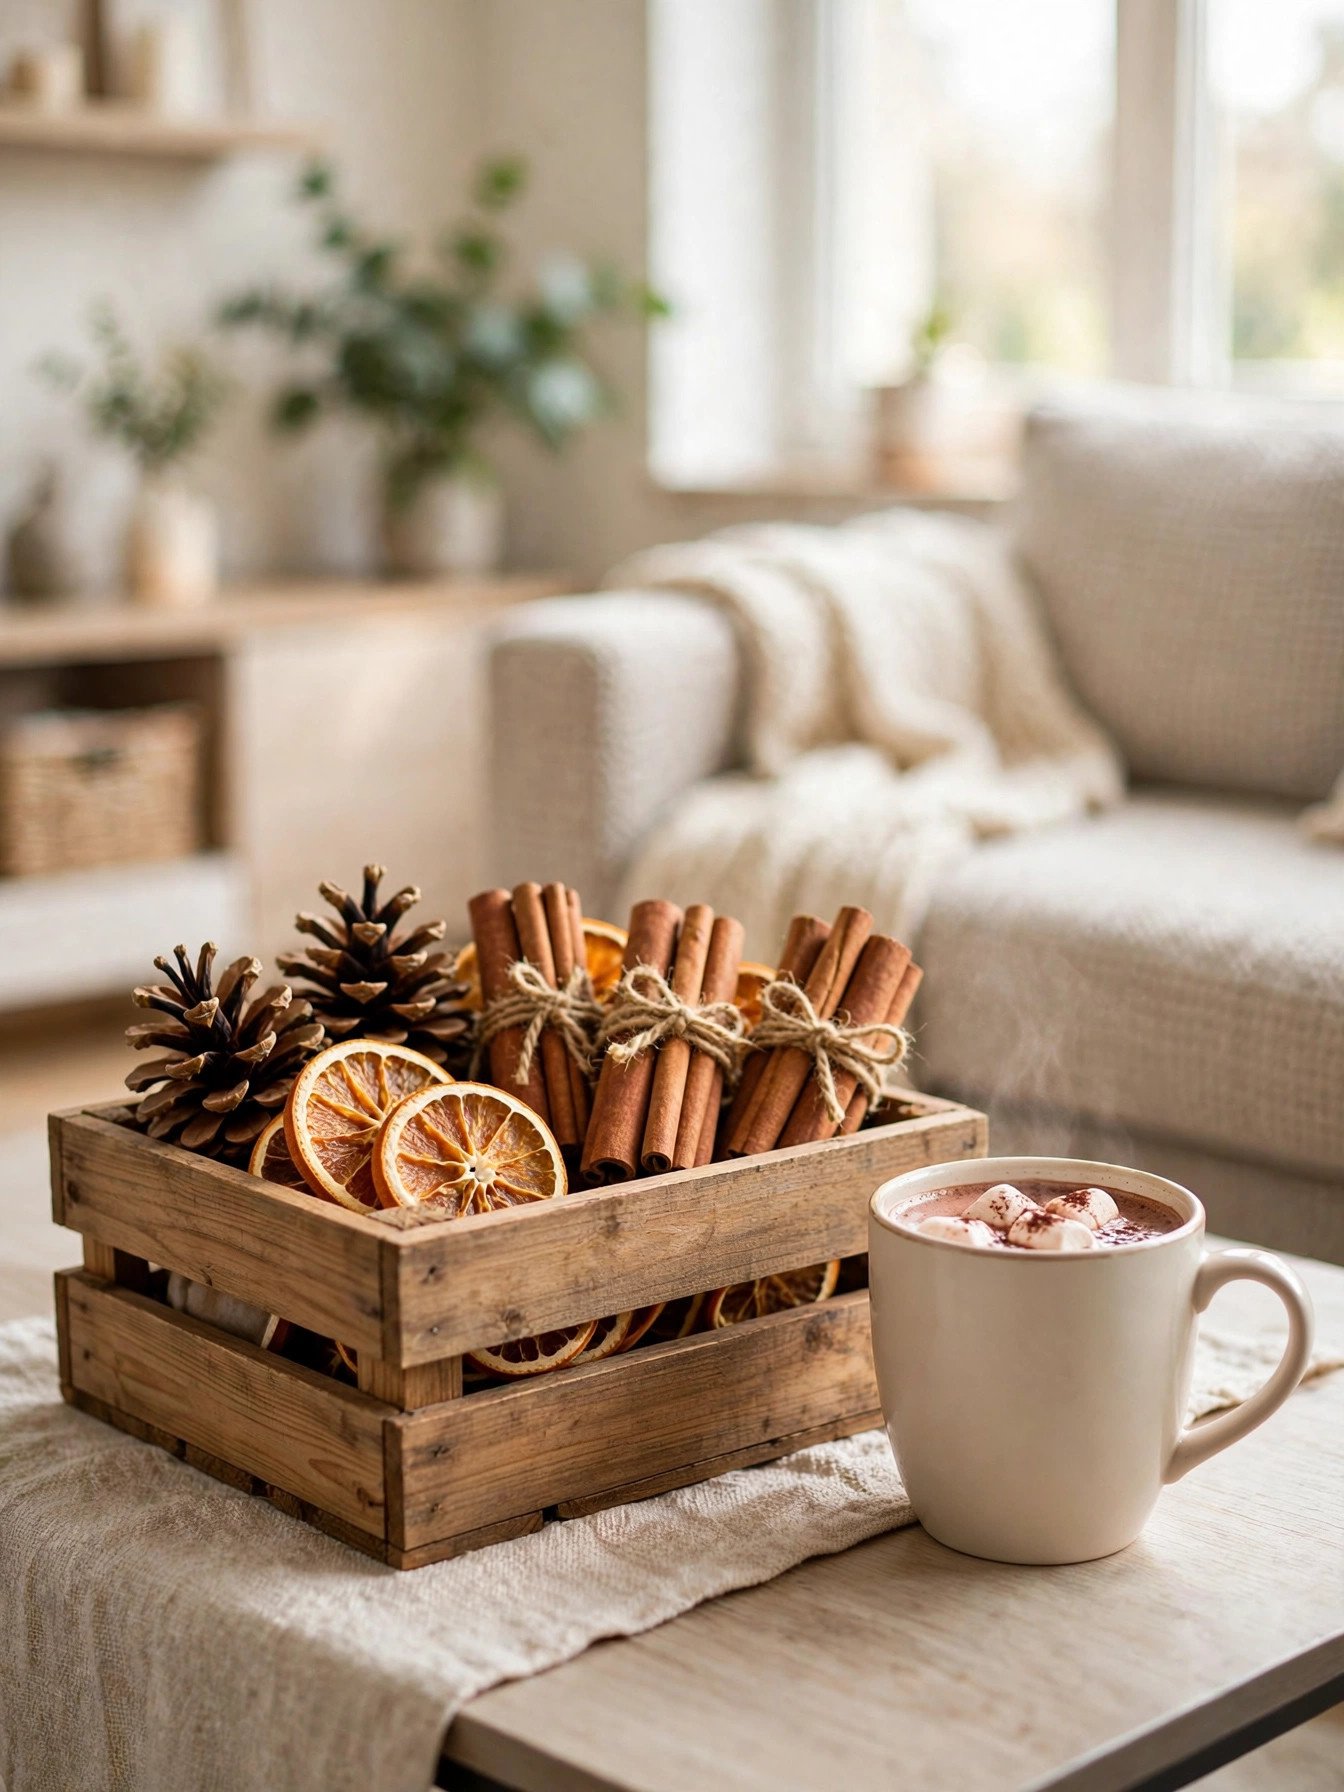
This last idea decorates with scent as much as sight. Cinnamon and orange are the smells of December, and a bowl or crate of them near the sofa quietly perfumes the whole room. A bag of whole cinnamon sticks bundles neatly with twine, three or four sticks at a time.
Dry your orange slices in a low oven until they feel papery, then thread or scatter them among the cones. Refresh the scent every week or so with one drop of orange oil on a cone hidden at the bottom.
You’ll need: pine cones, whole cinnamon sticks, oranges for drying and twine for small bundles
Best for: cozy scented rooms and natural Christmas themes
Frequently Asked Questions
How do I clean pine cones before using them on a coffee table?
Shake off loose dirt, soak the cones in water with a splash of vinegar for half an hour, then bake them on a lined tray at a low heat for thirty minutes. They open fully as they dry and come out clean and ready.
Can I use pine cones I collected outside for table decor?
Yes, collected cones work beautifully once they are cleaned and baked as described above. Pick cones that are fully open, dry and free of visible sap, and avoid any that smell musty.
How do I make pine cones look snowy without a lot of paint?
Use the dry brush method. Dip a stiff brush in white paint, wipe almost all of it off on paper, then sweep lightly over the cone tips. The paint lands only on the raised edges, which is exactly where real snow settles.
What kind of candle is safest beside pine cones?
Flameless LED candles are the safest choice anywhere near dry cones. If you love real flames, keep the candle inside a tall glass hurricane holder and never leave it burning unattended.
How long do pine cone decorations last?
Clean, dry cones last for years. They do not fade or crumble indoors, so a bowl or wreath you make this December can come back out every Christmas with almost no upkeep.
How should I store pine cone decor after Christmas?
Pack the cones in a lidded box with a sheet of tissue between layers and store them somewhere dry. Keep painted and scented cones in their own box so the colors and smells stay where they belong.
Final Thoughts on Christmas Coffee Table Decor Ideas With Pine Cones
A coffee table dressed with pine cones feels like Christmas without shouting about it. Start with the snowy bowl if you want a win today, add the mini tree forest when you have a quiet hour, and let the rest follow through December. Small natural touches like these are what make a living room feel gathered, warm and easy to live in.

