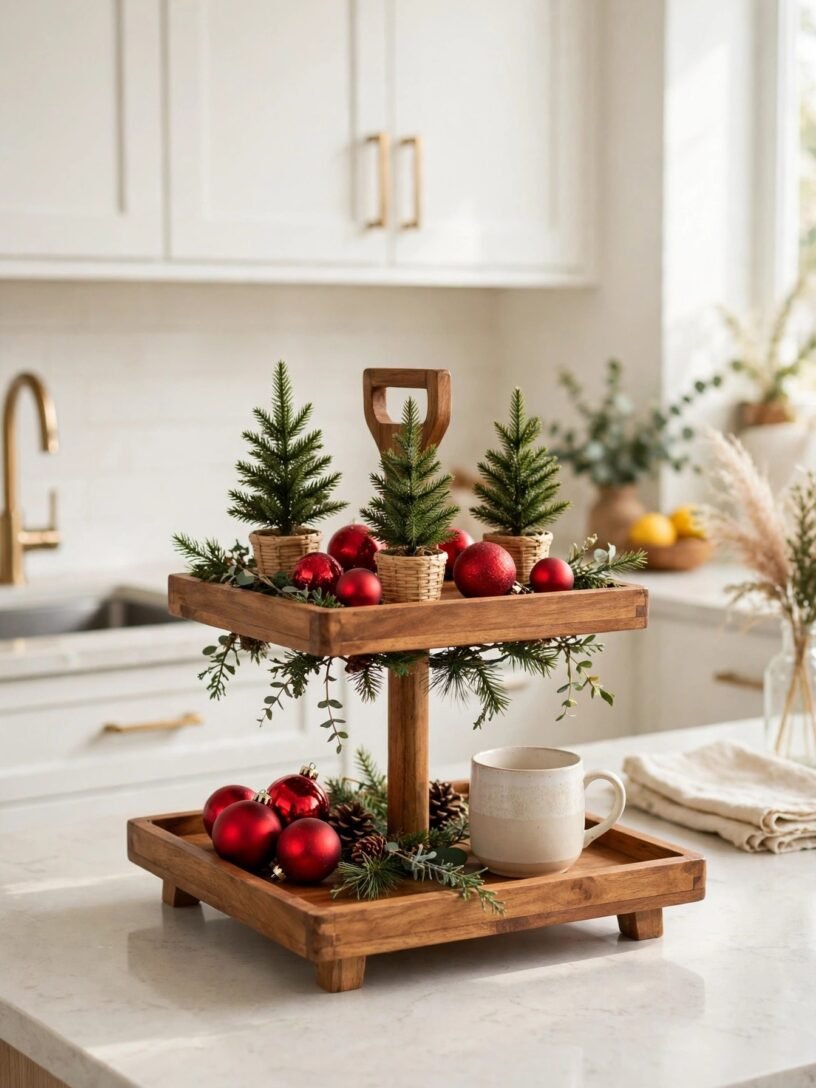



A tiered tray is the hardest working small decor in the house. It turns one square foot of counter into a whole Christmas scene, and it can be restyled in ten minutes whenever you feel like a change.
These christmas tiered tray decor ideas cover the styles people ask for most: a hot cocoa tray, a gingerbread tray, a thrifted tray makeover, farmhouse layers, vintage glass, nutcrackers, pink, blue and white, neutral wood, fairy lights and a small tray for tiny counters.
The first three ideas are builds with full steps: the hot cocoa tray with mugs and marshmallows, the gingerbread tray with cookie shapes, and a thrifted tray makeover with paint and knobs. The rest are quick styling recipes you can copy with things you mostly own.
Two small safety notes before you style. Hot cocoa mugs belong on a stable separate spot beside the tray, never balanced on a crowded tier, and tiny decor pieces should stay out of reach of small children who still put things in their mouths.
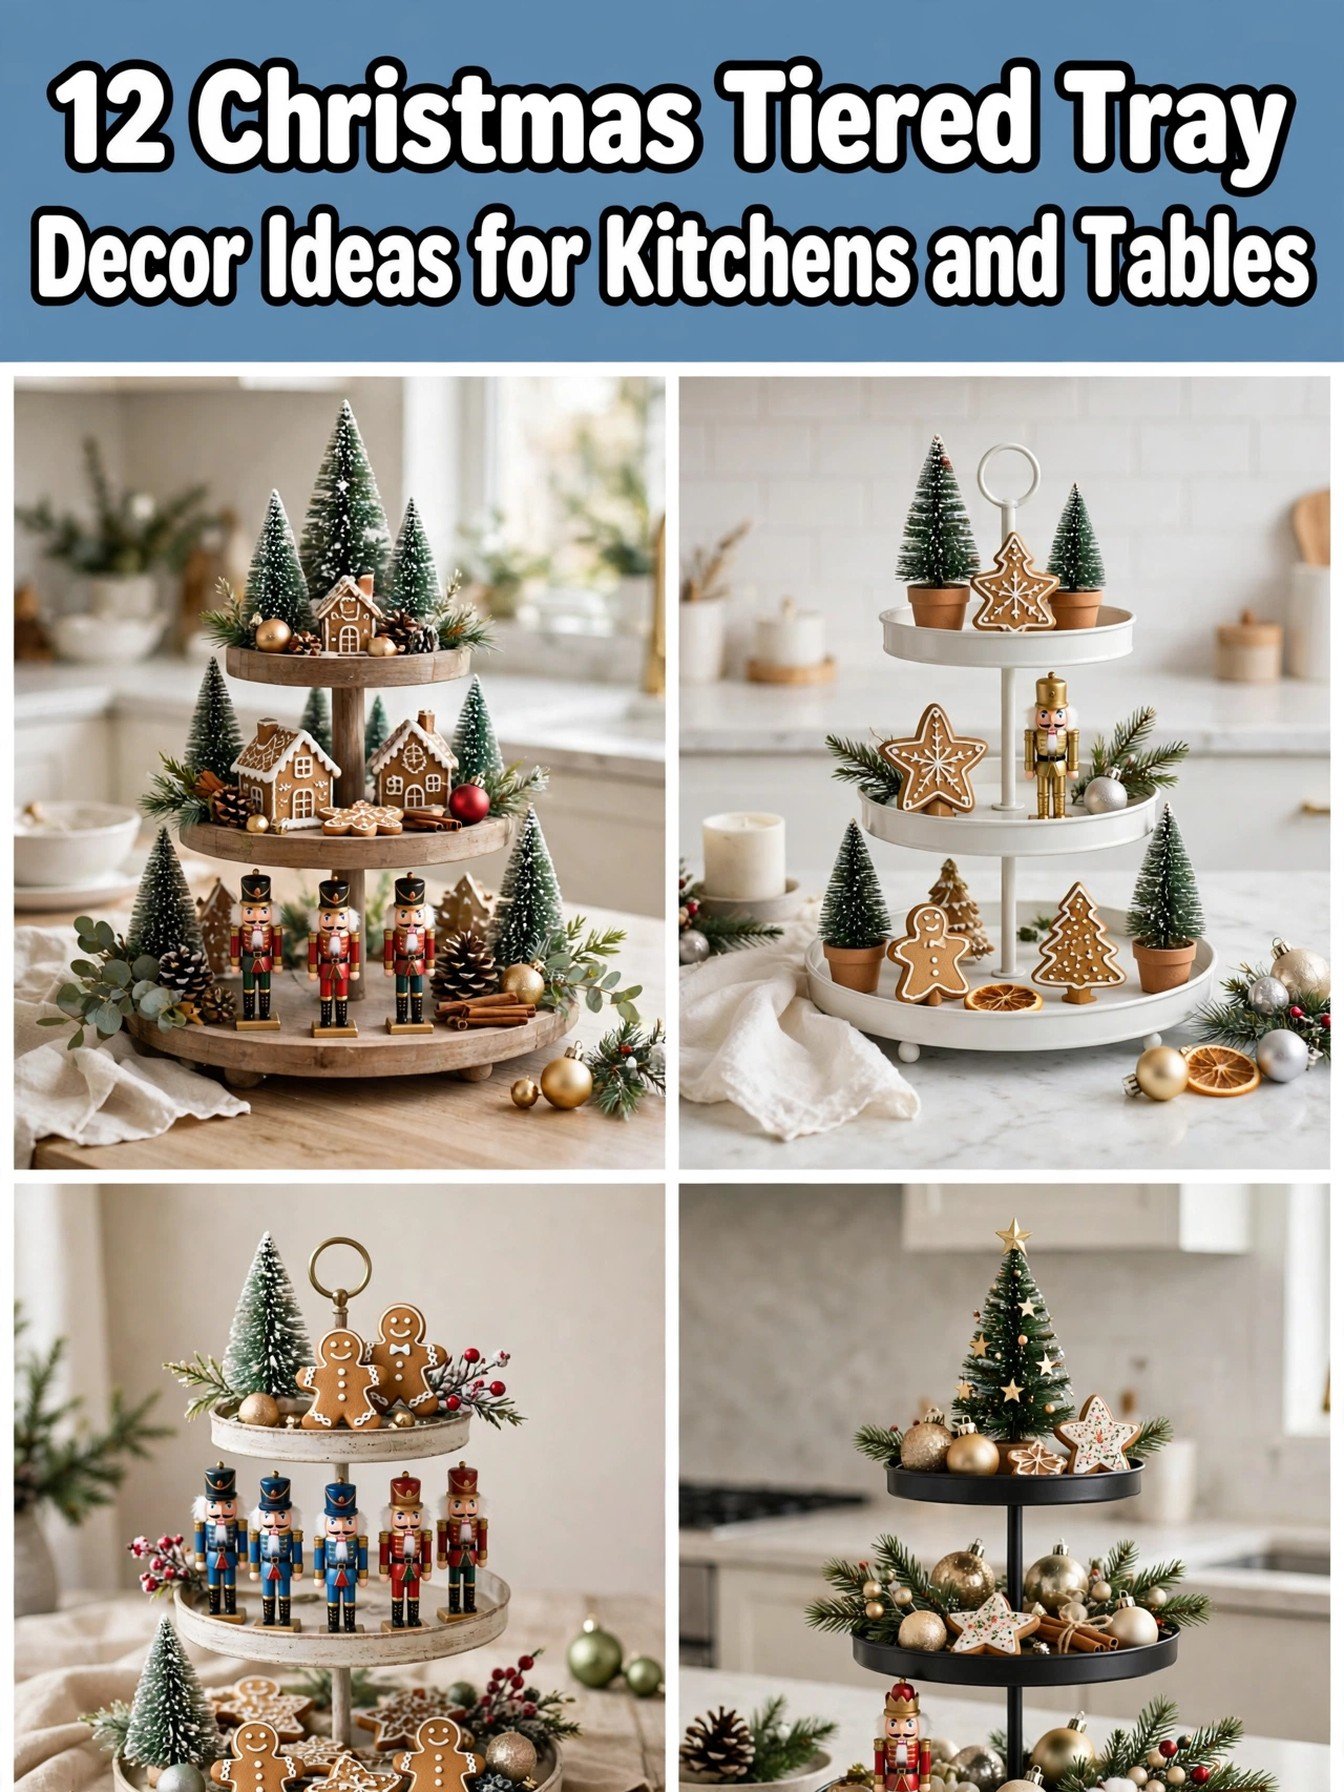
Quick Picks
- Start here: Hot Cocoa Tray With Mugs and Marshmallows (idea 1)
- Most charming: Gingerbread Tray With Cookie Shapes (idea 2)
- Budget hero: Thrifted Tray Makeover With Paint and Knobs (idea 3)
1. Hot Cocoa Tray With Mugs and Marshmallows
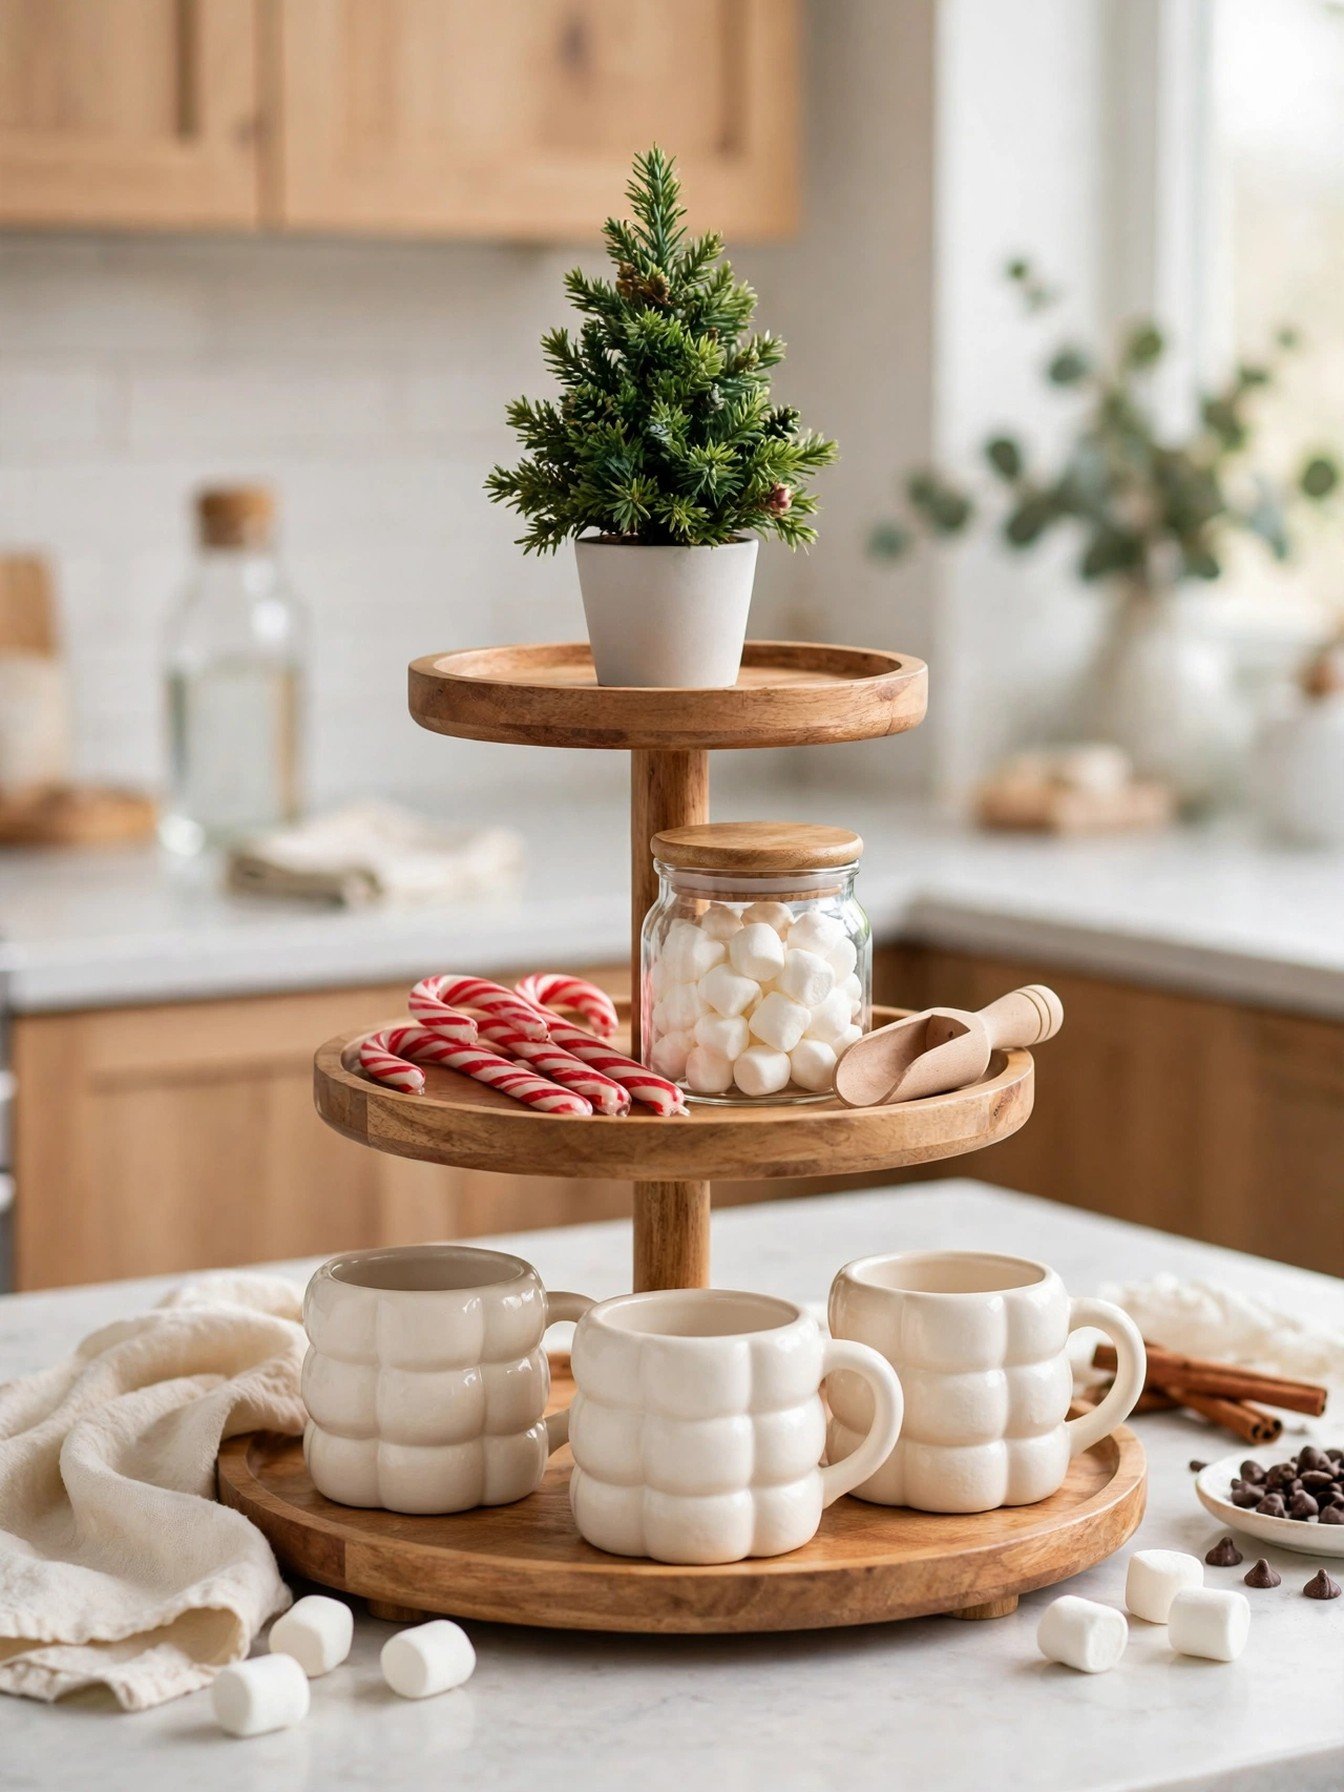
Start with the tray itself. This wooden two tier tray stand has trays that lift off the stand, so you can style each level on the counter and stack them back without knocking anything over. The top tier is about ten inches wide, the bottom about thirteen.
The mugs make this tray. These marshmallow shaped mugs, set of four are seven ounce ceramic mugs, each with a different smiling face. Two live on the tray as decor, and the whole set comes out when cocoa is actually served.
⏱ 25 minutes💲 Medium🛠 Easy
Materials Needed
- One wooden two tier tray stand
- Two to four small cocoa mugs
- A small jar of marshmallows and a few candy canes
- One mini Christmas tree or a sprig of greenery
How to Make It
- Place the mini tree or greenery at the back of the top tier as the tall anchor.
- Set two mugs on the bottom tier, handles turned out so the faces show.
- Fill the gaps with the marshmallow jar and a small cup of candy canes.
- Add one red ornament or bow at the front edge for the color pop.
- Park the tray near the kettle corner, with real hot mugs served on the counter beside it.
Tip: Keep the marshmallow jar sealed until serving day. After that, move it to the pantry and swap in a jar of cocoa mix so the tray still reads as a cocoa station.
2. Gingerbread Tray With Cookie Shapes
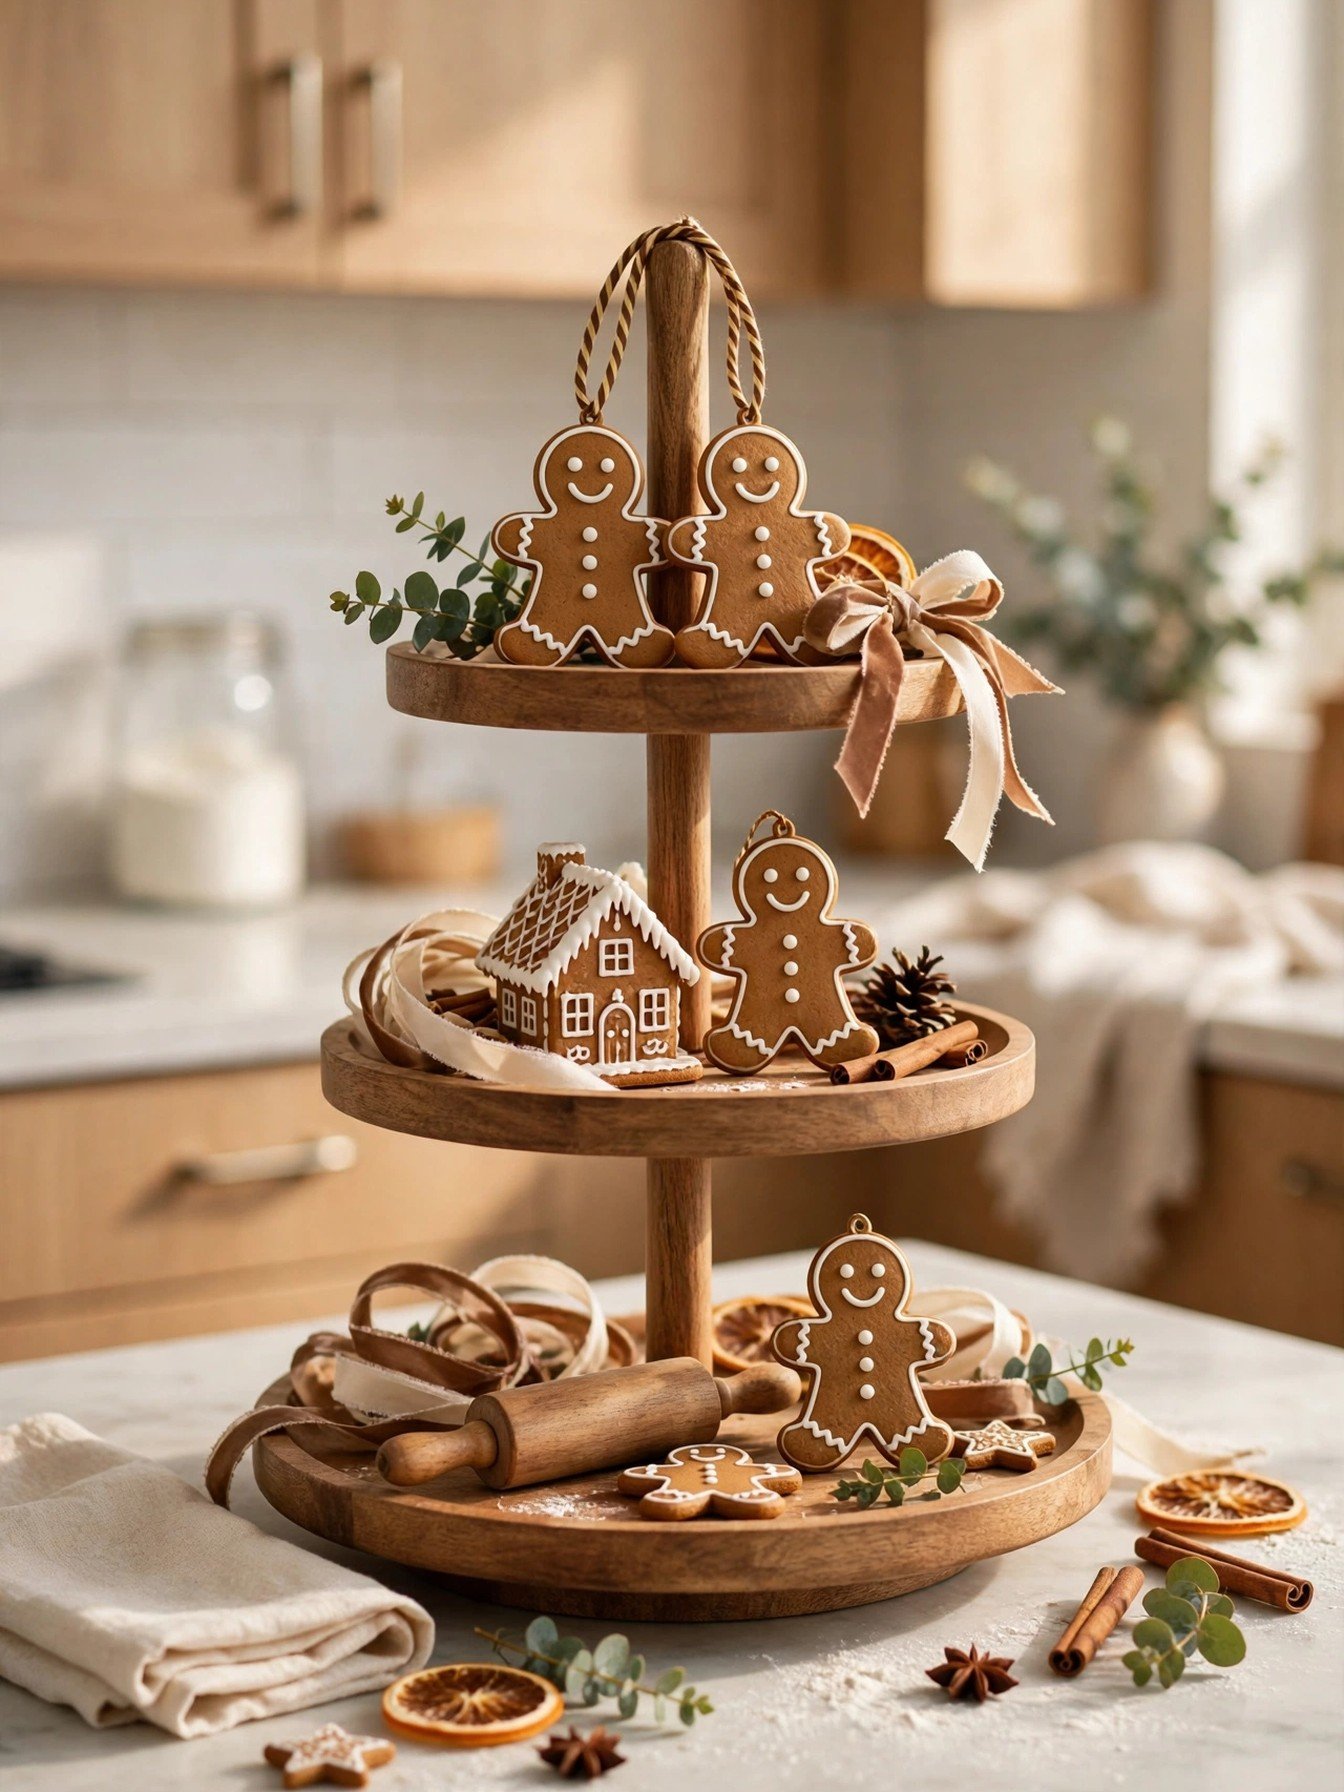
A gingerbread tray is all warm browns and cream, and it smells like Christmas even though nothing on it is edible. This set of 16 gingerbread man ornaments gives you enough cookie shapes to fill both tiers, each one a slightly different character at three inches tall.
Prop a few standing against a mug or a small book, lay others flat like cookies on a plate, and let one peek over the top tier edge. Brown gingham ribbon and a tiny rolling pin finish the bakery story.
⏱ 20 minutes💲 Low🛠 Easy
Materials Needed
- A set of gingerbread man ornaments or cookie shapes
- Brown or gingham ribbon
- One small plate and one mug as props
- A tiny rolling pin or wooden spoon
How to Make It
- Lay three gingerbread figures flat on the small plate on the bottom tier, like fresh cookies.
- Stand two figures against the mug and one at the back of the top tier.
- Tie a small ribbon bow on the tray handle or the mug handle.
- Lean the rolling pin against the tray side as the bakery prop.
- Fill any bare corner with a pine cone or a cinnamon stick bundle.
Tip: Keep real cookies in a sealed jar on a different counter. The tray figures look edible, and mixing the two confuses guests and children.
3. Thrifted Tray Makeover With Paint and Knobs
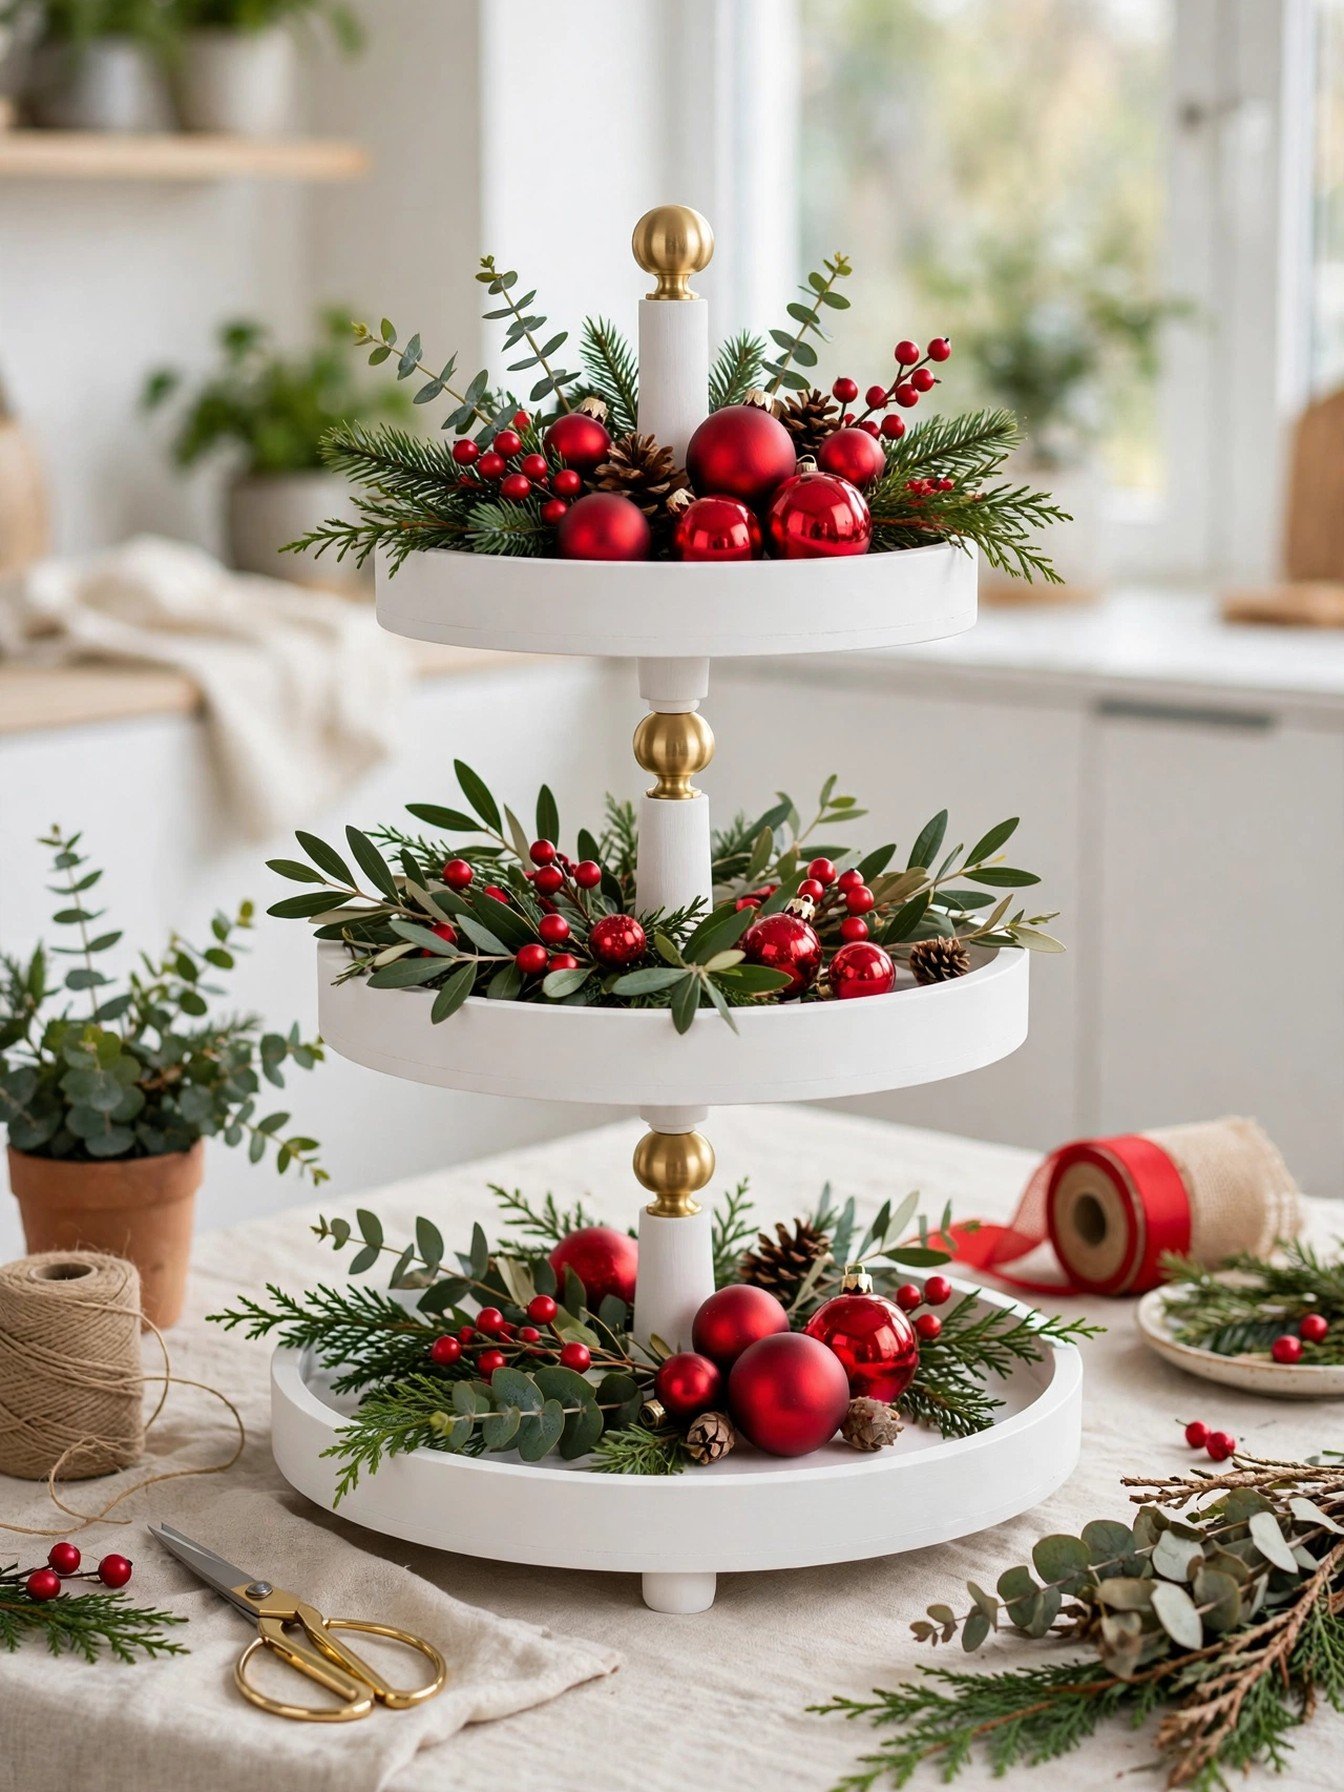
Thrift stores are full of tired tiered trays with good bones. Chalk paint fixes almost all of them. This FolkArt chalk furniture paint in White Adirondack, 16 ounce needs almost no surface prep, dries ultra matte, and can be lightly sanded at the edges for a soft aged edge.
The second half of the makeover is hardware. Swapping a plain center knob for a prettier one, or adding small feet, makes a five dollar tray look like a boutique piece. Check the knob thread size on your tray before you buy replacements.
⏱ 60 minutes plus drying💲 Low🛠 Medium
Materials Needed
- One thrifted tiered tray, any finish
- Chalk paint and a soft brush
- Fine sandpaper for light distressing
- One replacement knob or small feet
How to Make It
- Wash the tray with warm soapy water, dry it fully, and unscrew the trays from the post if you can.
- Brush on the first chalk paint coat in long strokes and let it dry about thirty minutes.
- Add a second coat for full coverage, especially over dark or shiny finishes.
- Sand the rim edges very lightly once dry, only where natural wear would happen.
- Fit the new knob, rebuild the tray, and style it while the paint cures for a day before heavy use.
Tip: Paint the underside of the top tray too. It is the part you see most when the tray sits on a counter below eye level.
4. Kitchen Counter Tray With Mini Trees
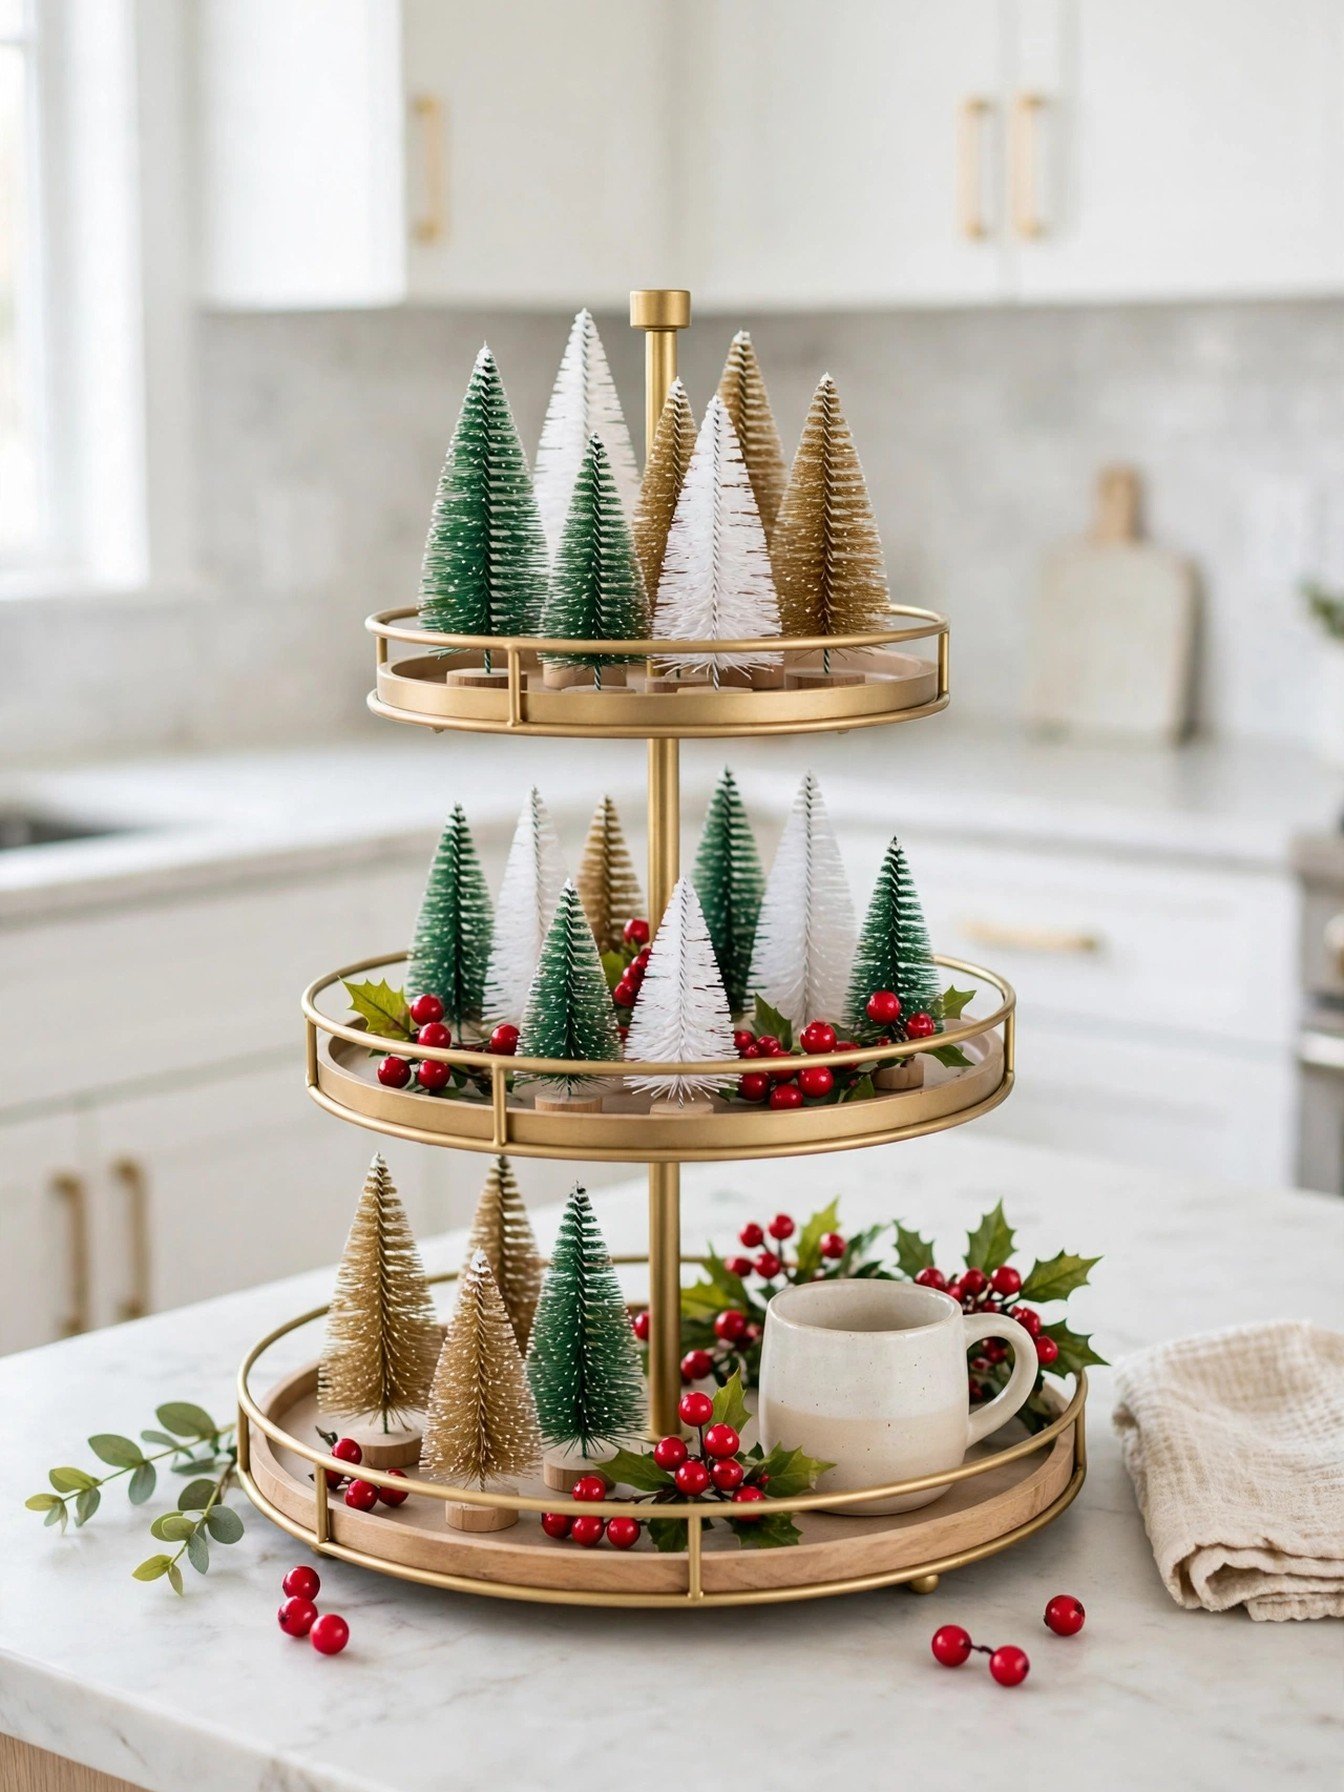
A forest of mini trees is the easiest tray of all, because the trees do the styling for you. This set of 30 mini bottle brush trees comes in five sizes and green, white and gold tones, all on little wooden bases that stand happily on a tray tier.
Group the trees in odd numbers, tallest at the back, and leave one everyday item in the scene, like the mug you actually use. A tray that still works for real life looks better than a tray that is only a display.
You’ll need: mini bottle brush trees in mixed sizes, one mug and a pinch of red berries
Best for: kitchen counters and coffee corners
5. Farmhouse Tray With Layered Wooden Signs
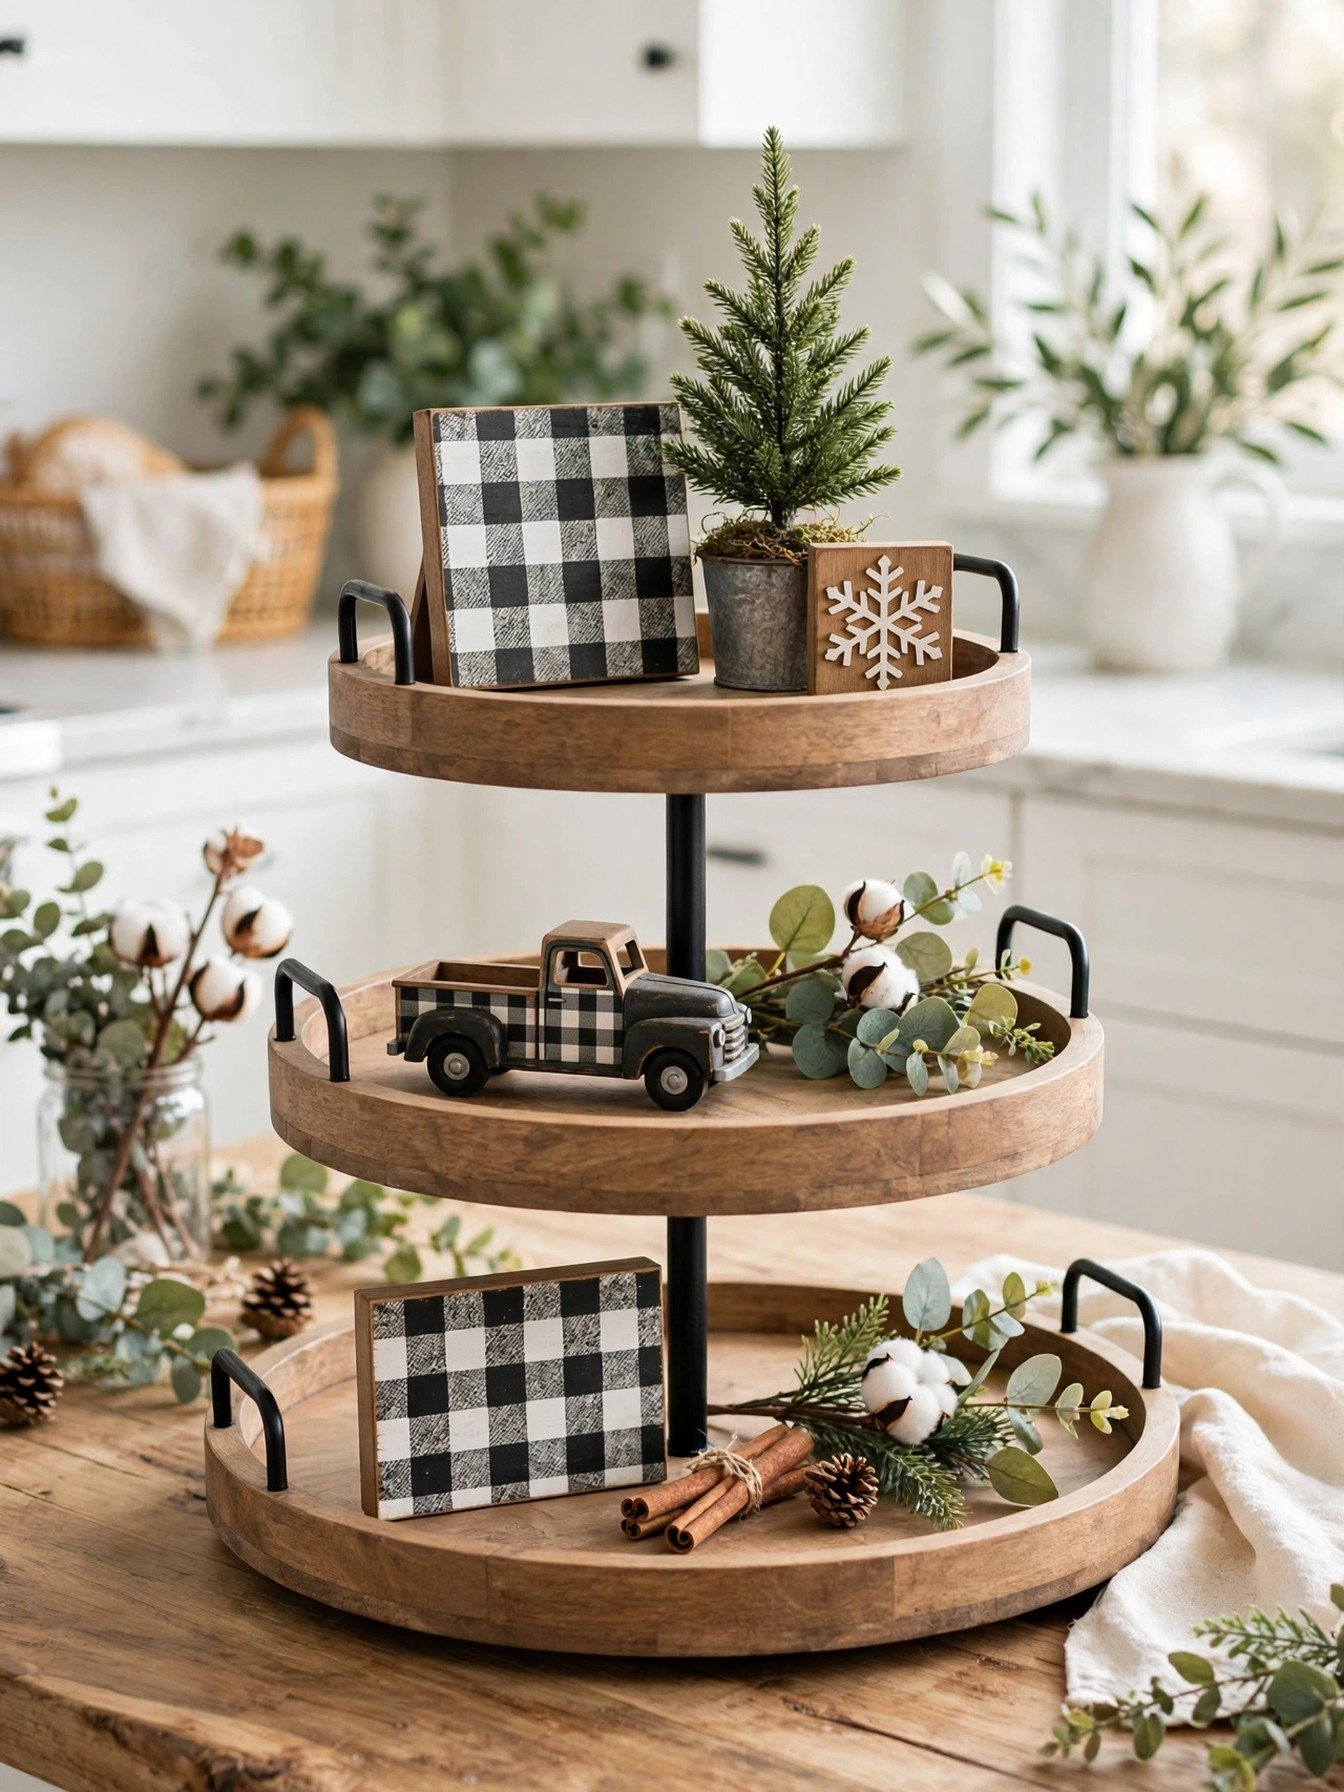
Farmhouse trays are built in layers: a sign at the back, a tree in the middle, something small at the front. A ready set makes it simple. This 15 piece farmhouse tiered tray decor set mixes buffalo plaid signs, a tree, a snowflake, a gnome and a little truck, with holders and jute rope included.
Style it like a shelf, not a pile. Lean the biggest sign against the center post, angle smaller pieces toward the viewer, and repeat the plaid pattern once on each tier so the two levels feel like one family.
You’ll need: a farmhouse tray decor set with signs, one mini tree and a short bead garland
Best for: farmhouse kitchens and rustic tables
6. Vintage Tray With Old Style Ornaments
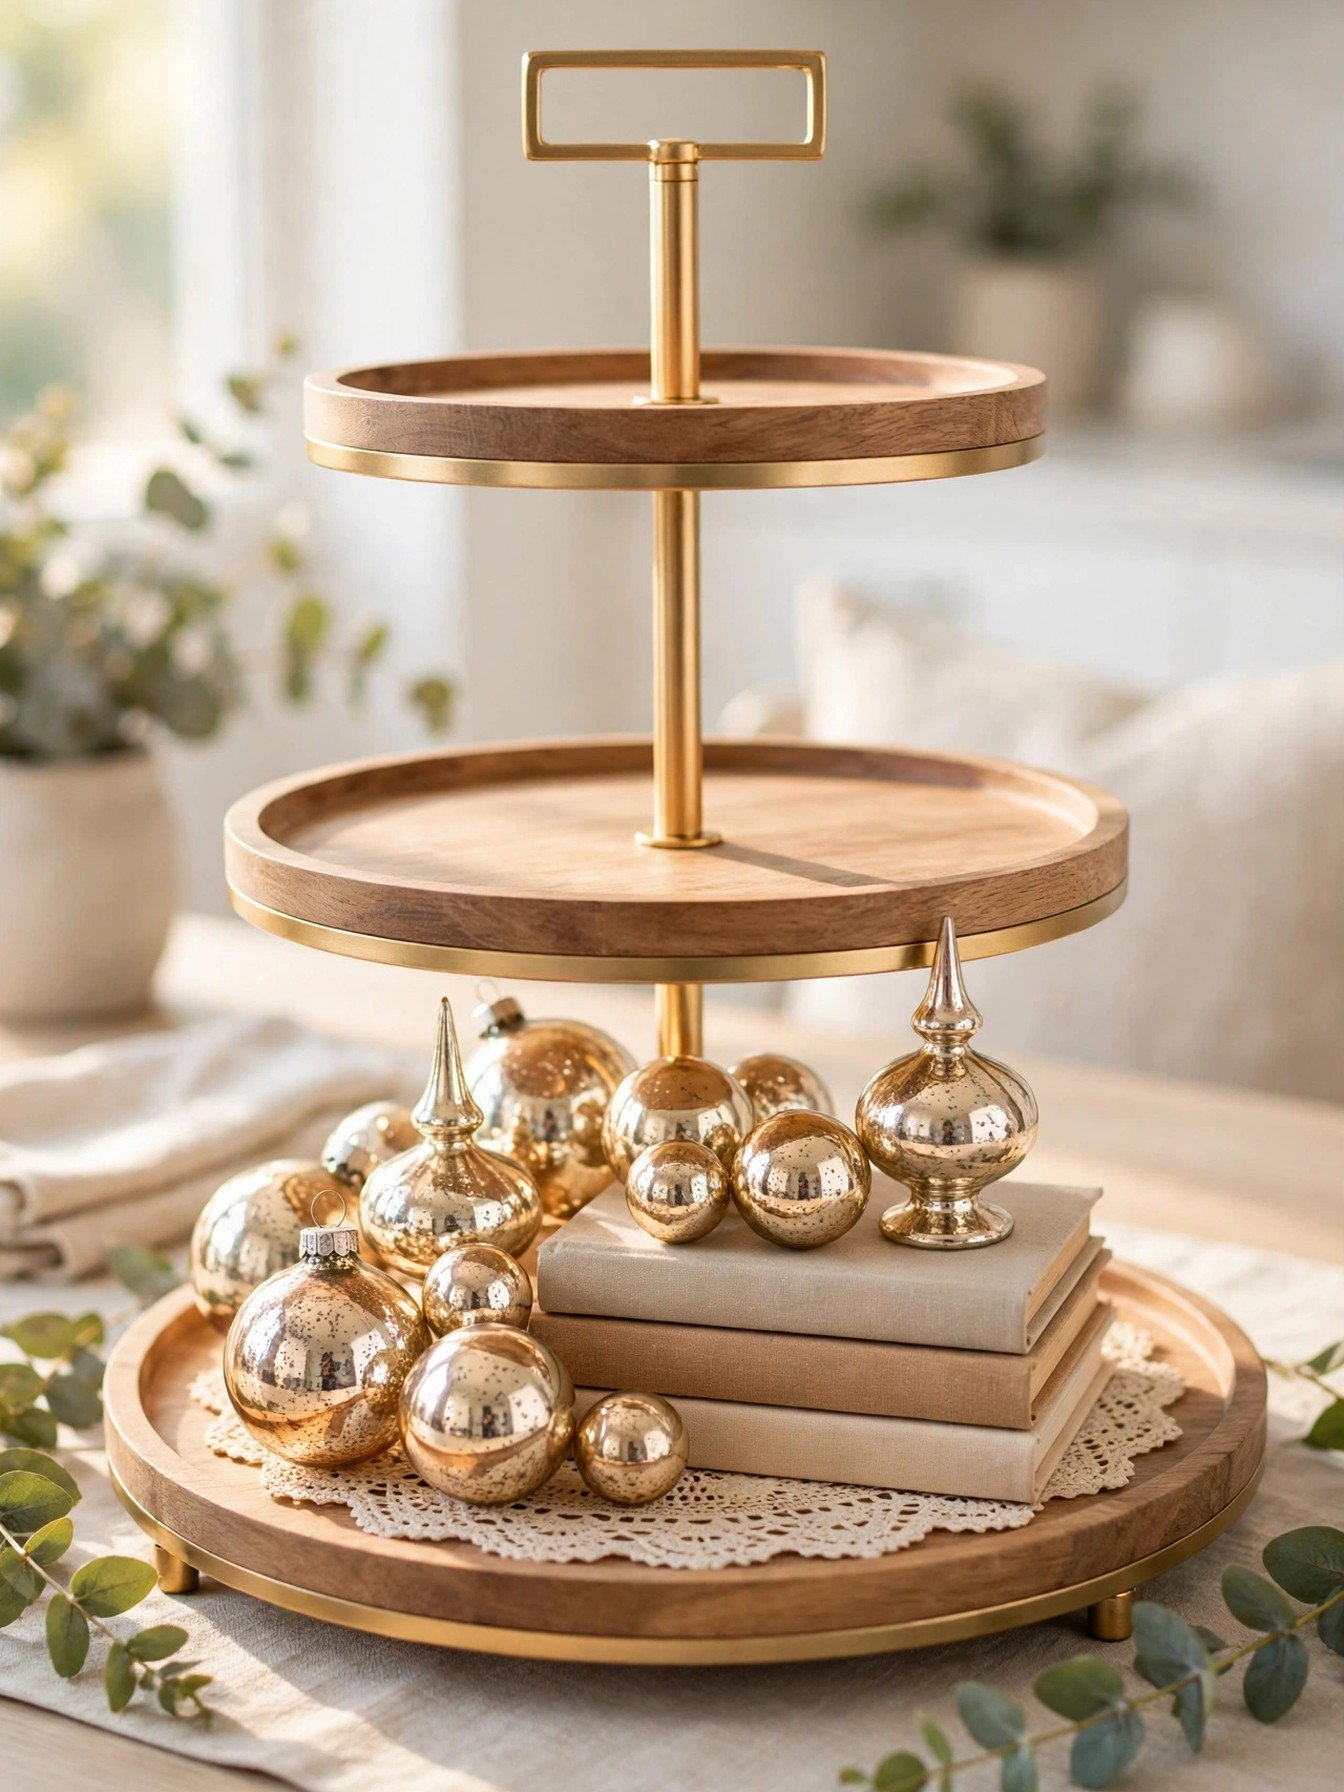
Mercury glass brings the vintage feeling without hunting through antique shops. This 16 piece champagne mercury glass ornament set mixes round balls, ribbed balls, onion and finial shapes in two sizes, and the mirror finish glows softly in lamplight.
Nest the ornaments on a lace doily or a folded linen napkin so they do not roll, and add one stack of old books beside the tray. Glass pieces belong on the top tier or the middle of the bottom tier, away from edges that get bumped.
You’ll need: mercury glass ornaments, a lace doily or linen napkin and old books
Best for: vintage lovers and evening lamplight
7. Nutcracker Accent Tray
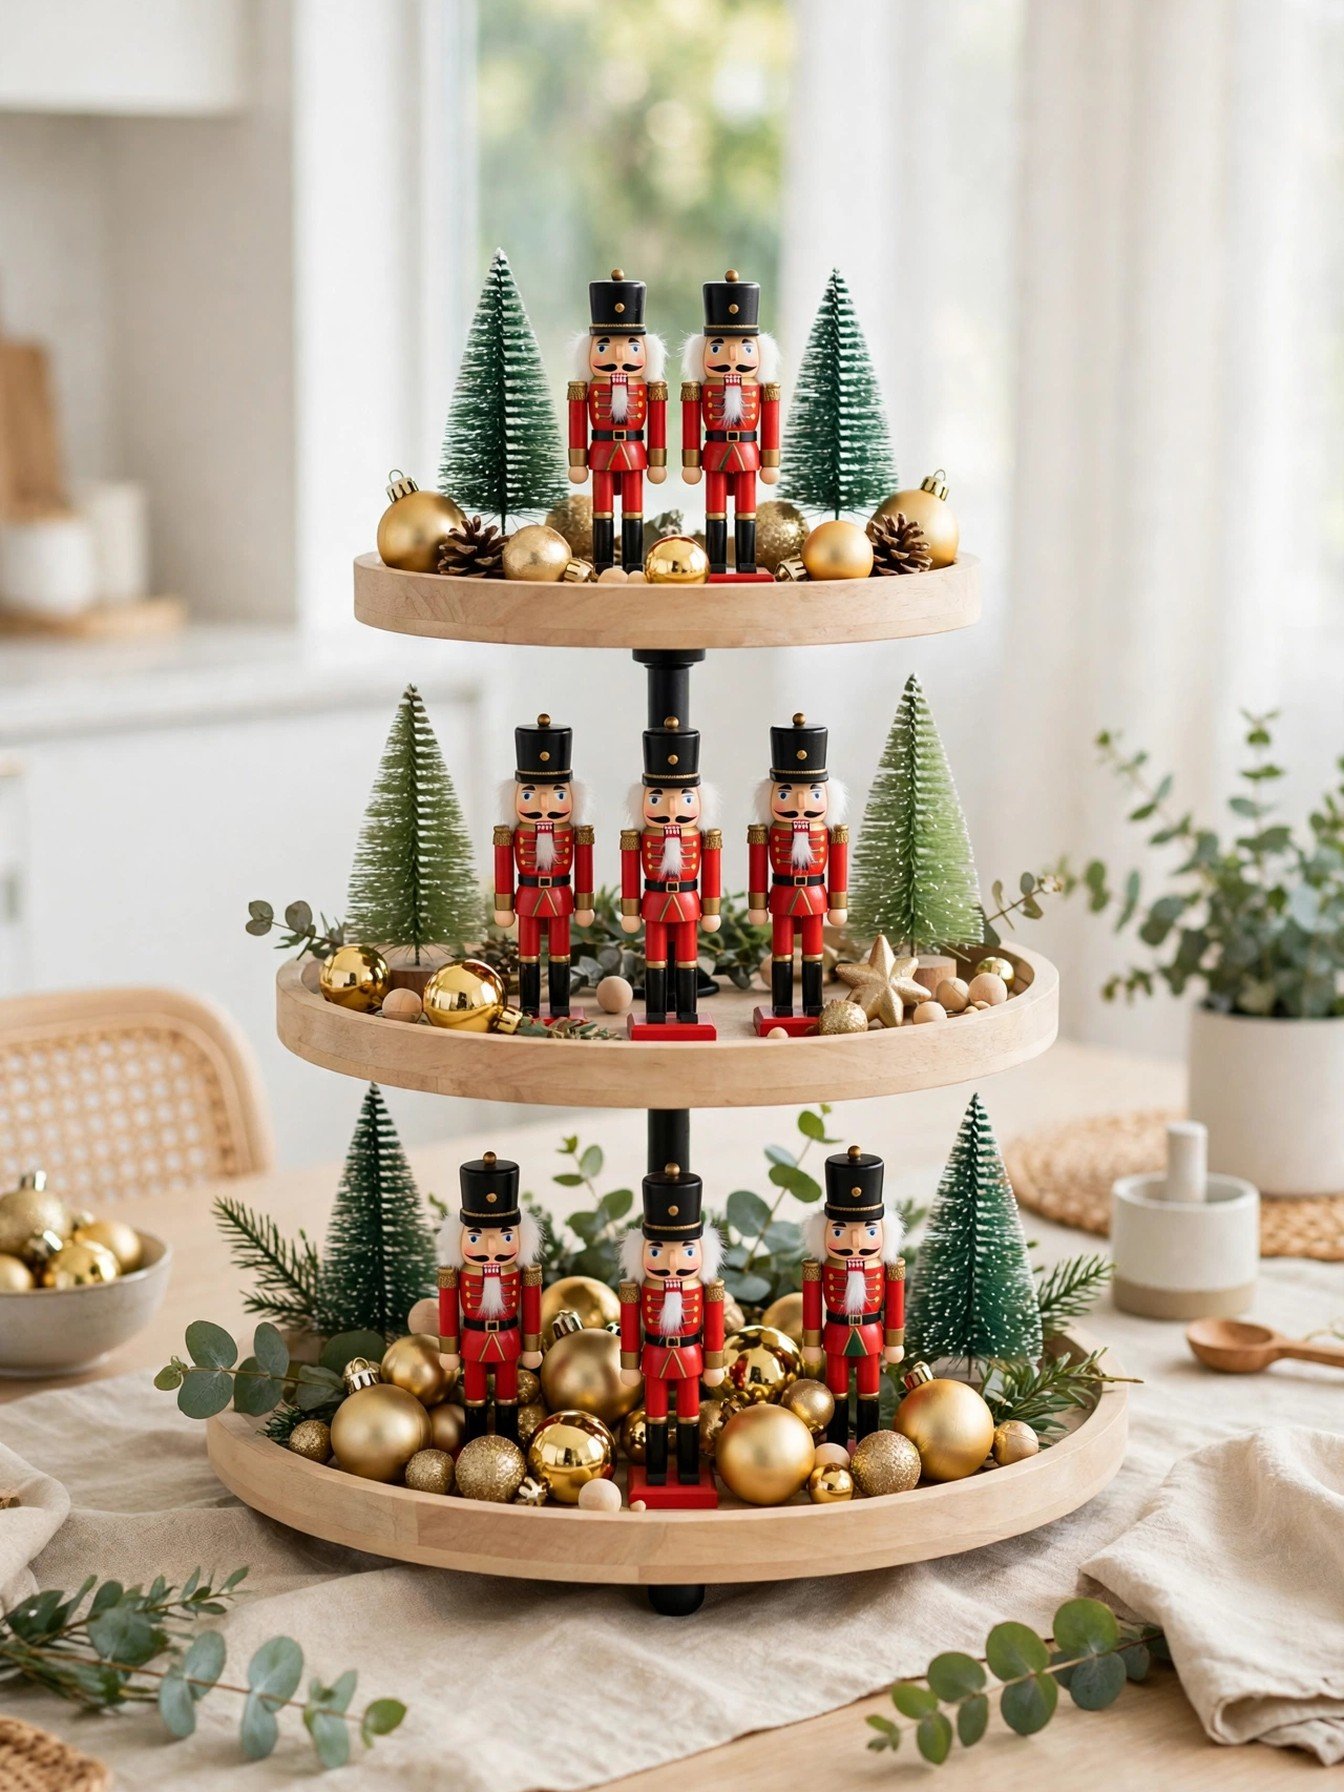
One nutcracker is a figure; a small guard of them is a scene. This set of wooden nutcracker figures, five inches tall is sized exactly for tray tiers, where a full size nutcracker would never fit. Stand two on the bottom tier and one up top as the captain.
Fill around their feet with mini trees and gold ornaments so they look on duty in a tiny forest. Keep the colors they wear, usually red, gold and green, as the color story for the whole tray.
You’ll need: small nutcracker figures, mini trees and gold ornaments
Best for: traditional red and gold homes
8. Pink Tray With Soft Ornaments
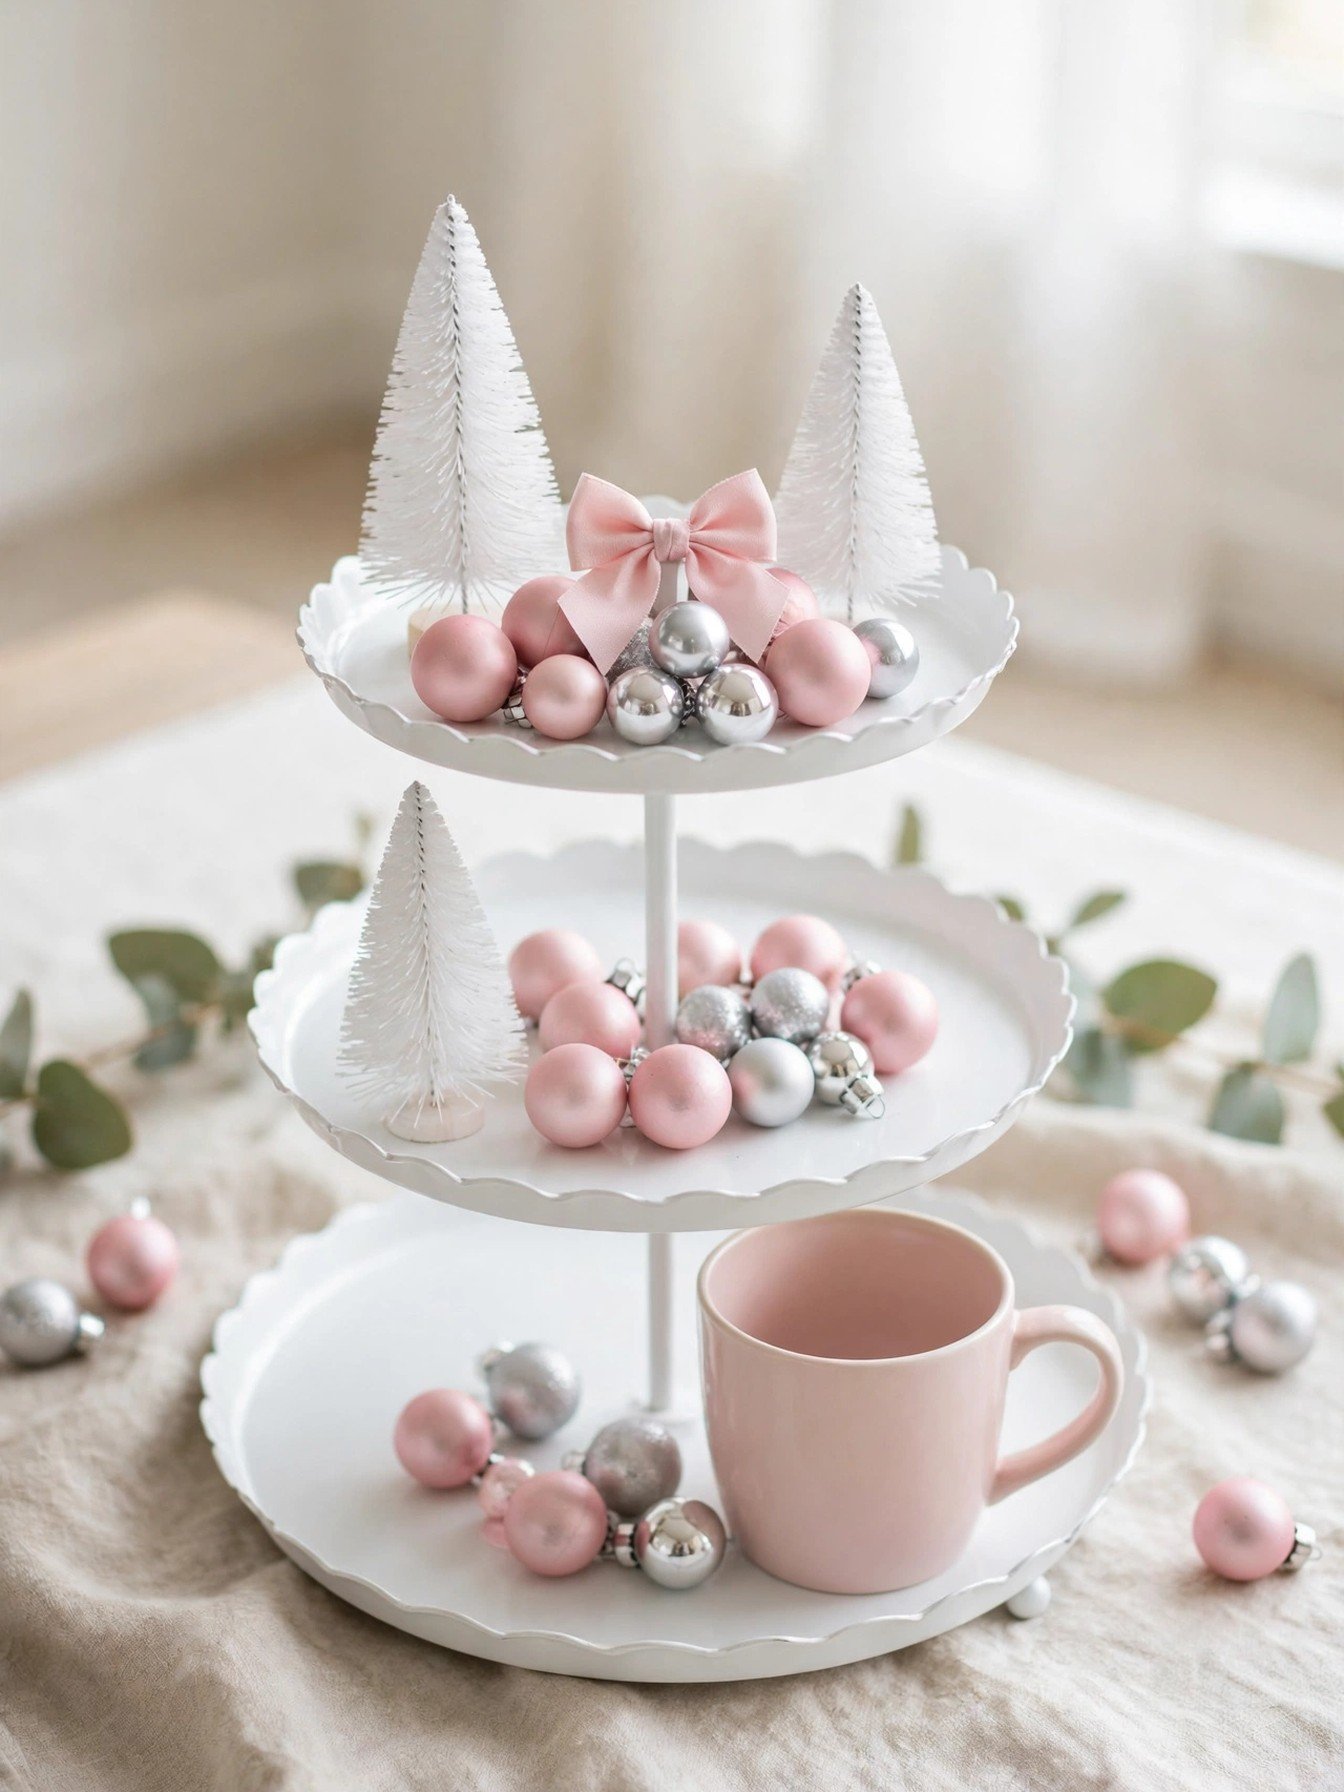
Pink trays work because the tray itself stays white and the color sits in the small pieces. These 24 pink and silver mini ornaments are just under two inches each, shatterproof, and light enough to pile generously without stressing the tiers.
Add white mini trees for contrast and one blush mug so the tray still feels like part of the kitchen. A tiny pink bow on the handle ties the two tiers together.
You’ll need: pink mini ornaments, white mini trees, a blush mug and a small bow
Best for: soft pink Christmas themes
9. Blue and White Winter Tray
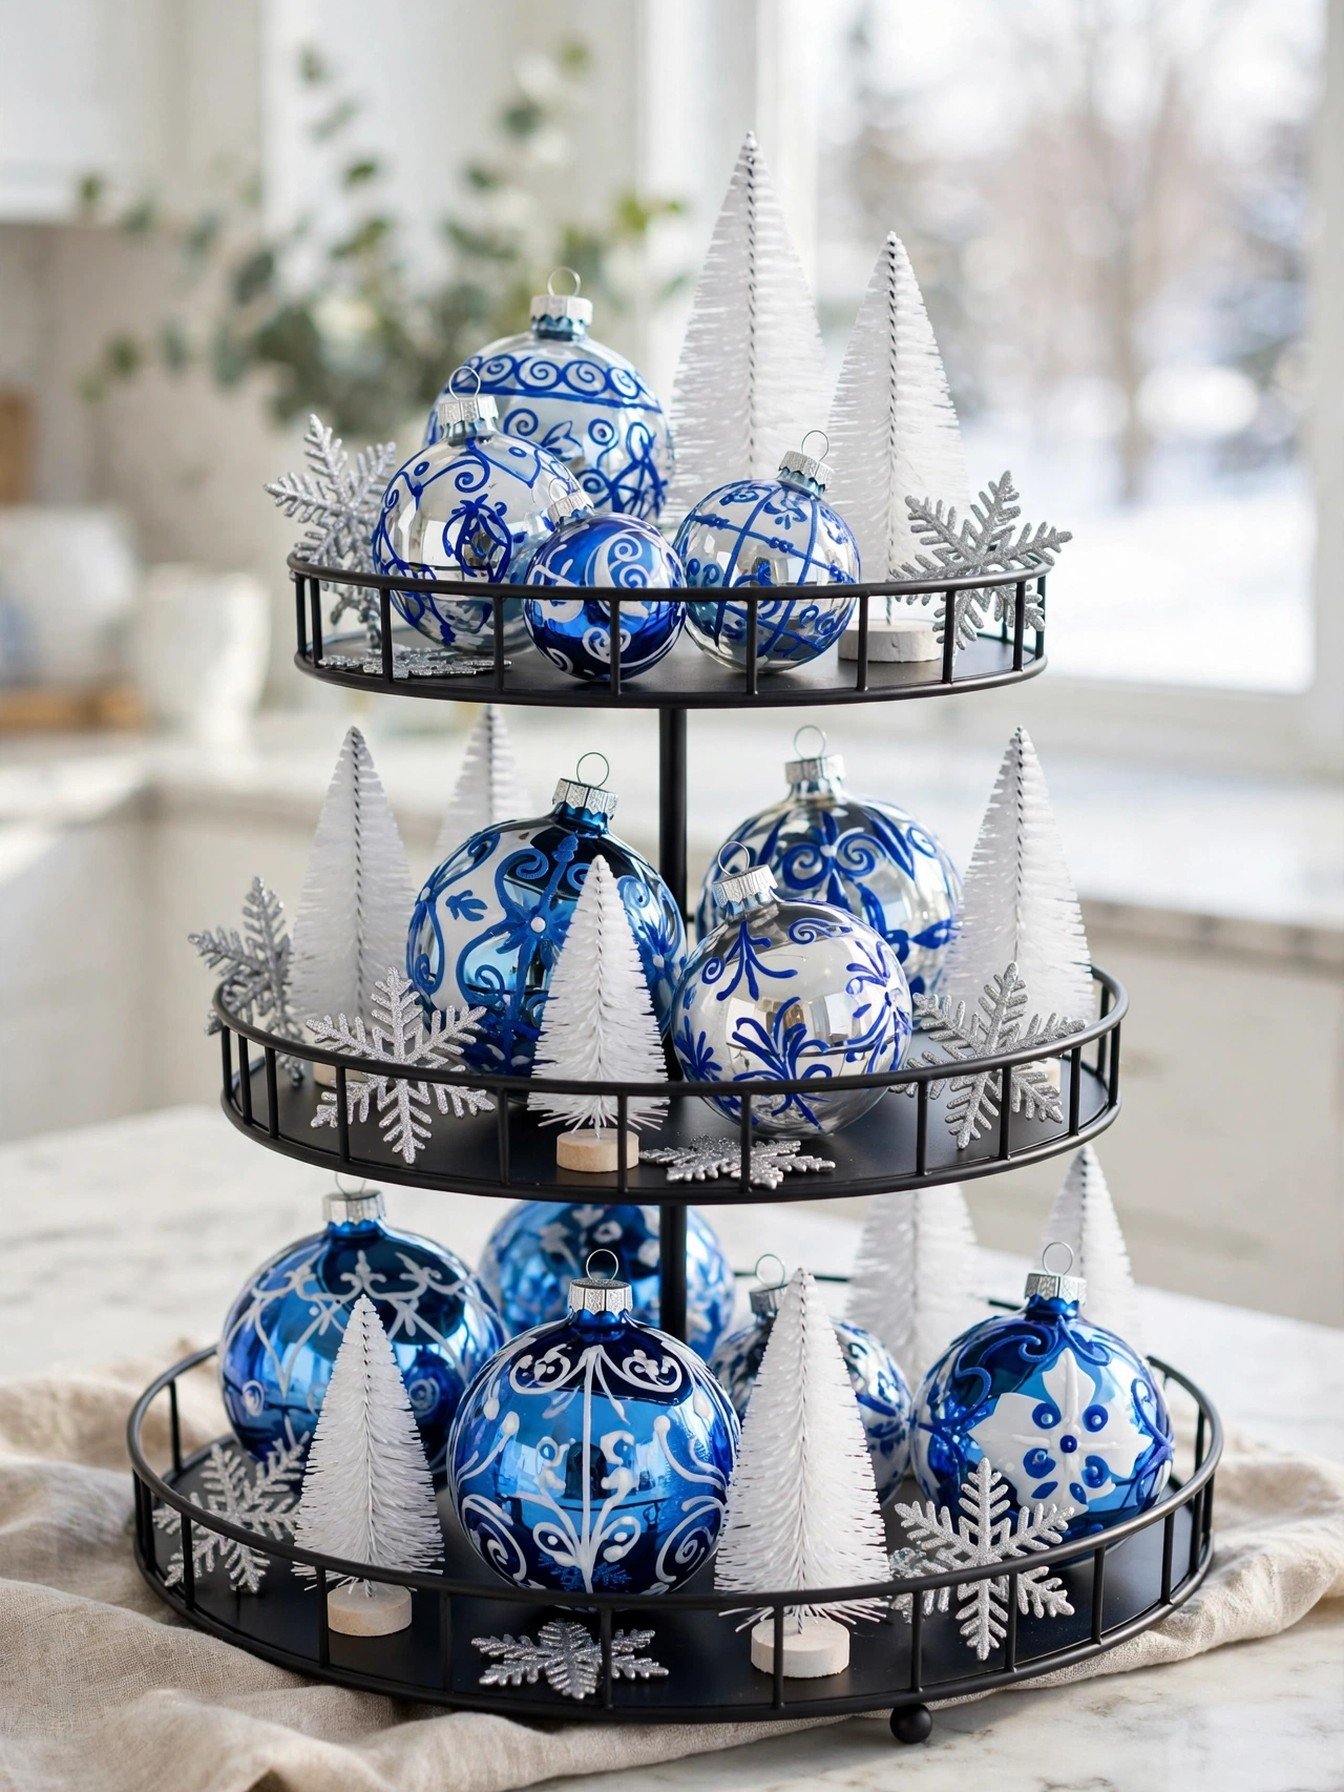
Blue and white feels like fresh snow at noon. These blue and white glass ball ornaments, set of 12 carry nutcracker, tree, wreath and reindeer patterns in a classic chinoiserie style, and at about two and a half inches they sit on a tray like little porcelain treasures.
Pair them with white trees and silver snowflakes only. The palette is the whole point, so resist adding red or gold, and the tray will look calm and expensive.
You’ll need: blue and white ornaments, white mini trees and silver snowflakes
Best for: calm winter and coastal homes
10. Neutral Tray With Wood Beads
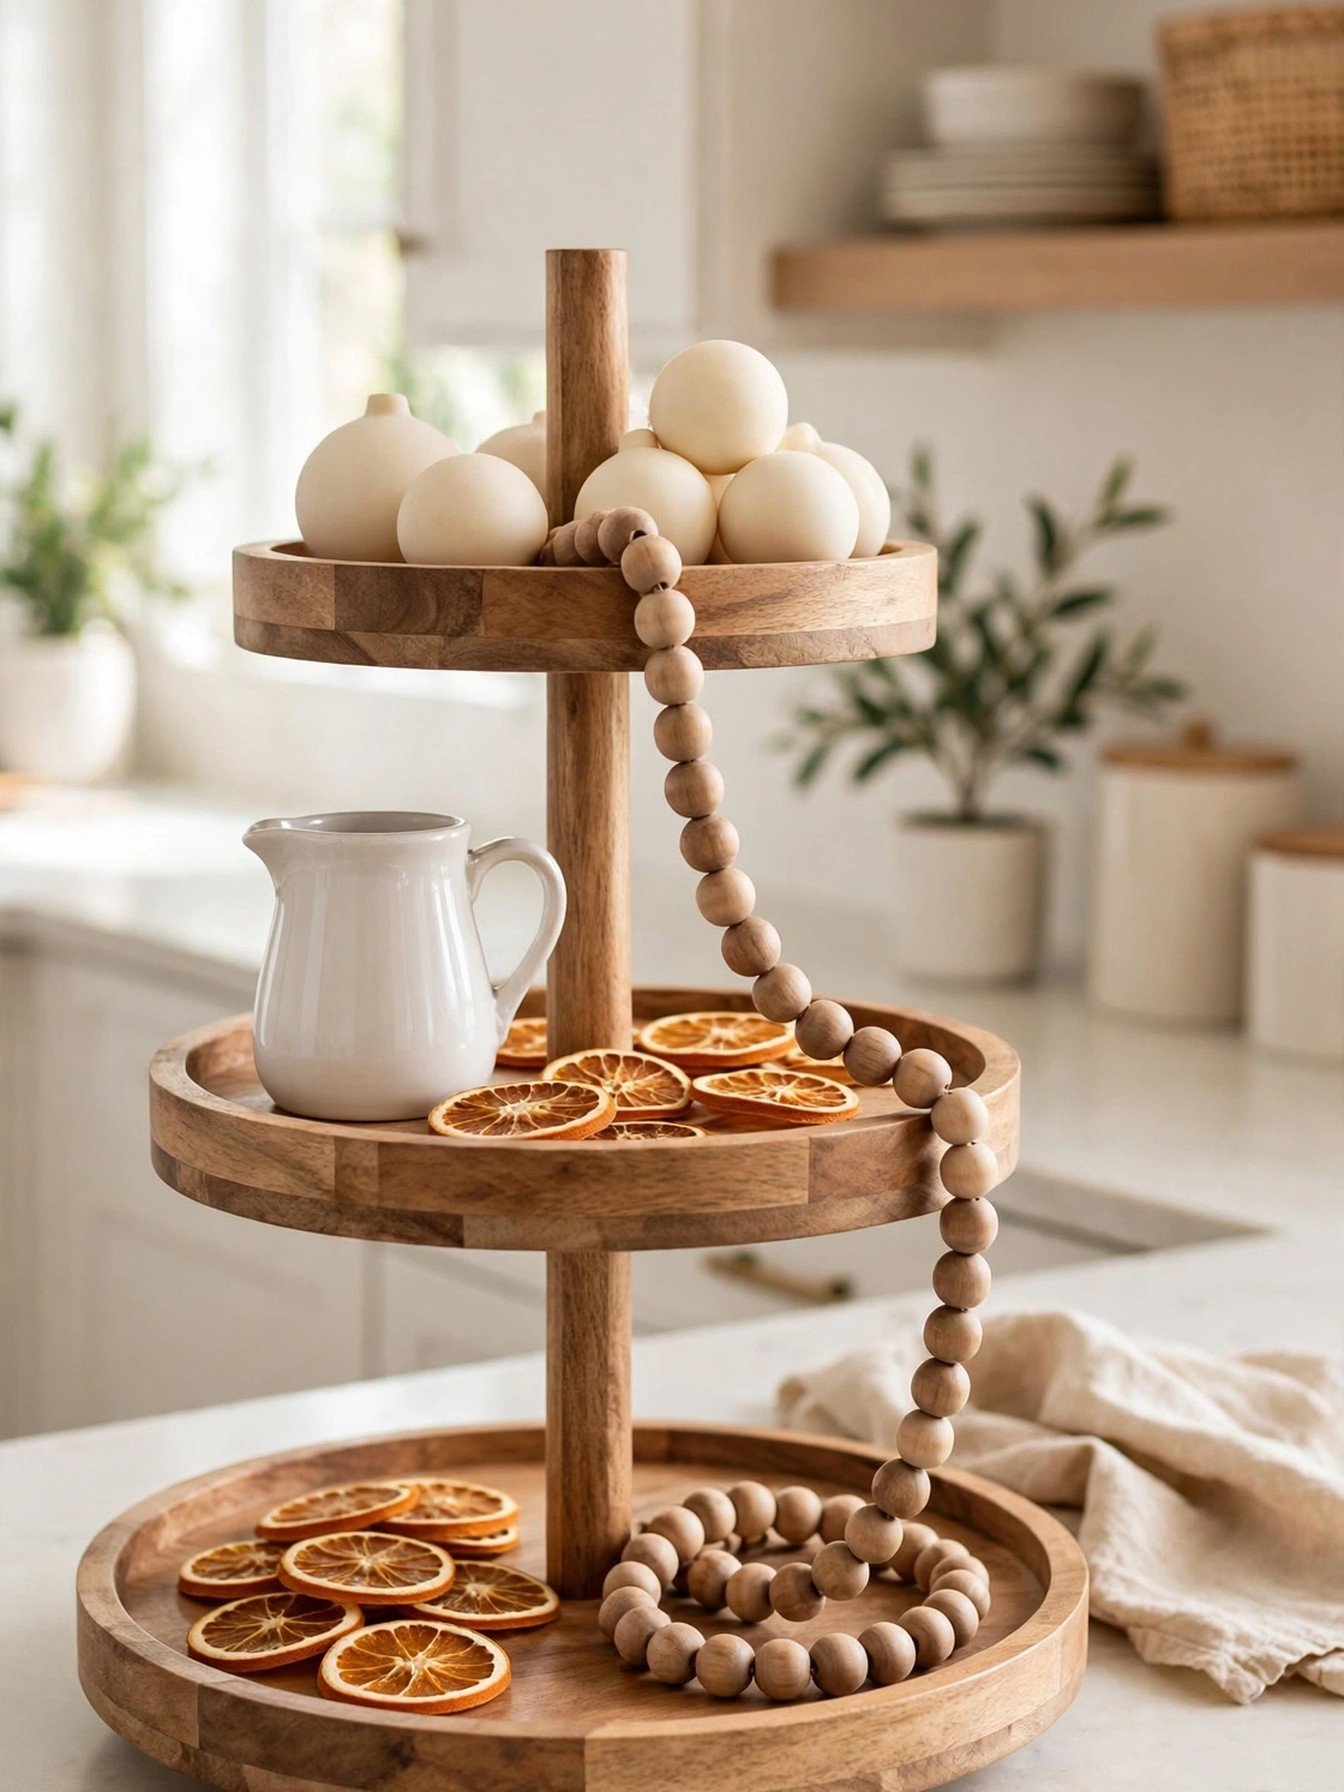
The neutral tray is the calm one: wood, cream and one strand of beads doing the decorating. This large wood bead garland, 50 inches with tassels has chunky beads over an inch and a half wide, so a single drape between the tiers reads clearly instead of disappearing.
Loop the garland from the top tier down to the bottom one, then add cream ornaments and dried orange slices for the only color. This tray blends into everyday decor, so it can stay up the longest after Christmas.
You’ll need: a wood bead garland, cream ornaments and dried orange slices
Best for: neutral and Scandinavian style homes
11. Ornament Filled Tray With Fairy Lights
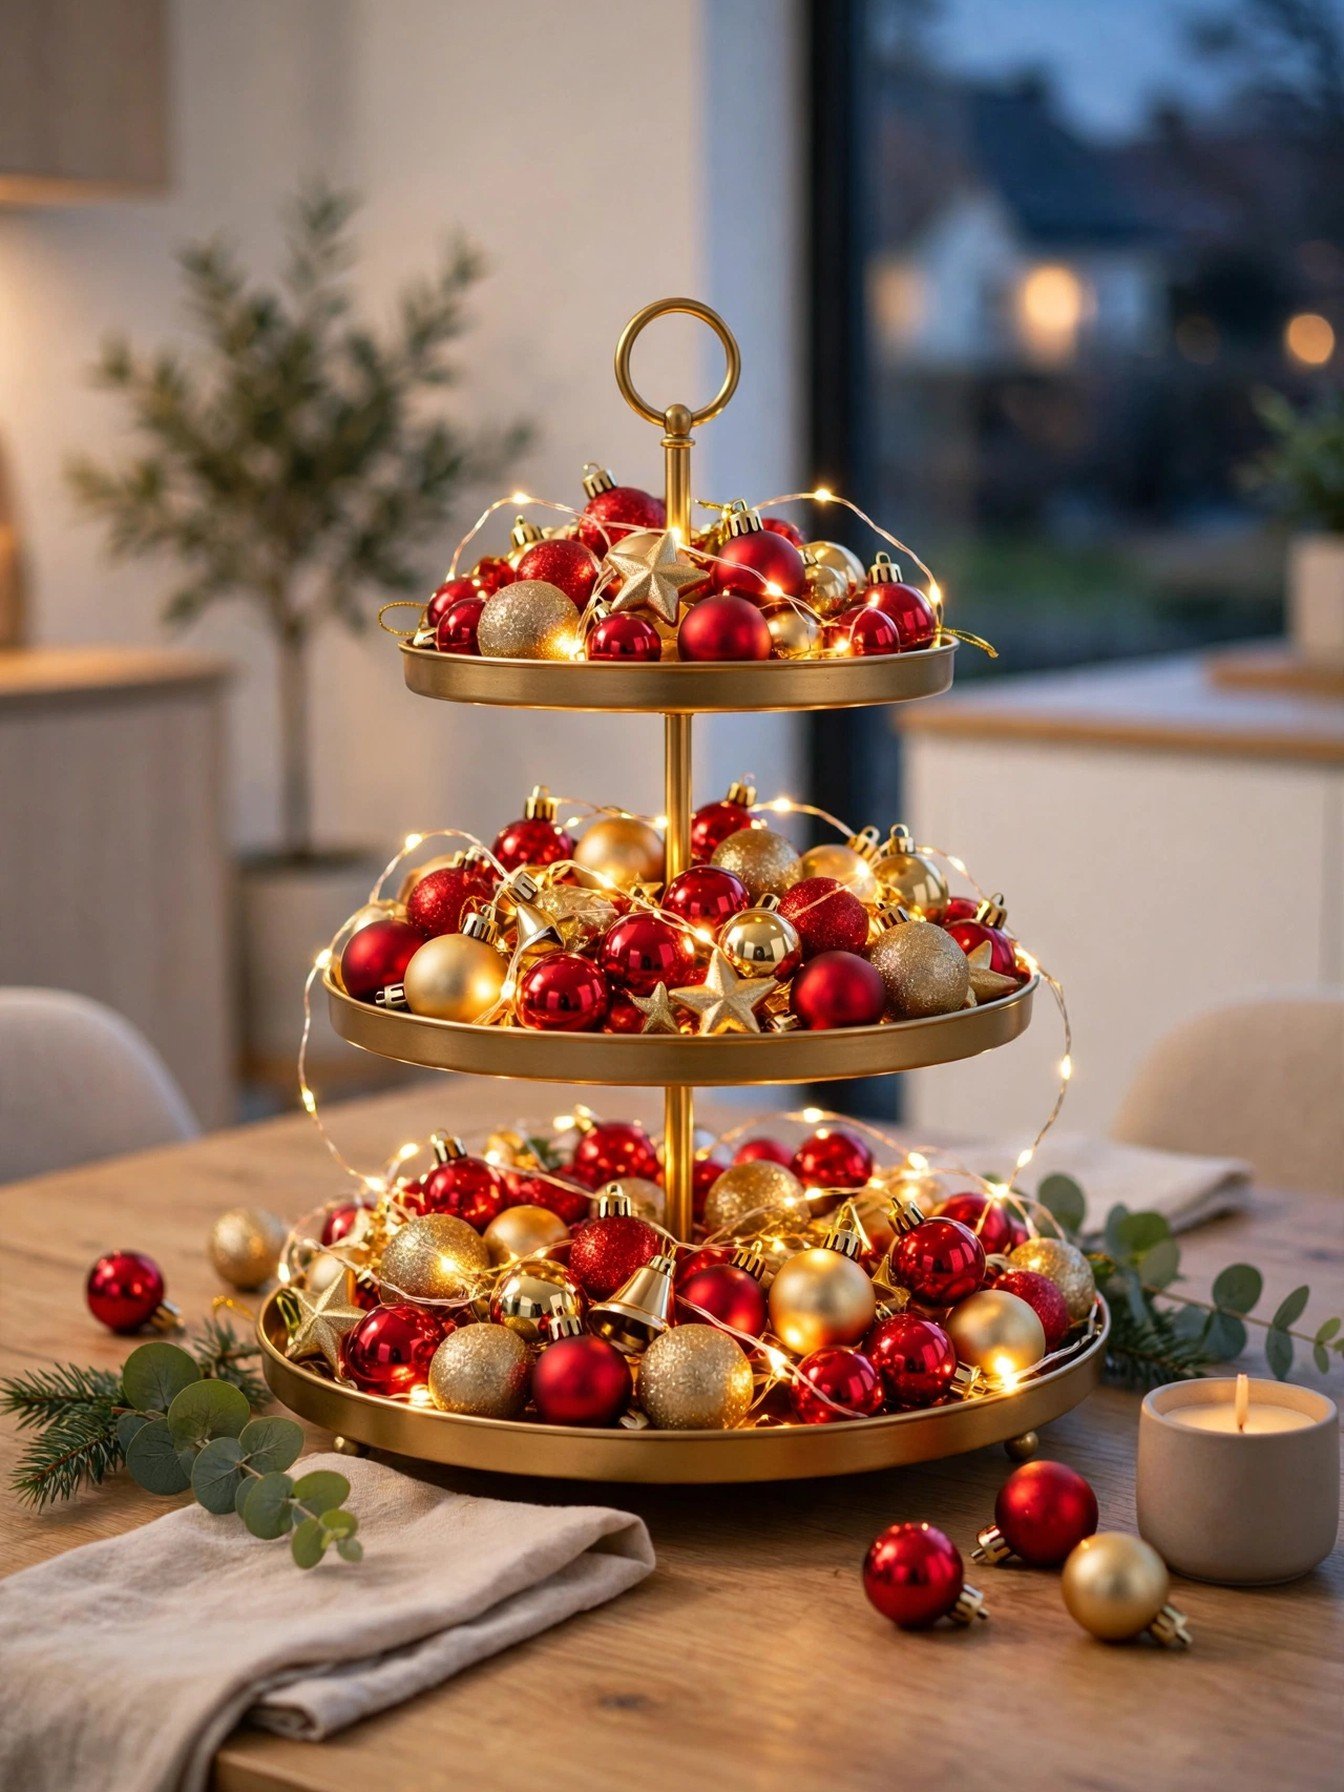
For the evening tray, fill both tiers with ornaments and weave light through them. One strand of these battery fairy lights, ten feet with 30 warm white LEDs is enough for a whole tray, the copper wire bends around ornaments, and the battery box hides behind the biggest piece at the back.
Pile the ornaments first, then thread the wire in loose S shapes so some lights sit deep and some sit near the front. The glow through colored balls looks like the tray is lit from inside.
You’ll need: mini ornaments in two colors and one short strand of battery fairy lights
Best for: evening tables and party nights
12. Small Two Tier Tray for Tiny Counters
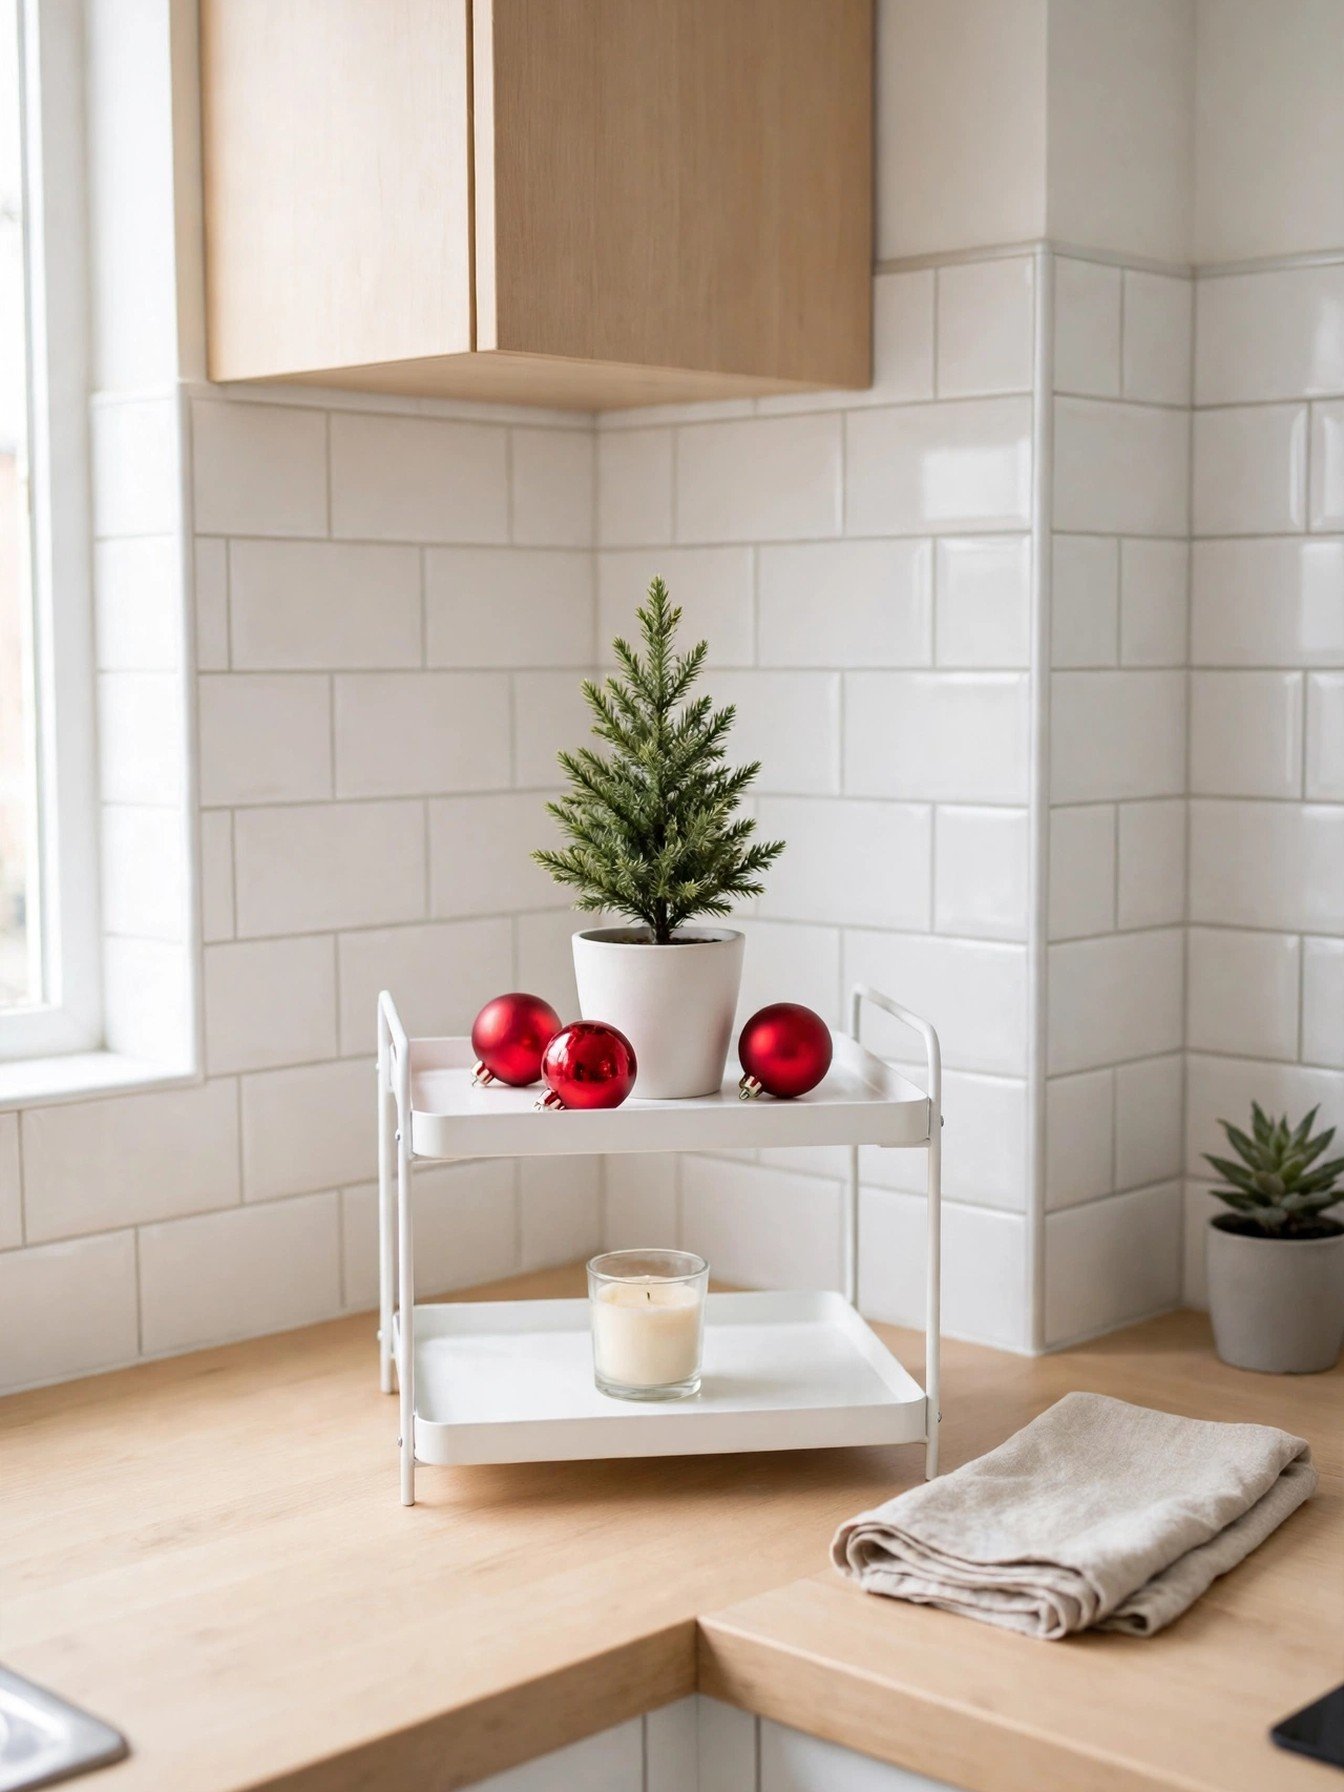
Small kitchens deserve a tray too; they just need the compact version. This round white two tier tray stand has a footprint of about thirteen inches, so it fits the corner beside the sink or the coffee maker where a big tray would steal work space.
Style it with the three piece rule: one tree, one candle, one small cluster of ornaments. When the tray is small, restraint is what makes it look designed instead of crowded, and small decor pieces stay safely away from the sink splash zone.
You’ll need: a compact two tier tray, one mini tree, one candle and three ornaments
Best for: apartments, dorms and tiny kitchens
Frequently Asked Questions
How do I style a tiered tray without it looking cluttered?
Work in layers and odd numbers. One tall piece at the back, one medium piece in the middle, one small piece at the front of each tier, and leave a little empty tray showing. If a tier holds more than five items, take one away.
What size pieces fit on a tiered tray?
Most tray tiers have about six to eight inches of height between levels. Pieces between two and five inches tall fit comfortably. Mini trees, small mugs, three inch ornaments and five inch figures are the sweet spot.
Can I put real food on a decor tray?
Wrapped treats and whole fruit are fine. Keep unwrapped food on a plate, and keep hot drinks on the counter beside the tray rather than on a tier, where a bump can spill them.
How do I keep a tray stable on a busy counter?
Put the heaviest items on the bottom tier and the lightest on top, and park the tray against a wall or in a corner. A small dot of museum putty under the base helps in homes with lively children or cats.
When should I set up a Christmas tiered tray?
Any time from late November works, and the neutral and wood styles can go up even earlier. Because a tray takes ten minutes to restyle, many people set a simple version early and add pieces through December.
How do I store tray decor after Christmas?
Photograph the finished tray first so next year starts from a picture, then pack the small pieces in one labeled box per tray. Glass ornaments go in tissue, and the tray itself stores flat or nested in most designs.
Final Thoughts on Christmas Tiered Tray Decor
A tiered tray proves that Christmas decor does not need a big room or a big budget, just one small stage and a few pieces with a shared color story. Start with the hot cocoa or gingerbread build, then borrow the layering rules for any style on this list, and your christmas tiered tray decor will carry the whole kitchen.

