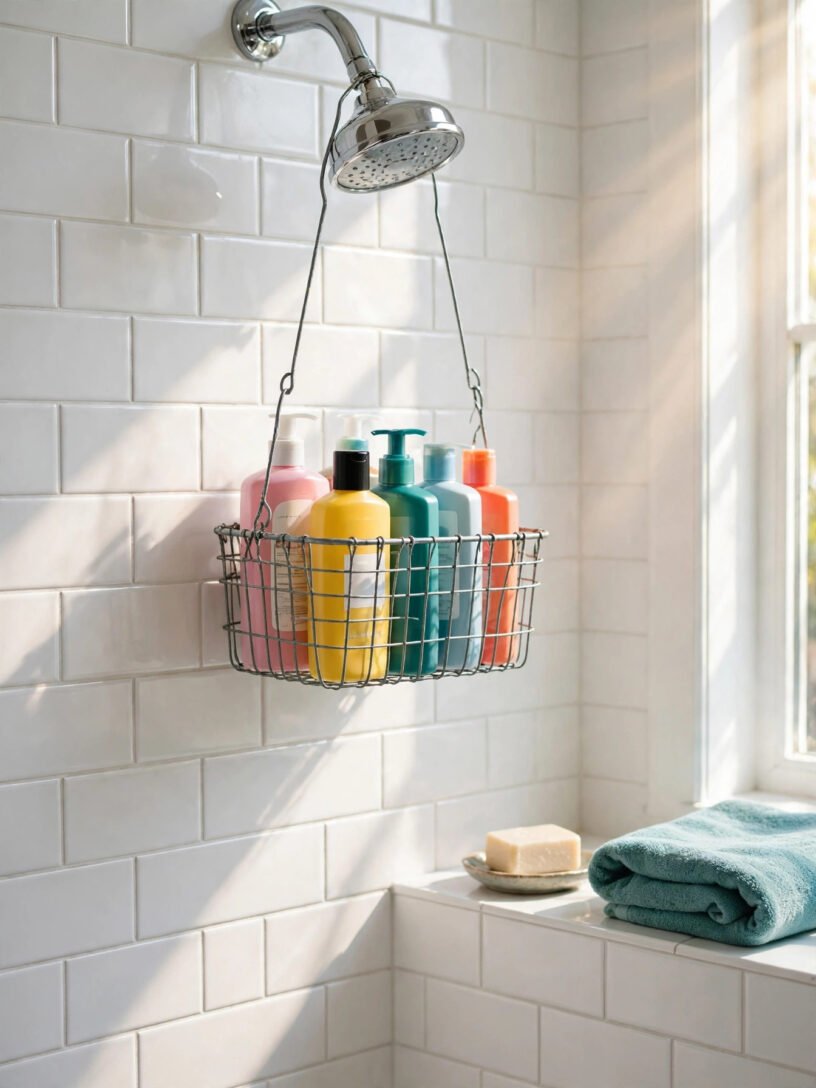


Honestly, my shower used to start with a small traffic jam. Bottles along the tub edge, a razor hiding behind the shampoo, and one conditioner that fell over every single time I reached for it.
A good caddy fixes all of that in one go, and the homemade kind is easier than it looks. Most of these diy shower caddy ideas use things you may already own, like a mesh bag, a wire rack or a few strong hooks.
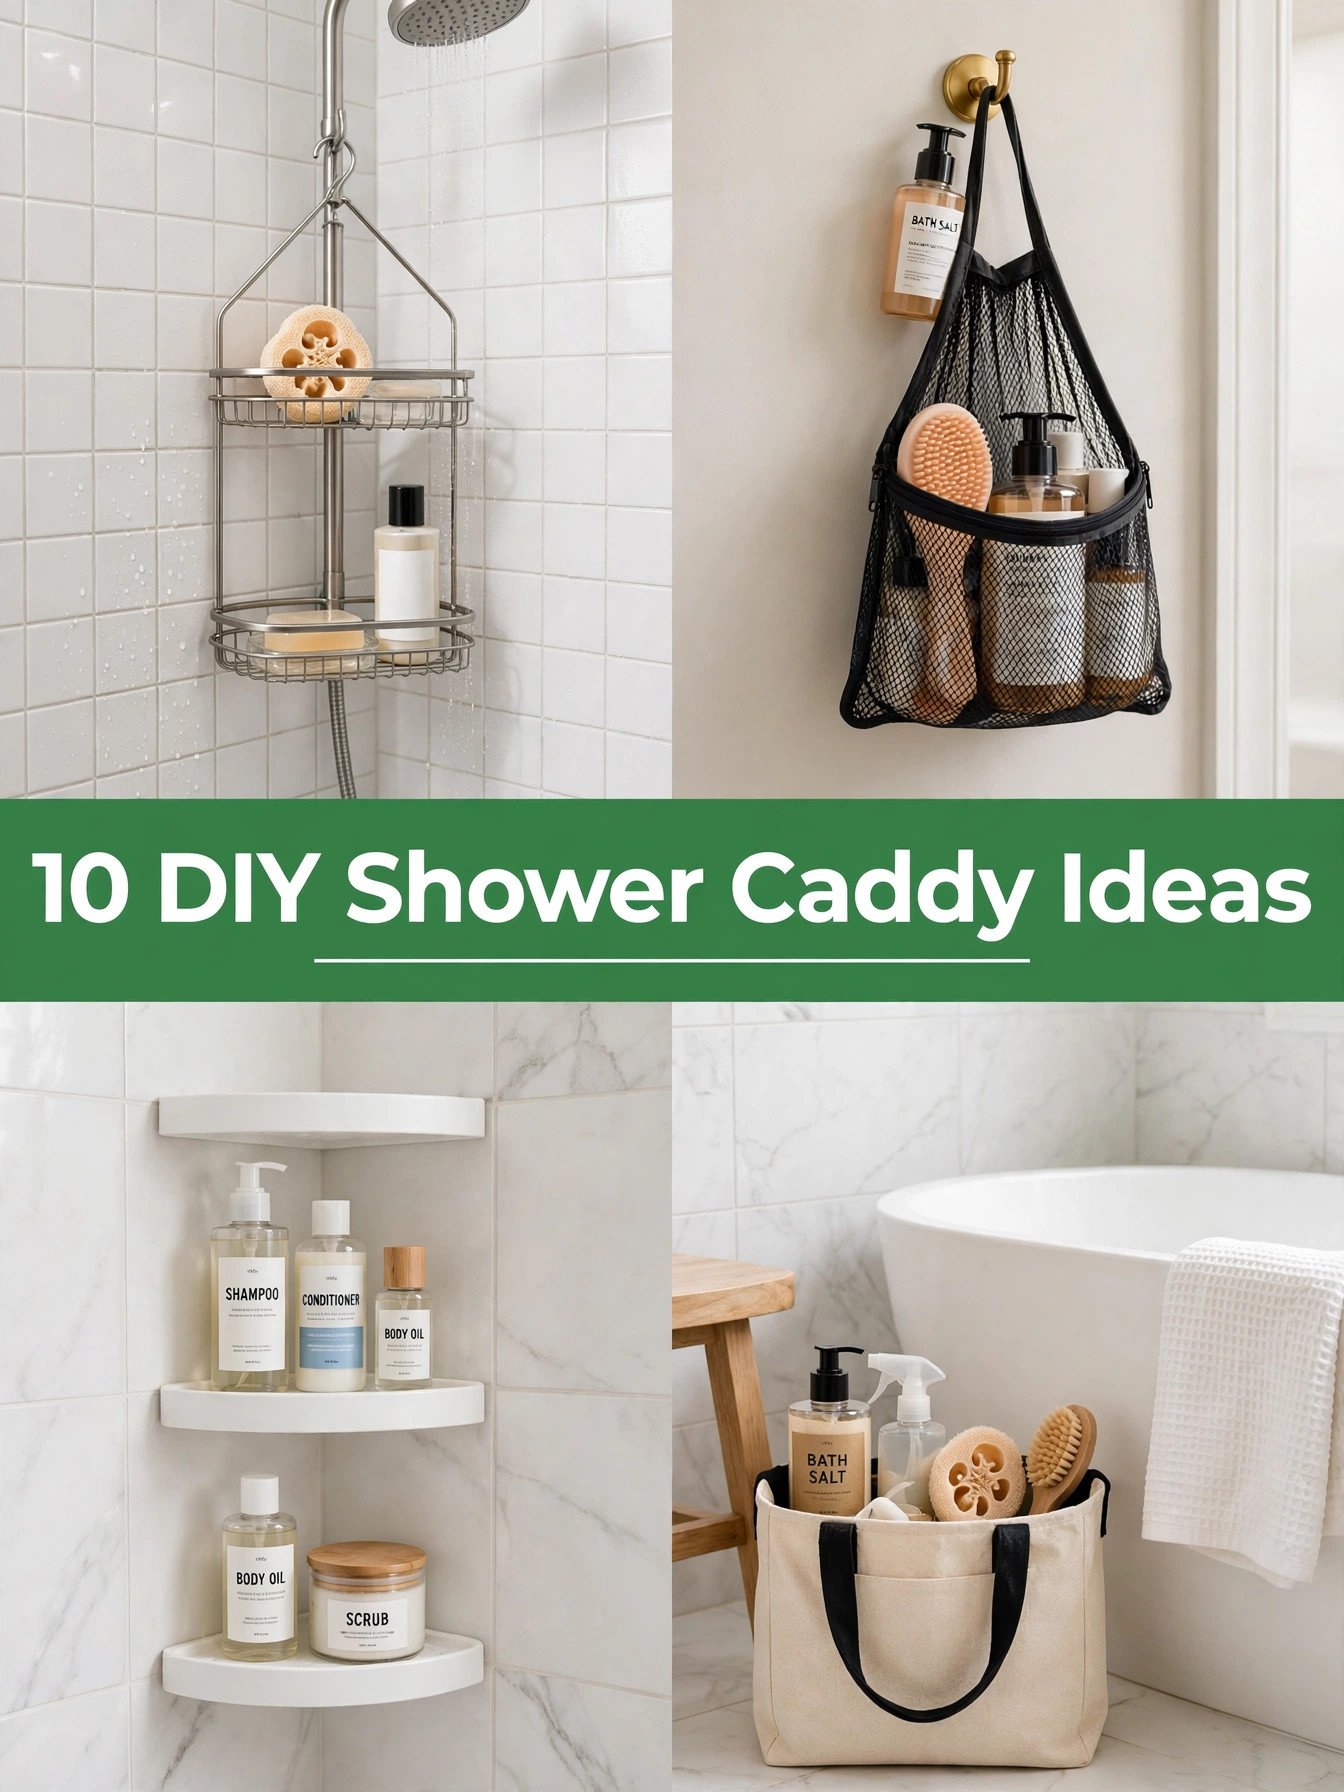
In this list you will find a classic hanging caddy, a corner shelf setup and a simple mesh bag build, plus portable options for travel, camping and shared bathrooms. Pick the one that matches your shower and your budget.
My honest tip before you start is to count your bottles first. Once you know exactly what has to fit, the right caddy almost chooses itself, and you skip buying parts you never needed.
Quick Picks
- Easiest build: Easy Mesh Bag Shower Caddy (idea 2)
- Budget pick: Dollar Store Rack Caddy (idea 4)
- Prettiest: Corner Shelves Shower Caddy (idea 3)
1. Hanging Caddy Over the Shower Head
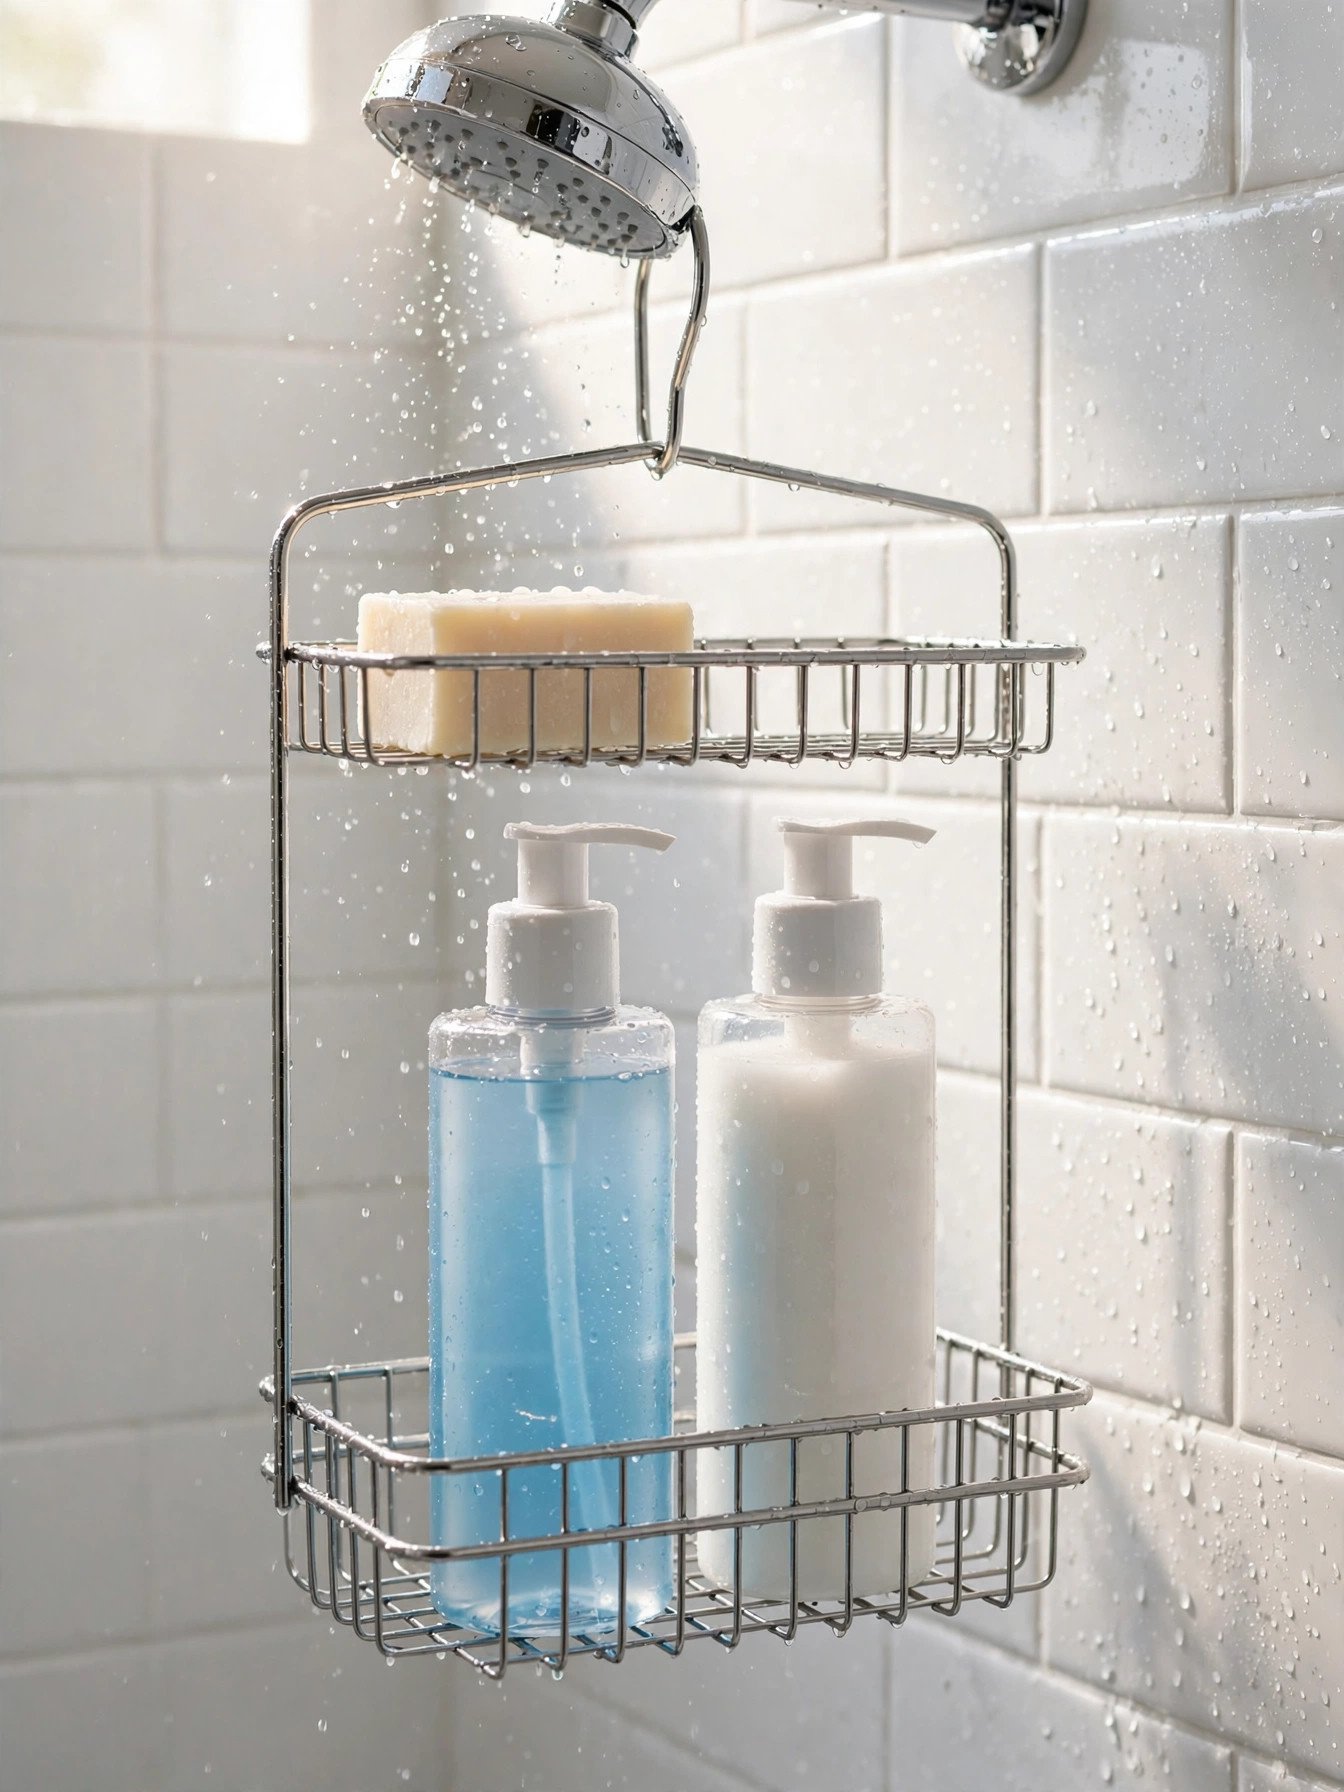
This is the caddy almost everyone pictures first, and it is famous for a reason. A wire frame hangs on the shower head pipe, keeps every bottle at arm level and uses space that normally does nothing at all. If you want to see the shape before you build, a rustproof hanging shower caddy shows the proportions worth copying.
The secret is weight placement. Tall and heavy bottles belong on the lowest shelf, as close to the pipe as you can get them, so the frame hangs straight instead of swinging every time the water runs.
⏱ 30 minutes💲 Low🛠 Easy
Materials Needed
- Small wire shelf or wire cooling rack
- Two strong S hooks
- Pliers
- Four zip ties
- A ruler
How to Make It
- Measure the drop from your shower head pipe to the spot where you want the lowest shelf to sit.
- Bend the top edge of the wire rack gently with pliers to form two loops that match the curve of the pipe.
- Hang the rack on the pipe with the two S hooks and check that it sits level.
- Secure each hook to the rack with a zip tie so nothing slides when the frame gets wet.
- Load the heaviest bottles first on the lowest shelf, then add lighter items on top and give the frame a gentle shake to test it.
Tip: A small rubber band wrapped around the pipe where the hooks rest stops metal on metal slipping and keeps the caddy quiet.
2. Easy Mesh Bag Shower Caddy
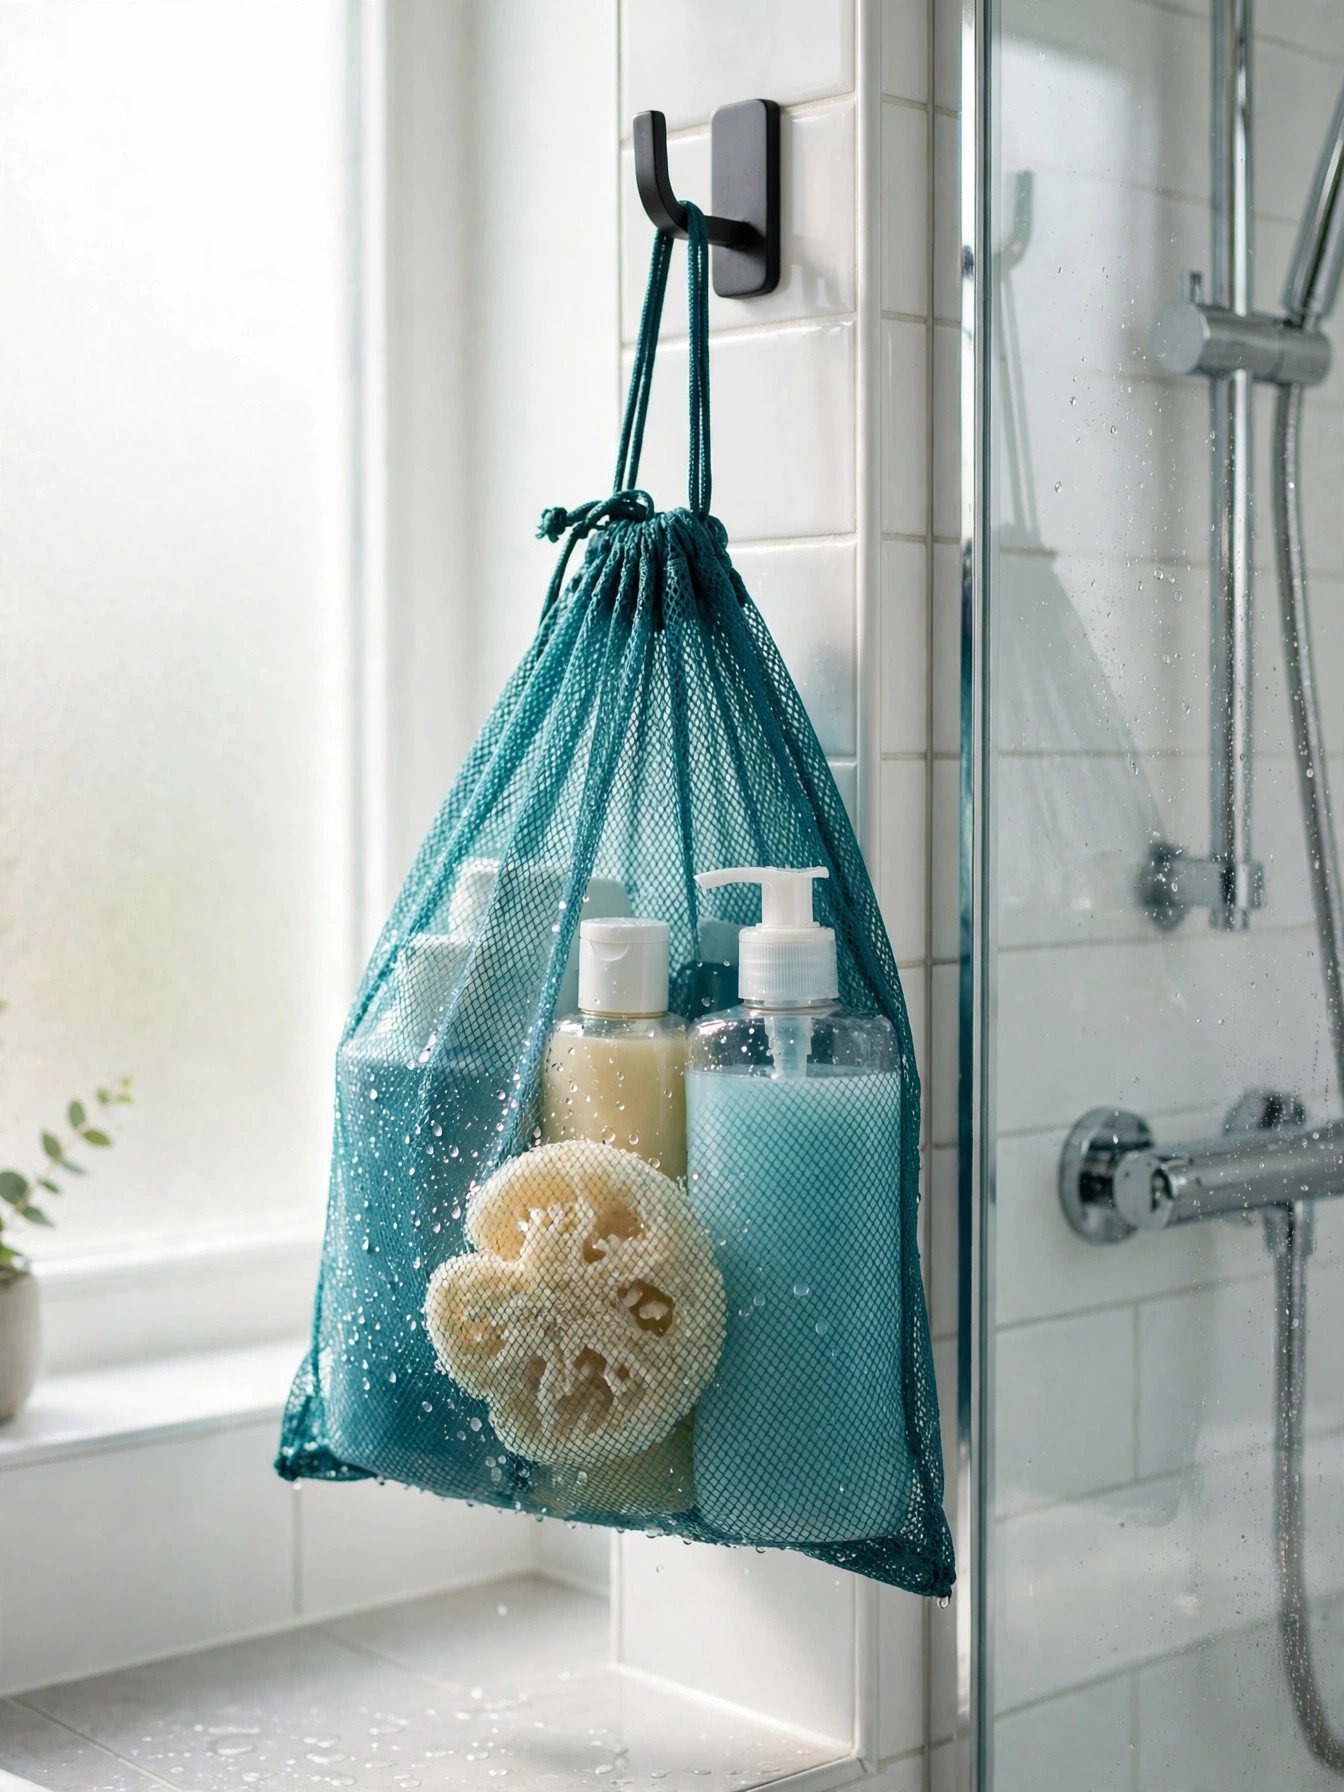
If sewing machines scare you, this is your project. A mesh bag already has everything a shower caddy needs, with holes that drain on their own and fabric that dries fast. I like a bag made for laundry or produce, and mesh hanging storage bags in a two pack mean you can rotate one while the other gets washed.
It holds more than it looks like it should. Bottles stand upright in the bottom, smaller tubes tuck into the sides, and the whole thing weighs almost nothing when it is empty.
⏱ 15 minutes💲 Low🛠 Easy
Materials Needed
- Mesh drawstring bag with small holes
- Strong suction hook or over door hook
- Scissors
- Ribbon or cord for the loop
How to Make It
- Choose a mesh bag with small holes so bottles stay put and water drains freely.
- Thread a short length of ribbon or cord through the drawstring channel to make one strong hanging loop.
- Fix your hook on smooth tile at a height you can reach without stretching.
- Hang the bag, then load bottles upright in the base with caps facing up.
- Once a week, empty the bag and rinse it under the shower so soap film never builds up.
Tip: Two smaller bags beat one giant bag. One for hair products and one for everything else keeps mornings much calmer.
3. Corner Shelves Shower Caddy
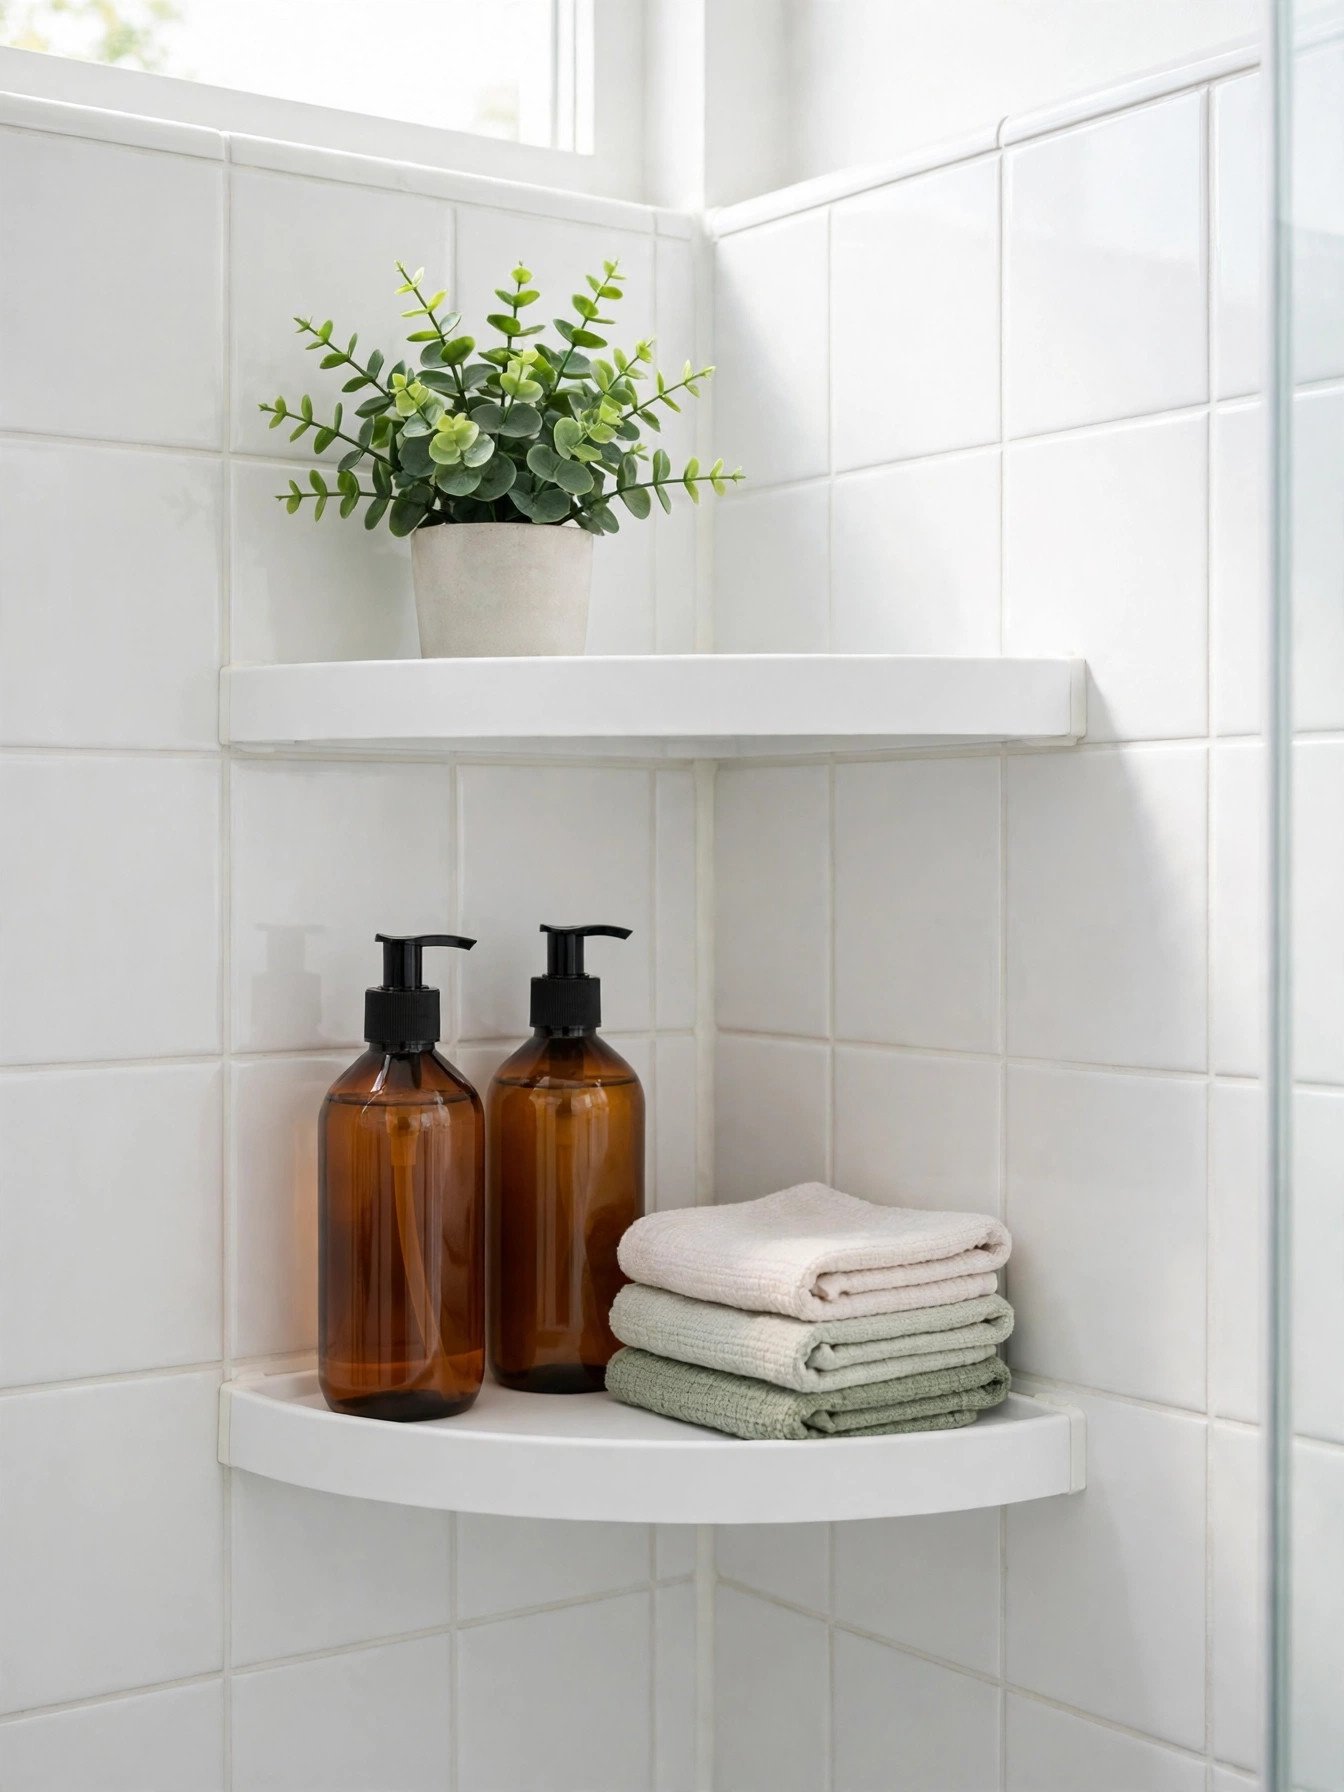
Corners are the most wasted space in most showers, and two small shelves turn that dead spot into real storage. Modern adhesive corner shower shelves hold a surprising amount of weight and go up without a single screw, which makes this a kind build for renters.
I suggest dry fitting both shelves before anything sticky touches the tile. A hand span of space between the shelves fits tall pump bottles, and that small gap makes the whole corner feel planned instead of crowded.
⏱ 45 minutes💲 Medium🛠 Easy
Materials Needed
- Two corner shower shelves
- Adhesive pads from the shelf kit
- Rubbing alcohol and a clean cloth
- A pencil and a small level
How to Make It
- Clean the corner tiles with rubbing alcohol and let them dry fully so the pads grip properly.
- Hold the first shelf in place, mark the corners lightly with pencil and check it with the level.
- Press the adhesive pads onto the clean tile, one shelf at a time, pushing firmly for a full minute.
- Leave the shelves empty for one full day so the adhesive can set at full strength.
- Load heavy bottles on the lower shelf and lighter tubes and soaps on the top shelf.
Tip: Keep adhesive pads on the flat tile only, never across a grout line, because grout is where pads lose their grip first.
4. Dollar Store Rack Caddy
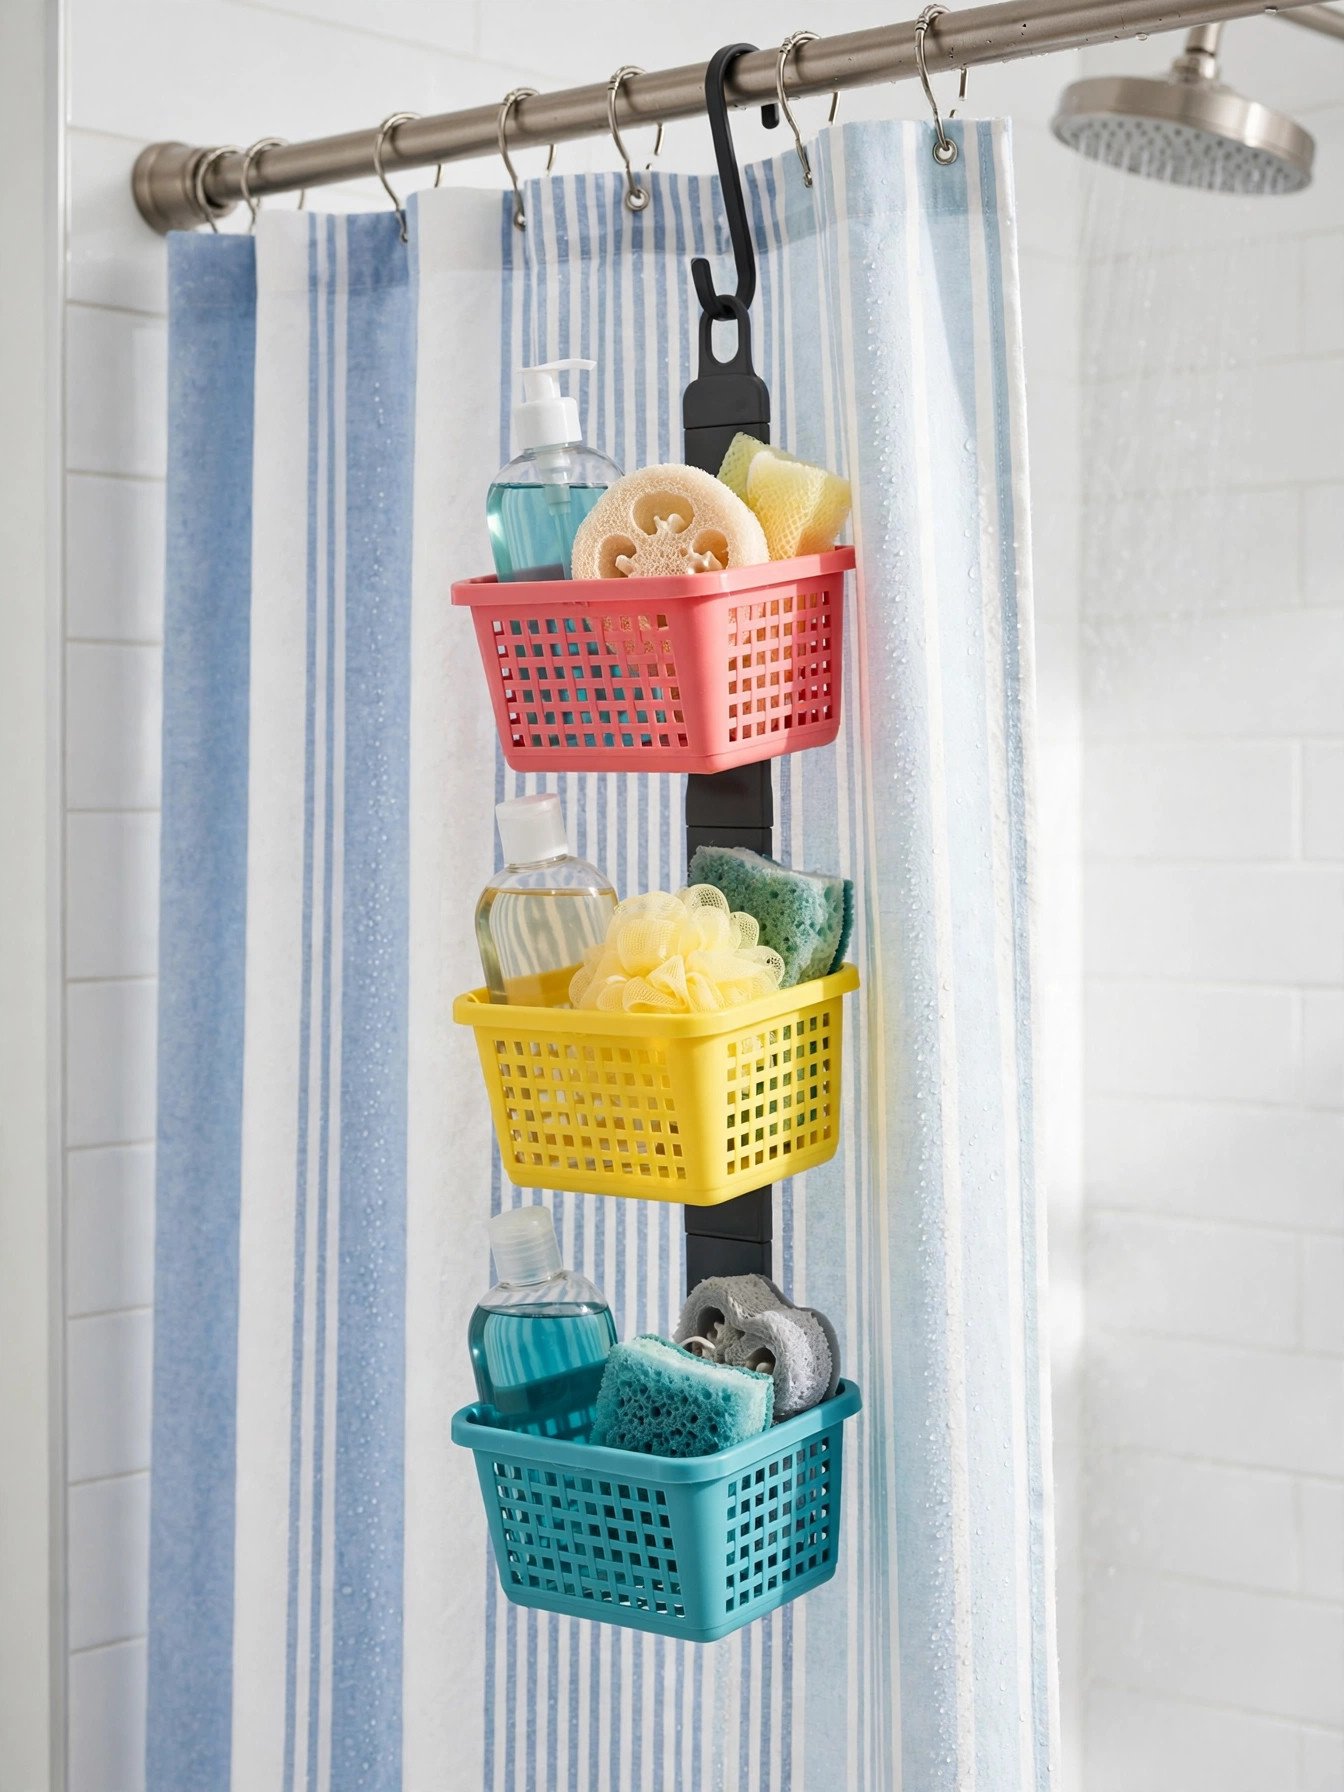
This is the budget champion of the whole list. Three small baskets from a dollar store, joined in a row, make a caddy that looks far more planned than its tiny cost suggests.
Hang the finished row from the shower rod or a strong hook and it behaves like a bought caddy. In my experience the middle basket works best for soap and small things that love to wander off.
You’ll need: small plastic storage baskets, heavy duty zip ties and two strong hooks
Best for: small budgets and first apartments
5. Portable Tote Caddy for Shared Bathrooms

Anyone who shares a bathroom knows the morning shuffle of carrying bottles back and forth. A tote style caddy ends that trip, because everything you own lives in one handled box that travels with you.
Look for a base with drainage holes and a handle that feels solid when the tote is full. Mine lives on a bedroom shelf, which also keeps the shower itself clear for everyone else.
You’ll need: one portable shower caddy tote with drainage holes in the base
Best for: shared bathrooms, dorms and gym bags
6. Travel Caddy That Hangs Anywhere
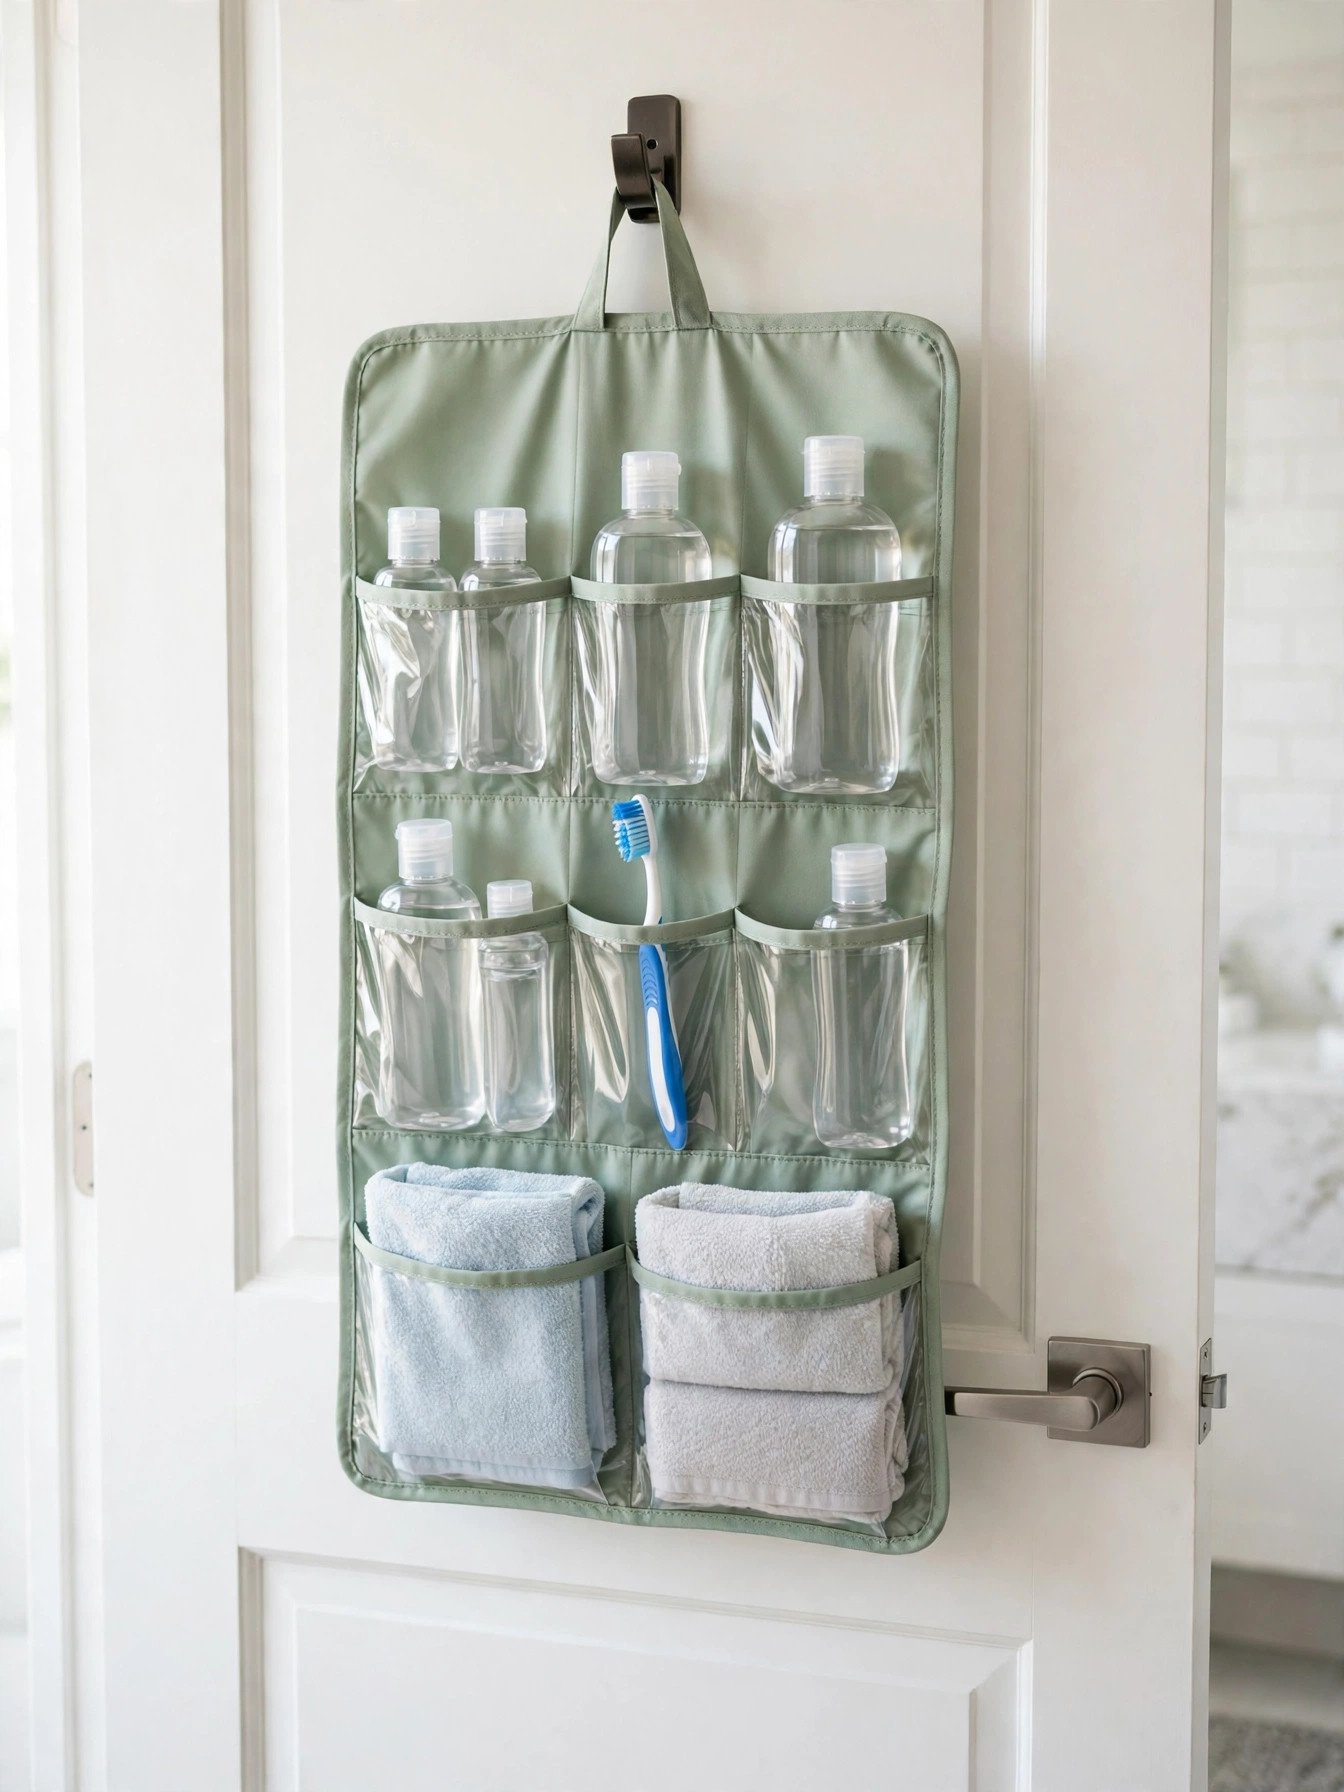
Hotel showers rarely give you a shelf, and balancing bottles on the tub edge gets old by night two. A hanging travel caddy unrolls, hooks over a door or rail and puts everything in clear view.
The roll up shape is the real charm here. It packs flat in a suitcase, weighs very little and keeps leaky bottles away from your clothes when each one sits in its own pocket.
You’ll need: one hanging travel toiletries organizer with clear pockets
Best for: frequent travelers and small hotel bathrooms
7. Camping Caddy with Quick Dry Pockets
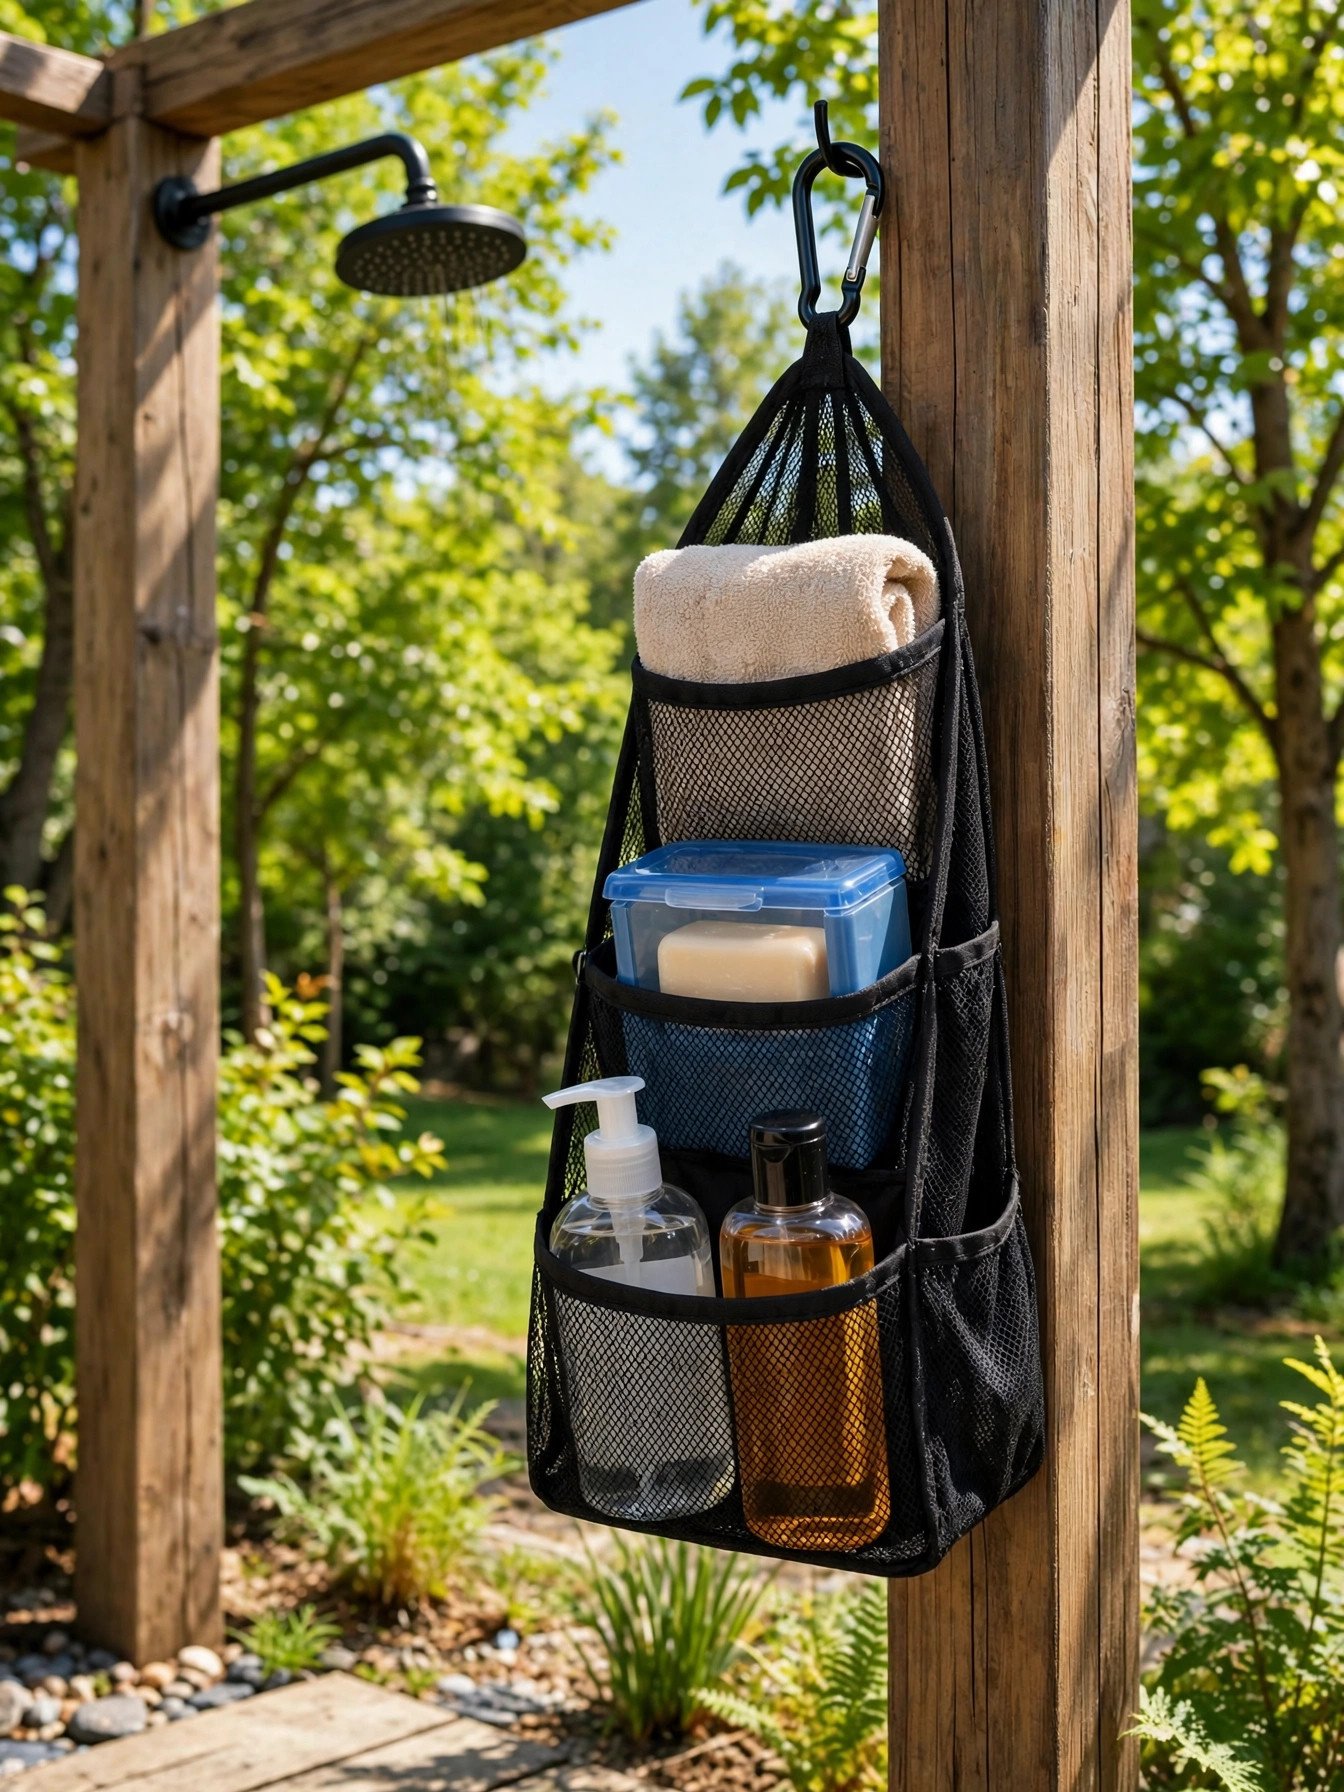
Camp showers and outdoor taps call for a caddy that can hang from almost anything and dry before you pack it. Mesh wins here again, because it shakes dry in minutes and never holds that damp smell.
Hang it from a post, a branch or the shower frame itself and your soap stays off the wet ground. A tip I picked up is to choose biodegradable soap for outdoor showers, so what rinses off is kinder to the ground below.
You’ll need: one quick dry mesh shower bag and a lidded soap box
Best for: campers, beach showers and outdoor rinse stations
8. Plant Stand Shower Station
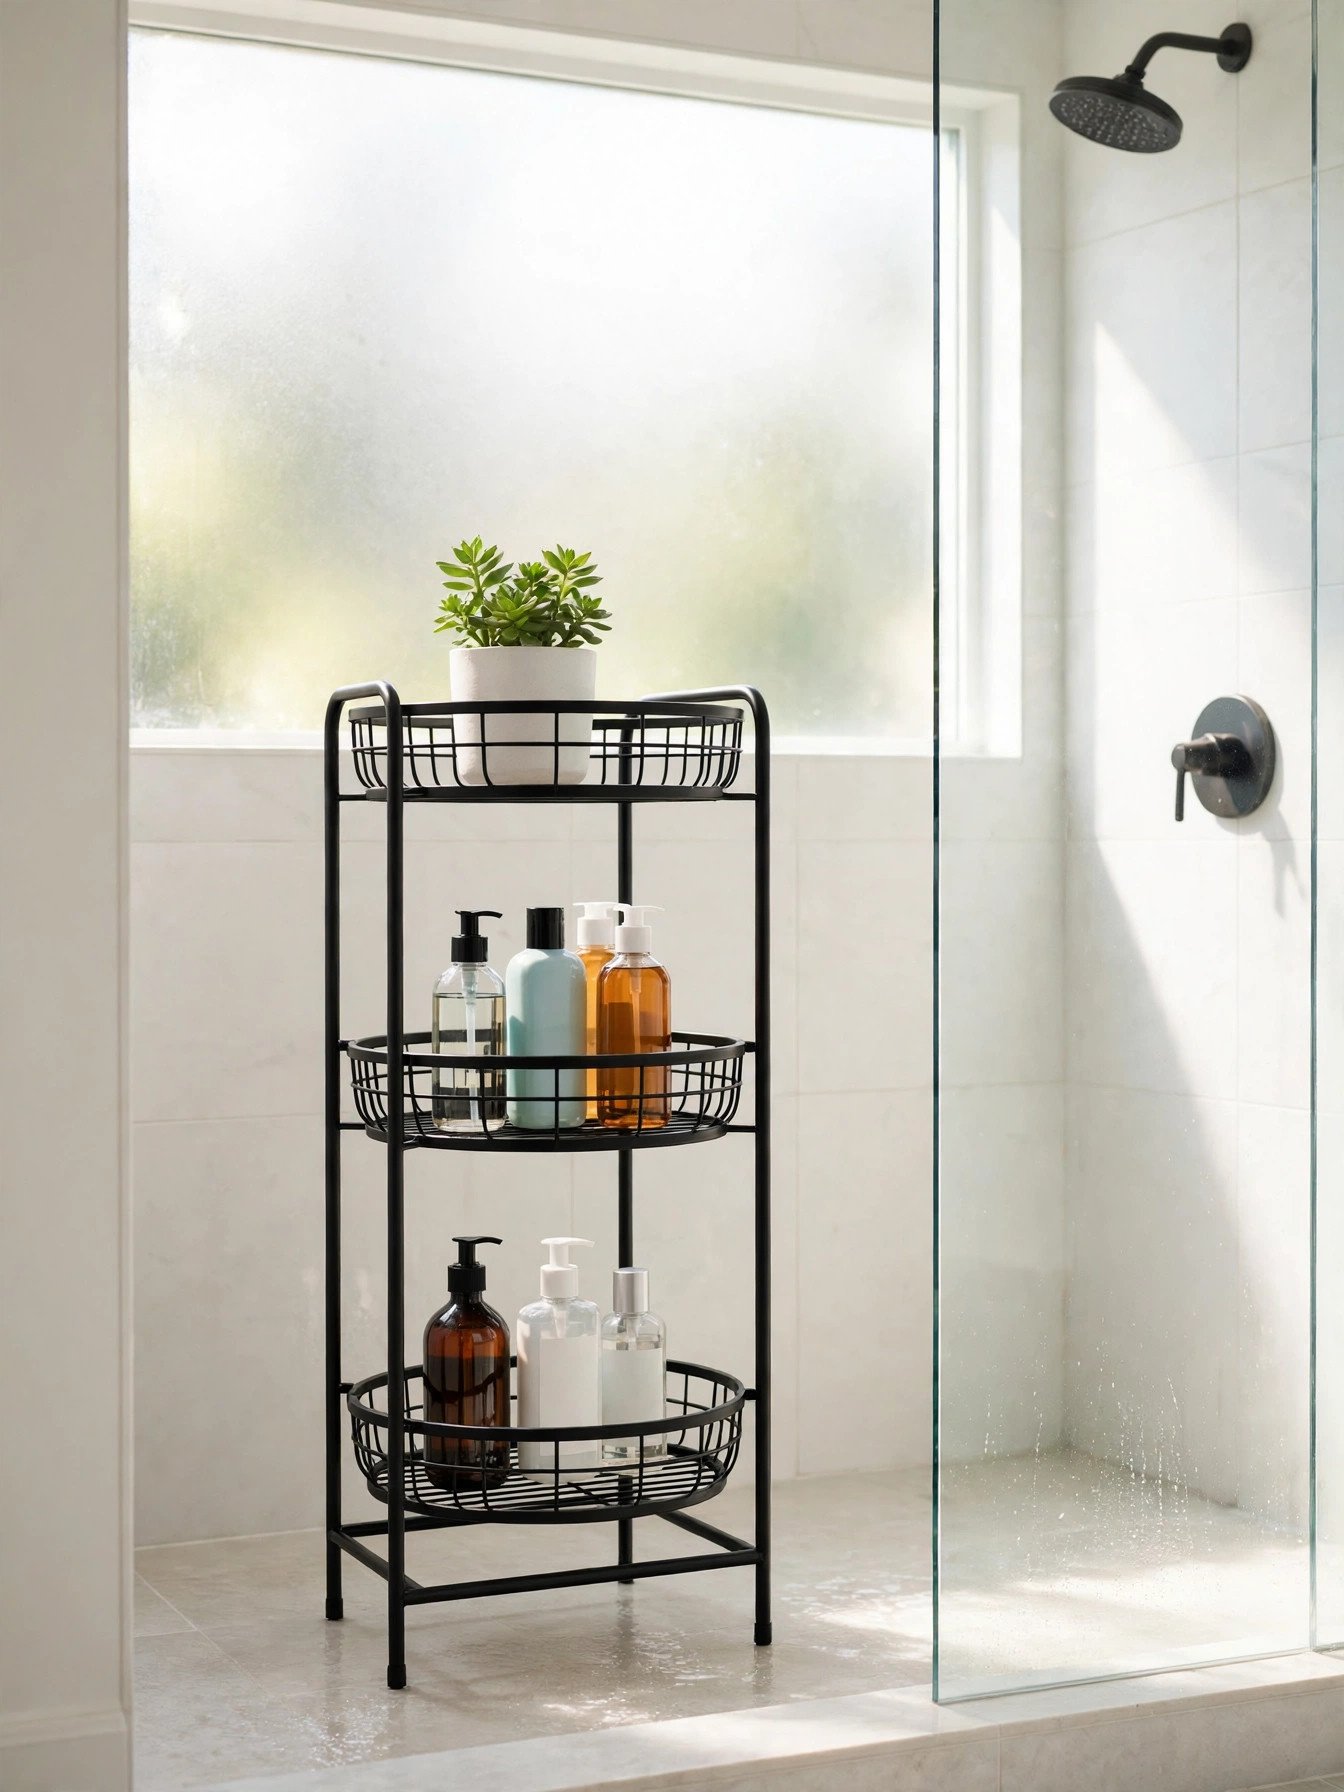
This one sounds odd until you see it, and then it makes perfect sense. A slim tiered plant stand gives a big shower a proper station, with bottles sorted by height and a little breathing room between them.
Choose powder coated metal and check that the feet sit flat before you load it. The top tier is a lovely spot for a small plant that enjoys steam, as long as it sits out of the direct spray.
You’ll need: one metal tiered plant stand with a powder coated finish
Best for: large showers and anyone who loves a styled bathroom
9. Extender Arm Caddy for Tall Bottles
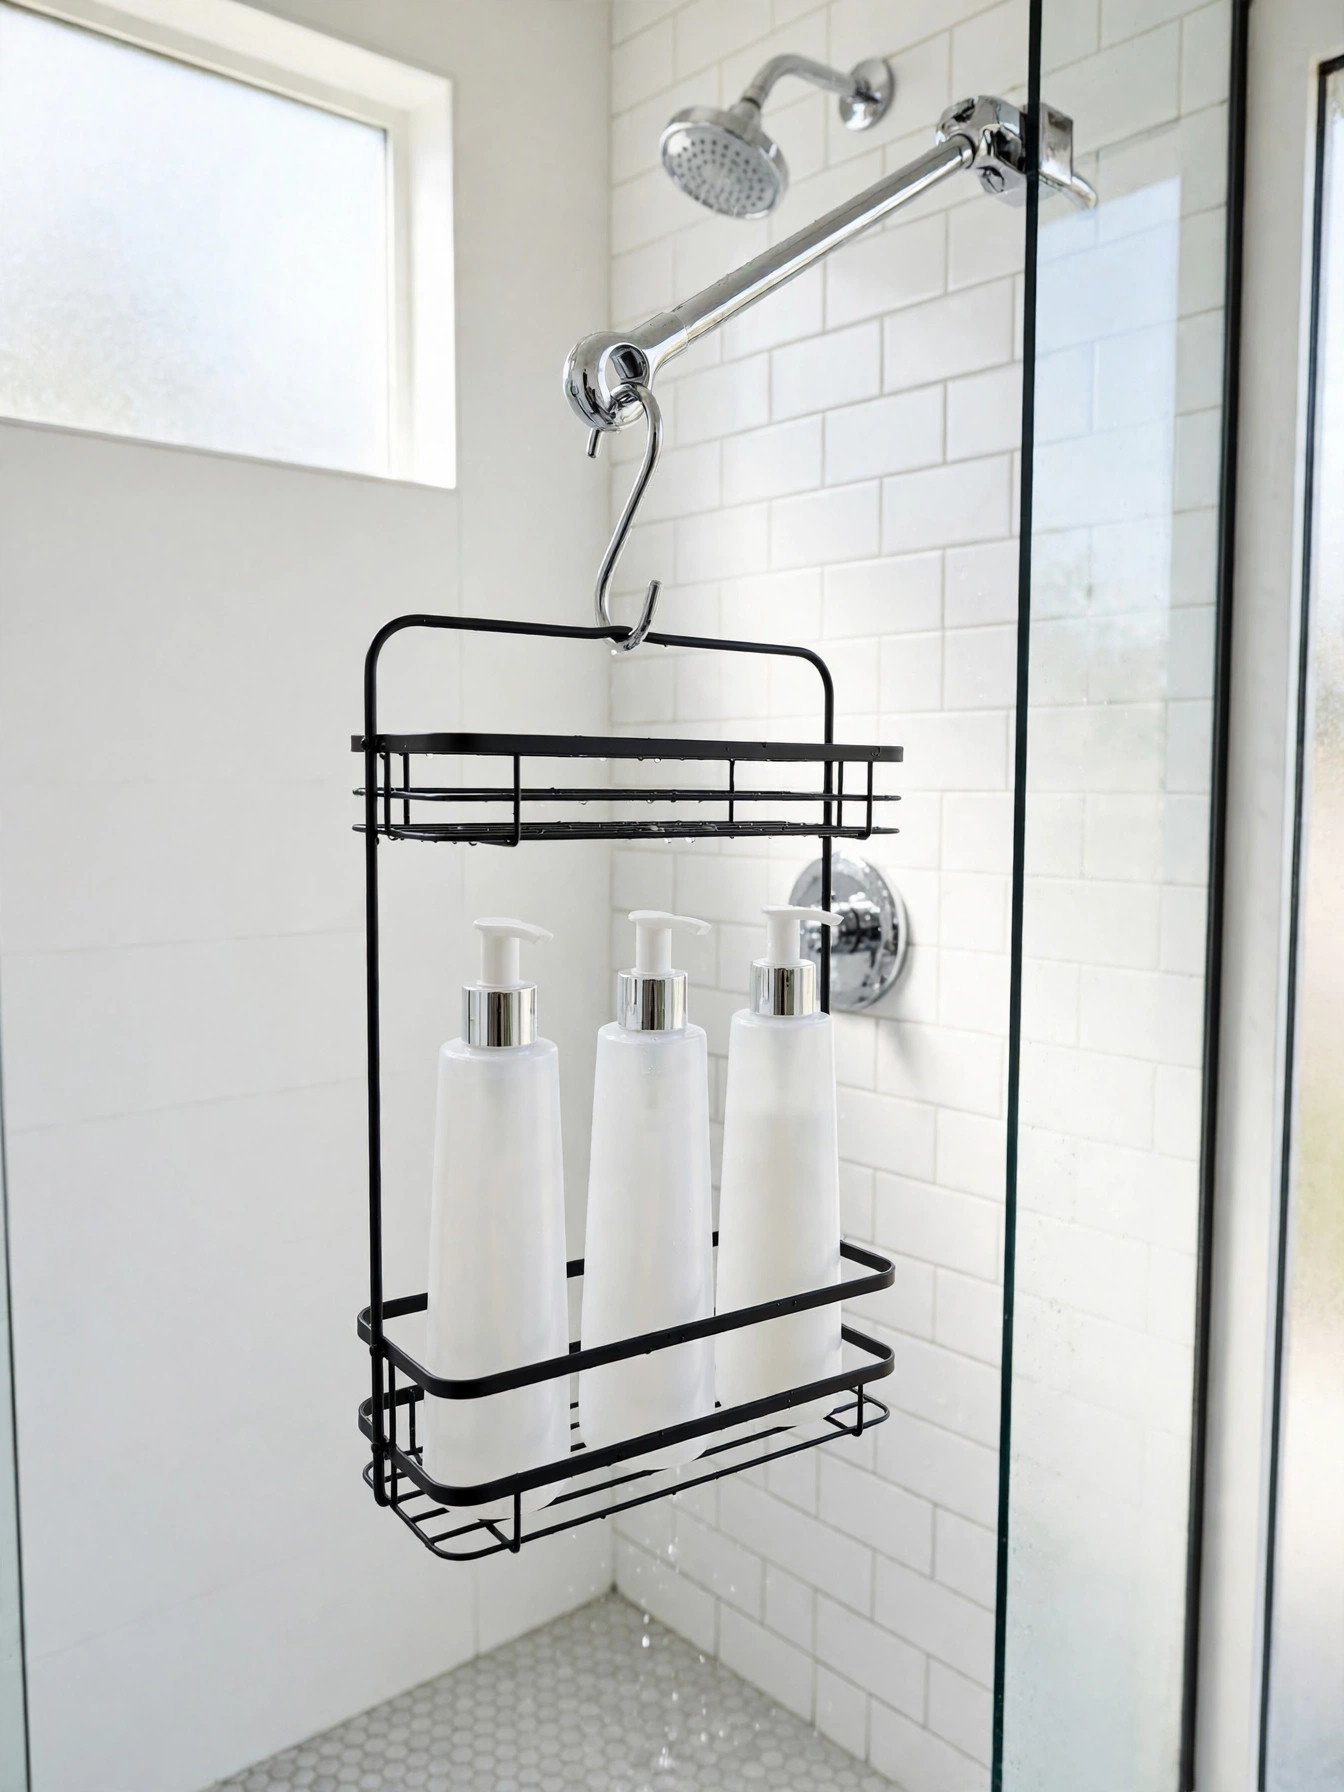
Tall pump bottles are the reason many caddies fail. They hit the shower head, lean at odd angles and slide. An extender arm drops the caddy lower, and suddenly every shelf is usable again.
It is a ten minute fix that feels like a full upgrade. Measure your tallest bottle first, then set the arm so the pump still clears the shelf above it with room to press.
You’ll need: one shower caddy extender arm that fits your shower head pipe
Best for: tall bottles and high shower heads
10. Over the Door Caddy for Guests and Dorms
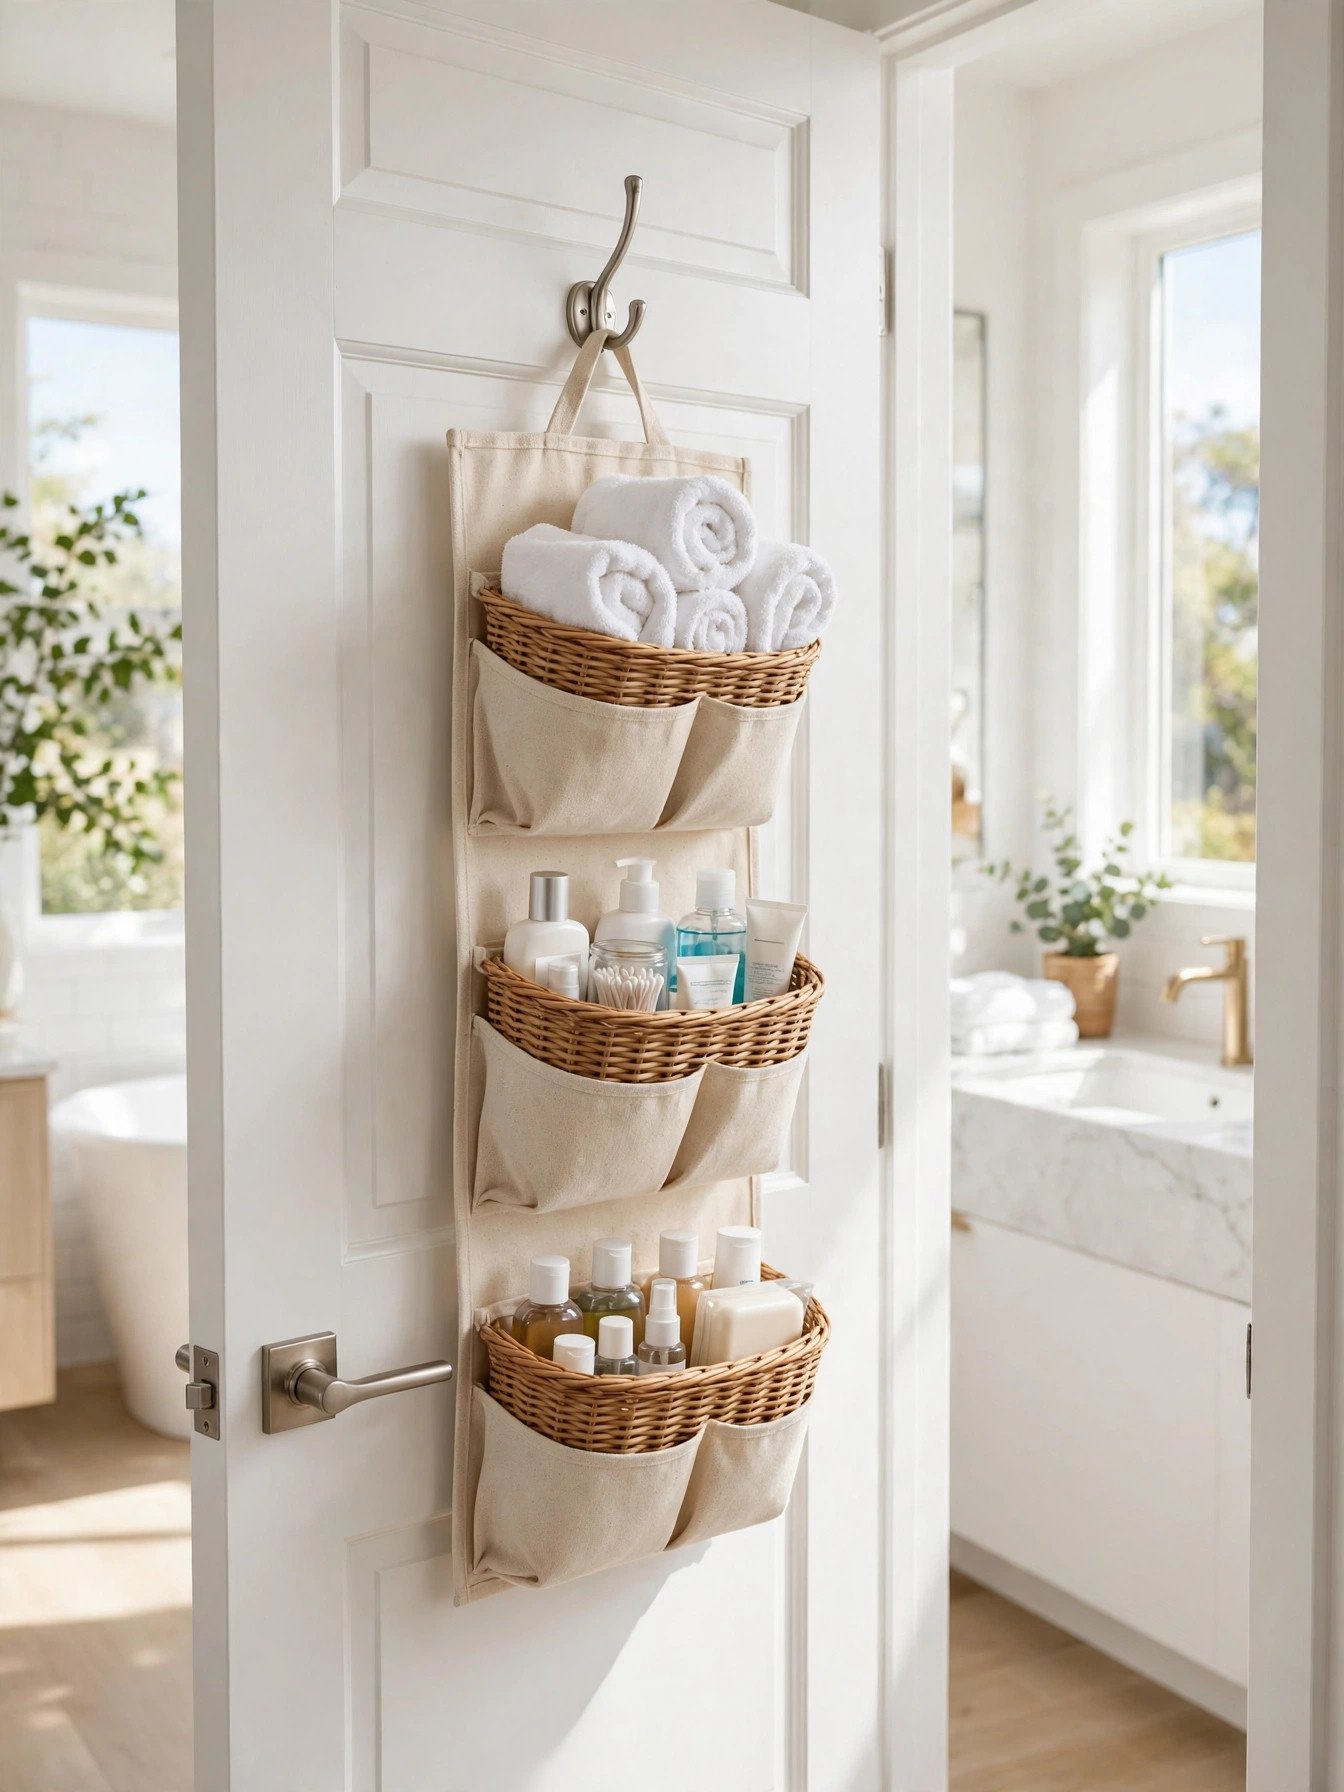
When the shower itself is full, the back of the bathroom door is free real estate. A door caddy with baskets or deep pockets adds a whole extra storage zone without touching a single tile.
It is a kind setup for guests too, because spare toiletries can live there permanently instead of cluttering the sink. Soft pads on the hooks keep the door quiet and protect the paint.
You’ll need: one over the door hanging organizer with deep baskets or pockets
Best for: guest bathrooms, dorms and tiny rentals
Frequently Asked Questions
What is the cheapest diy shower caddy to make at home?
The dollar store rack and the mesh bag tie for first place. Both cost very little, use parts that are easy to find and can be finished in under an hour.
Which materials last longest in a wet shower?
Rust proof metal, sturdy plastic and mesh last longest in a wet shower. Plain steel rusts fast, and untreated wood softens, so save those for dry storage outside the spray.
How do I keep a homemade shower caddy from slipping?
Hang hooks as close to the shower head pipe as you can and keep the heaviest bottles low. On tile, suction and adhesive hold best on clean, smooth surfaces away from grout lines.
Can renters make a shower caddy without drilling?
Yes. Hanging caddies, adhesive corner shelves, tension poles and over the door options all work without a single hole, and they leave with you when you move.
How do I stop mold growing on a shower caddy?
Pick a design with open drainage and rinse it once a week. Mesh dries fastest of all, and a quick shake after your shower stops water pooling in the corners.
Where should razors and small items go in a shower caddy?
Keep razors in a covered holder on a high shelf, well out of reach of small children. A small lidded box inside the caddy also stops blades catching on sponges and cloths.
Final Thoughts on DIY Shower Caddy Ideas
A homemade caddy will not fix a small shower, but it will fix the daily bottle shuffle, and honestly that is the part you feel every morning. Start with the mesh bag or the hanging caddy, live with it for a week, then adjust. Small, tidy changes like these are what make a bathroom feel easy.

